
A power drill is one of the most valuable and necessary tools for any home renovation project. Different types and styles of power drills are available, and you may select one based on your own preferences as well as its capabilities.
To change the bit, you need to know if the drill has a keyed chuck system or not, and that’s something to keep in mind. Because this feature dictates the procedure for swapping out a drill bit.
Keep in mind that most small drills have an automatic keyless-chuck system, whereas more traditional large-scale power tools have a manual chuck key system.
The only thing you need to know is how to use two different methods. Using these strategies, you can fix your problem, but only if you do it correctly.
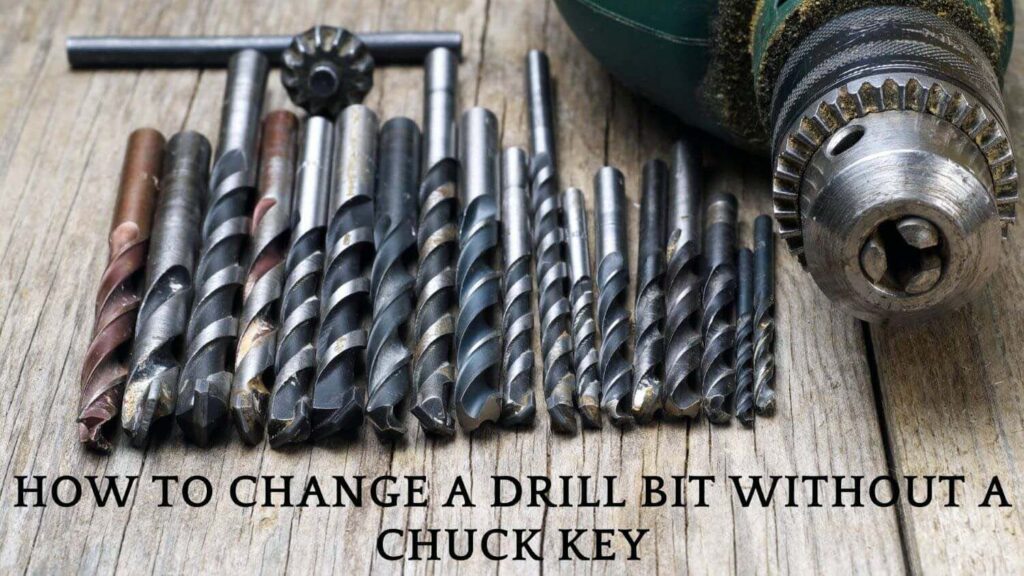
This article shows you how to change a drill bit without the chuck key.
Table of Contents
What’s a Drill Chuck?
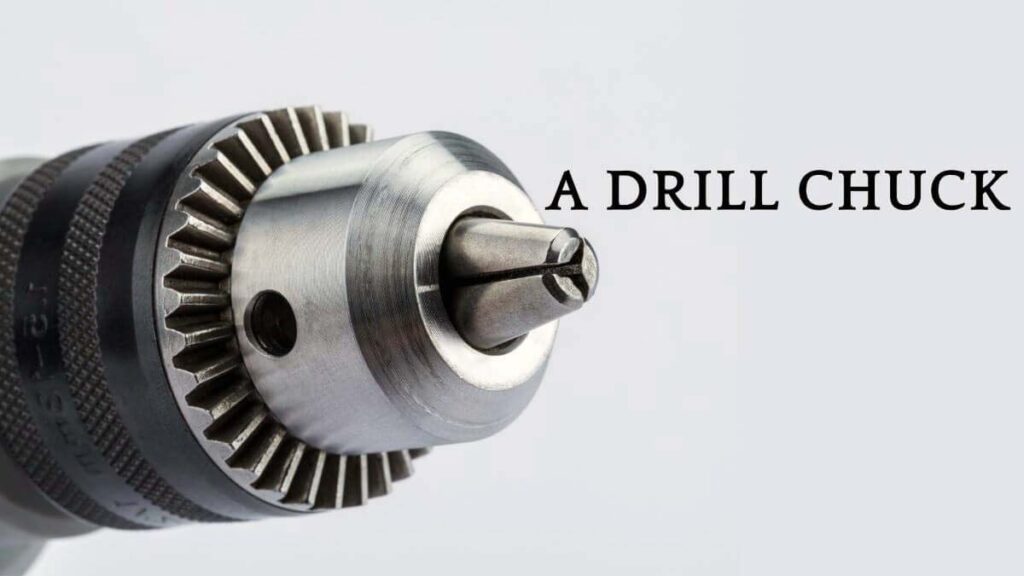
A drill chuck is a customized self-centring chuck used to secure drill bits. A chuck has three jaws that can be opened or closed. Depending on the direction, you must rotate the chuck sleeve.
A drill chuck key is a small, round tool that fits into the grooves of your drill chuck and allows you to tighten or loosen it as necessary. Almost every drill machine comes with its own chuck key for opening and closing the chuck during bit replacement. While installing a new bit, insert the key into the chuck’s jaw’s centre.
What Is the Purpose of a Chuck?
Before you can learn How to Change a Drill Bit Without a Chuck Key, you must first understand the purpose of a chuck and what it does. As soon as you’ve become accustomed to the procedure, you’ll be considerably more comfortable following the steps we’ll outline for changing out a drill bit.
A chuck’s primary function is securely holding the drill bit in position while drilling.The rotational speed of a drill is really high. The last thing you want to happen to your drill bit is for it to become dislodged. Not only can this completely derail whatever project you’re working on, but it’s also quite hazardous.
Chucks can be found on a wide variety of rotary tools, ranging from professional-grade drills to drills intended solely for household use and everything in between. This key is used to unlock and loosen the drill chuck to remove and replace the drill bits.
When the chuck key is lost, it’s understandable why people are concerned. If you can’t change the drill bit, work can grind to a halt.
Read More: Drill a Hole Bigger than Your Drill Bit
A Drill Bit Change Without a Chuck Key
1st Process: Pliers Uses

You will need pliers (of course) and a drill bit to complete this process. The drill bit should slide into the chuck key’s hole. This is extremely important for it to function correctly. The pliers must be large enough to grip the drill chuck while working on it.
Step 1: Remove the Drill Bit from the Chuck
Insert the drill bit into the keyhole of the chuck first. If you do not already own one, you should absolutely purchase one. You run the risk of chopping your hands open if you don’t. And no one wants it.
Step 2: Loosen the Chuck Counterclockwise
Take the pliers and secure the chuck with them once the bit is in place. Do not let go of the object. You can safeguard the chuck by covering it with a piece of fabric.
Using the pliers, twist the chuck counterclockwise as you continue to grasp the chuck. Unlocking the bit should be a breeze after doing this. The bit will fall loose, making it easier to remove it.
Step 3: Installing a New Drill Bit
Now comes the simple part. Put in fresh drill bits and then lock them in place. To secure the bits, simply counterclockwise spin them (clockwise).
Check all the holes and make sure the screws are correctly tightened just in case. In most cases, one spot should suffice.
Step 4: Final Check
We haven’t yet finished our work. Until then, you can only use the drill. Make sure the drill bit is centred and in the correct place. Just put the new bit in your drill and go to work.
Check for any wobbling motion by running the drill bit in an open area. There is no need for a chuck key if you don’t see any. Congratulations, my friend.
Check Also: How to Install Chuck on a Drill Press
2nd Process: A Flat Head Screwdriver Uses
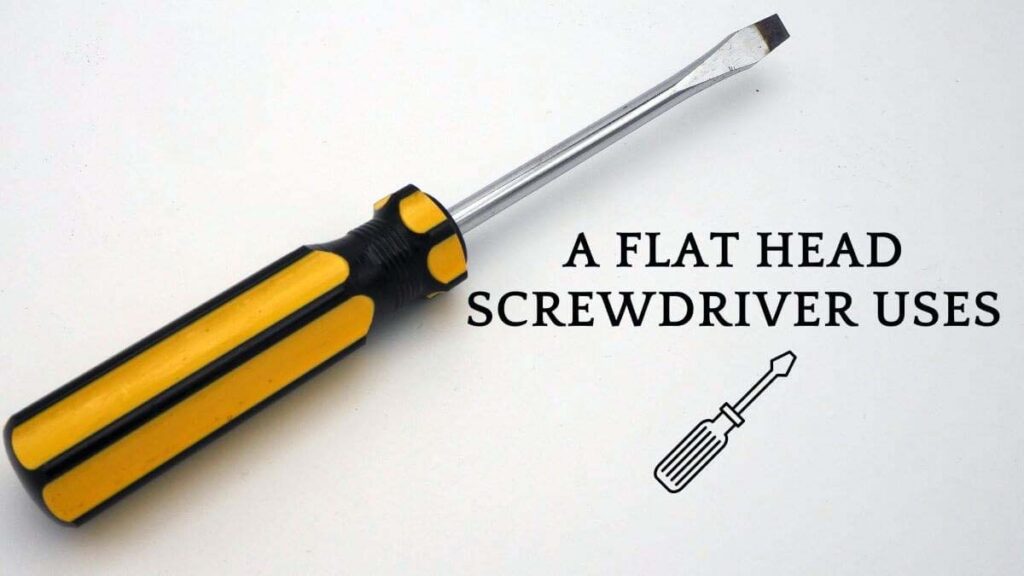
Alternatively, use a flat-head screwdriver. But you’ll still need a drill bit that matches the hole. Of course, you can utilize the same bit.
Some may argue that this strategy is safer than the first. To be honest, both are safe. Later in the course, I will discuss how safe these processes are for your drill. So read on. Let’s get started.
Step 1: Set the Drill Bit
Placing the drill bit is identical to the previous step. Inside one of the keyholes, the drill bit will be inserted. Again, ensure that it fits properly.
The chuck will almost certainly have gears. And the gaps between them should be large enough for a screwdriver to grip. The objective here is to leverage the screwdriver.
Place the screwdriver and secure it in place. Simply crank it counterclockwise, as you did previously, to loosen it.
One critical point to keep in mind is that you face the risk of the screwdriver falling out of its slot.
Apply sufficient force to ensure that it remains in place and does not cause any harm or slip out of your grasp.
Step 3: Installing a New Drill Bit
Repeat the preceding method. Replace the drill bit and tighten the chuck this time by spinning it clockwise. That is all.
Give the drill an open run and inspect the drill bit for any wobbling movements. If there are none, the bit is centered, and you are ready to go.
What kind of Chuck Key do I need?
If you’re missing the chuck key, or it’s broken, and you’re not comfortable changing your drill bit without it, you should consider purchasing a new chuck key.
Keep in mind one critical point: your chuck key should match your drill chuck. On the market, various chuck key sizes are available. Indeed, you must check the post’s angle and tooth count. If possible, you should contact the manufacturer of your drill and request a replacement key.
If they cannot provide one, your local retailer may have stock keys. As closely as possible, match it to your chuck. You do not want to endanger the chuck drill gear.
If you have a collection of drills with various chuck sizes, you should consider purchasing one of those numerous chuck keys. They are available in multiple sizes to accommodate a variety of chucks.
I particularly enjoy this model because it includes a magnet in the centre, preventing it from being lost easily.
Additionally, you might consider upgrading to a keyless drill chuck. I would not consider this a viable solution (a chuck key is significantly less valuable than a keyless chuck), but I heard others doing so and felt compelled to inform you.
Again, ensure that you purchase the correct chuck size. Additionally, if you own an older drill or drill press, you may not locate a keyless chuck that fits your machine.
How to Use a Keyless Chuck?
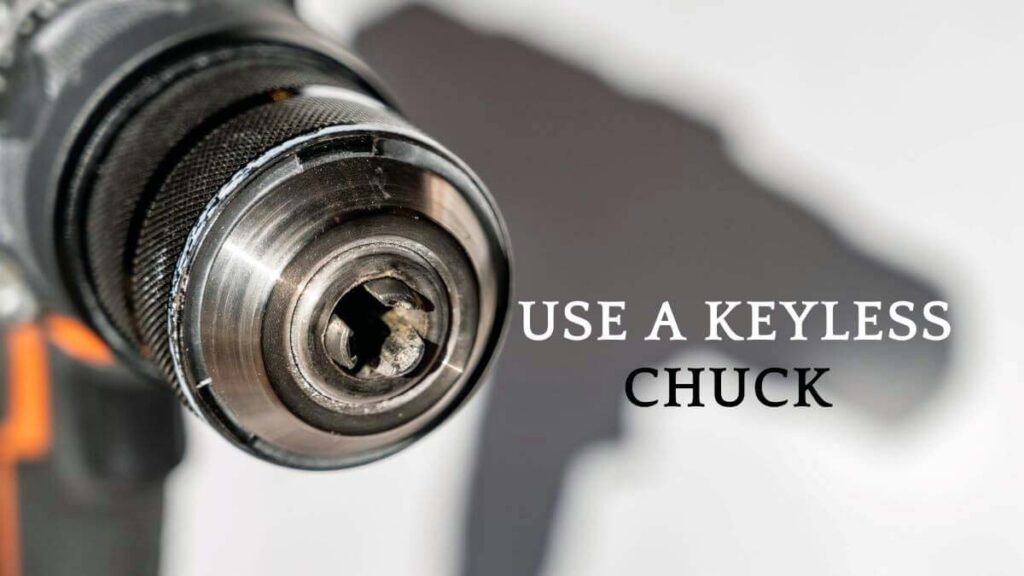
Some chucks are keyless. What can you do? These are among the simplest to open. Keyless chucks have two pieces that can be opened by hand.
To open it, simply reverse the rotation. Some keyless chucks even contain printed instructions on how to turn them. The bit easily comes out when you unlock it, and you may replace it.
Installing a new chuck is the same, only you reverse the chuck.
Are These Processes Safe?
Both approaches are safe for your drill and chuck. Some may believe the chuck drill can be destroyed. But this method of removing drill bits has been utilized for years with no significant issues.
Unless you make a significant mistake, you should be fine. You can use a strap wrench as an added precaution. Function well without a key to loosen the drill bit.
Thus, after reading this post, you should be able to change your drill bit even without your favourite chuck key. I showed a handful of options that necessitated using tools that you should already have.
If you’re concerned about destroying your drill chuck, you should definitely get a replacement chuck key that matches. However, if you are pressed for time to complete your current project, your drill will function normally even if you use a pair of pliers on it.
I’ve been doing it for years since I borrowed a friend’s chuck key and never returned it (yeah, you read that correctly).
Finally, whenever you must grasp drill bits firmly, you should always use gloves or wrap your hands in something to prevent slashing your hand. I realize I’m being picky, but I once cut my palm doing this, and I’d like to avoid any nasty surprises.
Additionally, (this is the last one, I promise). After installing your new bit, always double-check that the drill bit is positioned correctly. Always rotate the drill a few times before beginning work to check for irregularities. This will help you avoid several mishaps.

Hey, I am Shihab Uddin, I’m a huge fan of DIY crafts. My workshop is where I spend most of my spare time, and I’m always working on some project. To that end, I’d like to share some of my knowledge and experience with you in power tools, woodworking, and other specialized materials fabrication.
I will guide you with genuine knowledge that can assist you with deciding whether a drill is appropriate according to your requirements or not. If you want to find the best drill and know which type of drill is most suited for your needs, then I can guide you with my expertise. My passion lies in helping others find the correct products they need at an affordable price.
