

Chuck is a universal drill press adapter that makes it easy to use your drill press for faster and easier drilling. Chuck’s unique design makes it so you can quickly get to work on projects with your drill press, and its threaded rod provides stability for even the most stubborn of screws.
With so many drill presses on the market, it can be hard to know which chuck to install. That’s where this guide comes in! We’ll show you how to install a chuck on your drill press like a pro, using the easiest and safest methods.
Table of Contents
What is a Chuck?
A chuck is a tool that allows you to hold your drill bit securely while you’re drilling. It’s essential for accurate drilling, and you need to install a chuck on your drill press if you want to use it.
What are the Different Types of Chucks?
There are two types of chucks – internal and external.
Internal chucks are the easiest to install, and they’re located on the drill press itself.
External chucks are a bit more complicated, and they require you to use special tools to install them. Most drill presses come with at least one external chuck, but you may also need a chuck key (available at most hardware stores) to install them.
How to Install a Chuck on Your Drill Press?
Here are the Five easiest methods:
Methods 1: Use the Chuck Key
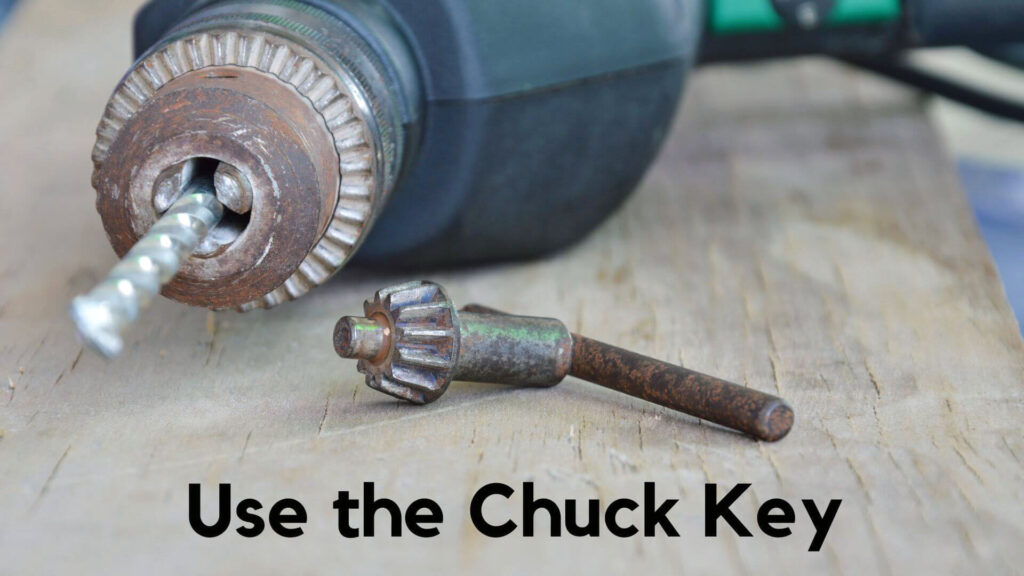
If your drill press comes with a chuck key, use it to install the chuck. This is the easiest method, but it requires some additional preparation.
First, ensure the chuck is positioned correctly on the Drill Press by aligning its hole with the hole on the Drill Press shaft.
Tighten down the Nut until it’s snug. Do not over-tighten as this can damage the Chuck or Drill Press.
Methods 2: Use a Drill Bit Holder
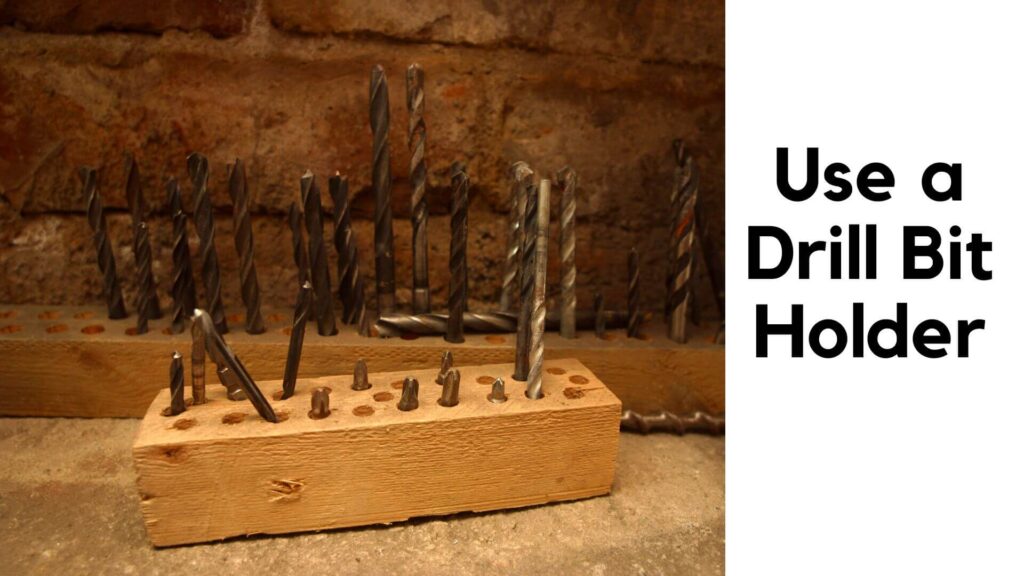
If your drill press doesn’t have a chuck key, you can use a drill bit holder to install the chuck. This method is more straightforward than a Chuck Key but requires additional preparation.
First, ensure the Chuck is positioned correctly on the Drill Press by aligning its hole with the hole on the Drill Press shaft.
Next, insert the drill bit into the chuck and tighten down its Nut using your fingers. Be careful not to over-tighten as this can damage the Chuck or Drill Press.
Methods 3: Use an Allen Wrench
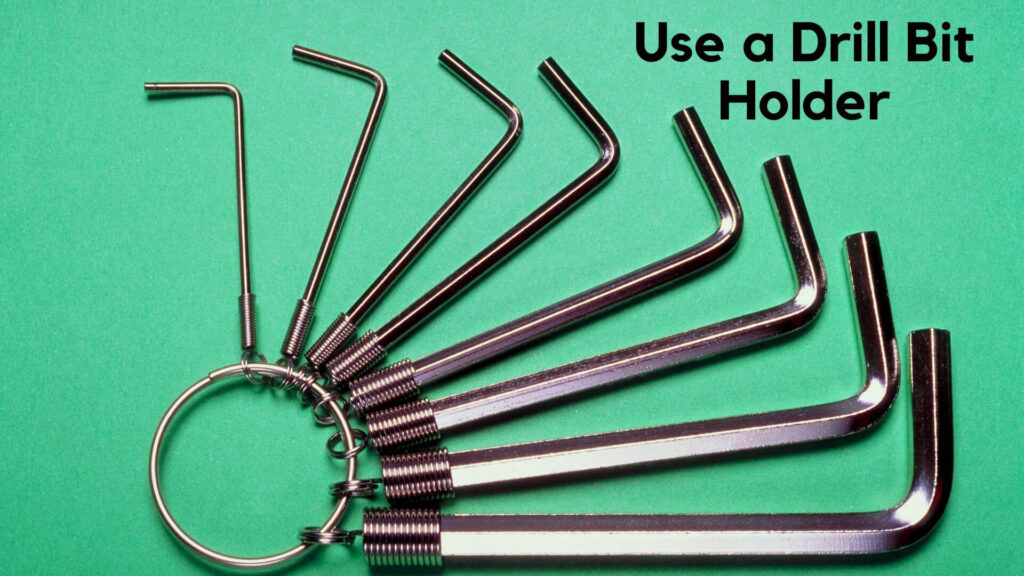
If your drill press doesn’t have a drill bit holder or a chuck key, you can use an Allen wrench to install the chuck.
This method is more complicated than using either of those two options, but it’s easier than using a Chuck Key or a drill bit holder.
First, remove the old chuck by unscrewing its Nut using an Allen wrench. Then, insert the new chuck by screwing it onto the Drill Press shaft until it’s snug. Be careful not to over-tighten as this can damage either tool.
Methods 4: Reattach the chuck’s cover.
The chuck on your drill press can be a handy addition and a pain to install. Here are some tips for reattaching the chuck’s cover:
1. Remove the chuck by loosening its four screws and lifting it off the spindle.
2. If the chuck has a cover, remove it by pressing down on one end and pulling it off of the chuck.
3. Align the holes in the cover with those in the chuck and screw it back using your screws.
4. Replace any lost Allen screws or washers.
Methods 5: Enjoy your newly installed chuck!
Installing a chuck on your drill press can be a very beneficial addition to your workshop. By holding different size bits, you’ll be able to quickly and easily make precise adjustments while drilling. There are a few things you’ll need to install the chuck:
- A drill press with a chuck slot
- Chuck jaws (or another type of holder that accepts the chuck)
- A screwdriver
Once you’ve gathered all of the necessary items, the installation process is simple.
First, locate the chuck slot on your drill press. This can often be found near the bottom of the machine or on one of its side plates.
Next, use the screwdriver to remove any existing jaws from this slot. Keep track of which jaw goes where you will need it again later. Once both jaws have been removed, secure them with the screwdriver by inserting and turning them until it locks into place.
Finally, reattach the chuck using its included screws and bolts. Congratulations! You have now installed your new chuck!
Check Also: How To Change A Drill Bit Without A Chuck Key
What Type of Drill Press Do I Need a Chuck for?
If you are looking to drill with a bit larger than the chuck of your drill press can handle, you will need to install a chuck on your drill press. Chucks come in various sizes and types, depending on your power tool.
- Standard chucks include collets.
- Fixed chucks.
- Universal chucks.
- Torque converters.
Before buying or installing a chuck on your drill press, you must determine what type of chuck you need. Chuck types include collet chucks, fixed chucks, and universal chucks.
Collet chucks require a bit smaller than the hole in the chuck that will fit so that the bit can rotate freely inside the chuck.
Fixed chucks are holes in a metal plate that hold bits securely and do not rotate.
Universal chucks are more expensive than fixed chucks because they have one spot that fits most bits but extensions that allow different-sized bits to be used.
Torque converters are unique in that they allow for different speeds of rotation between the chuck and the tool used so that stubborn screws or bolts can be quickly removed without using a wrench.
Once you have determined what type of chuck you need, it is time to purchase it. Chucks can be purchased individually or in sets.
Sets often include a variety of different-sized chucks so that you can always have the right one for your project. Chucks are also available in a variety of colors so that they will visually match your drill press.
Once you have purchased and installed your chuck, it is time to learn how to use it. In following tips will help you get started:
When using a Chuck: Always use the correct bit size for the chuck. When installing a Chuck onto the Drill Press, ensure the Chuck is positioned correctly on the Drill Press by aligning its hole with the hole on the Drill Press shaft. Tighten down the Nut until it’s snug. Do not over-tighten as this can damage the Chuck or Drill Press.
When using a Chuck on Your Project: Always grip the Bit firmly while turning the Chuck with your other hand by twisting it clockwise or counterclockwise, depending on which direction you want to spin the Bit. Be careful not to let go of the Bit with one hand while gripping it with another.
Read More: How To Wire A Drill Press Switch Without A Wiring Diagram
What are the materials needed to install chuck on the drill press?
- Chuck
- Drill press
- Center punch
- Hammer
- Center drill
What is the process of installing a new chuck on the drill press?
- First, loosen the chuck on the drill press by turning it counterclockwise.
- Remove the chuck from the drill press.
- Replace the chuck and tighten it by turning it in a clockwise direction.
What is a necessary safety precaution for installing a new chuck on the drill press?
It is essential to ensure that the new chuck is larger than the old one.
Last Thoughts
Congratulations! You have now installed your Chuck on Drill Press! Don’t forget to check out our blog for more helpful tips and tricks. Keep safety in mind when working with your drill press until next time, and stay safe while drilling!

Hey, I am Shihab Uddin, I’m a huge fan of DIY crafts. My workshop is where I spend most of my spare time, and I’m always working on some project. To that end, I’d like to share some of my knowledge and experience with you in power tools, woodworking, and other specialized materials fabrication.
I will guide you with genuine knowledge that can assist you with deciding whether a drill is appropriate according to your requirements or not. If you want to find the best drill and know which type of drill is most suited for your needs, then I can guide you with my expertise. My passion lies in helping others find the correct products they need at an affordable price.
