Glass bottles can be upcycled into beautiful home décor items, such as lamps, vases, or candle holders. Drilling holes in glass bottles can open up a whole new world of creativity, allowing you to transform old bottles into unique pieces of art. However, glass is a fragile material, and drilling through it requires a specific approach to avoid cracks or breakage.
This comprehensive guide will walk you through everything you need to know about drilling glass bottles at home, from selecting the right tools to executing the perfect drill.
Table of Contents
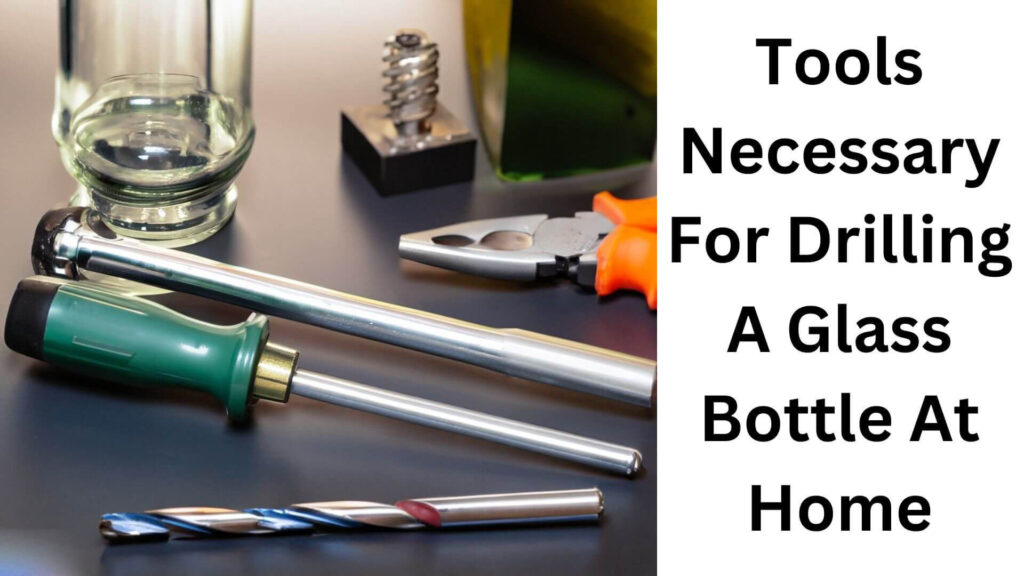
Tools And Materials Required

Before you begin the drilling process, it’s essential to have all the necessary tools and materials ready to ensure a smooth and safe operation.
Tools:
- Electric Drill: A variable-speed drill is recommended for this task as it allows you to control the speed, which is critical when working with glass.
- Drill Bits: You will need specialized drill bits designed for glass, such as diamond-tipped or carbide-tipped drill bits (discussed in more detail below).
- Clamp or Bottle Holder: A vice or a bottle holder will help secure the glass bottle while you work, reducing the risk of slipping.
- Spray Bottle of Water: Keeping the drill bit cool is vital to prevent overheating and potential cracking of the glass.
- Marker or Tape: To mark the spot where you intend to drill and prevent the bit from slipping.
Materials:
- Glass Bottle: Any glass bottle can be drilled, but thicker glass will generally be more forgiving.
- Masking Tape: Placing masking tape over the drilling spot helps to create friction and stabilize the drill bit.
Check Also: Drill Your Way to Perfection: Unveiling the Ultimate Home Companion!
Detailing The Different Types Of Drill Bits To Use
Choosing the right drill bit is one of the most important steps in the process. Using improper bits can lead to shattered glass, frustration, and wasted materials.
1. Diamond-Tipped Drill Bits
Diamond-tipped drill bits are the best choice for drilling glass because they are designed to cut through hard materials smoothly. The fine particles of diamond embedded in the tip allow for precision without causing excessive pressure that can lead to cracking.
2. Carbide-Tipped Drill Bits
While not as efficient as diamond bits, carbide-tipped drill bits are another viable option for glass drilling. They’re capable of cutting through the material but are better suited for softer types of glass.
3. Core Drill Bits
Core drill bits are hollow in the middle and are often used for making larger holes in glass. These bits are especially useful if you need to pass a wire or tubing through the bottle.
Regardless of the bit you choose, ensure that it’s specifically designed for glass or tile. Standard metal or wood drill bits will not work and could shatter the bottle.
Safety Gear Required For The Process
Working with glass involves certain risks, especially when drilling. Wearing appropriate safety gear is crucial to protect yourself from accidents or injuries.
Hearing Protection: Using a drill, especially over extended periods, can produce loud noises. Ear protection may be necessary if you’re working in a confined space.
Safety Glasses: Glass can chip or crack while drilling, so safety glasses will protect your eyes from flying shards.
Protective Gloves: Although glass is smooth, it can become sharp when drilled. Wearing gloves will help protect your hands.
Dust Mask: Drilling glass can create fine dust, which can be harmful if inhaled. A dust mask will keep you safe from any airborne particles.
How Do you Preparing The Glass Bottle?
Before jumping into drilling, preparing the glass bottle is essential. Proper preparation can make the process easier and reduce the risk of cracks.
Step 1: Clean the Bottle
Wash the bottle thoroughly to remove any dust, labels, or debris. Any residue on the glass can interfere with the drilling process.
Step 2: Mark the Drilling Spot
Determine where you want the hole in the glass bottle. Use a marker or tape to mark the exact spot. This will act as a guide for drilling.
Step 3: Apply Masking Tape
Place a piece of masking tape over the drilling area. This helps prevent the drill bit from slipping and provides extra friction to grip the glass better.
Step 4: Secure the Bottle
Using a clamp, bottle holder, or vice, secure the glass bottle firmly in place. The bottle should be stable but not too tight, as applying too much pressure can crack the glass.
Check Also: How to Drill a Pearl at Home?
How to Drilling The Glass Bottle
Step-By-Step Instructions On How To Drill The Glass Bottle At Home
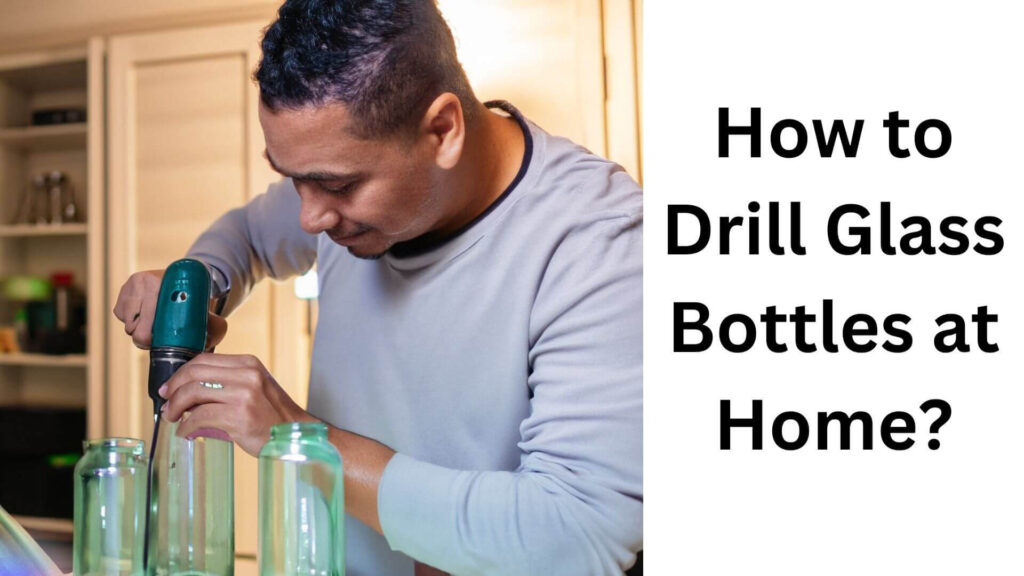
Now that your bottle is prepared, it’s time to begin drilling. Follow these detailed instructions to drill glass safely and effectively:
Step 1: Start with a Low Speed
Attach the diamond-tipped drill bit to your electric drill. Set the drill to a low speed. Starting slowly is important to avoid exerting too much force on the glass and to reduce the chance of the bit slipping.
Step 2: Drill at an Angle
Begin drilling at a slight angle (around 45 degrees) to help the drill bit grip the glass better. Once the bit makes a small indentation, straighten the drill to a 90-degree angle and continue drilling.
Step 3: Apply Gentle Pressure
While drilling, apply gentle, consistent pressure. Let the drill do the work—forcing it through the glass can cause cracks. Periodically stop drilling to check your progress.
Step 4: Keep the Drill Bit Cool
It’s important to keep the drill bit cool during the process. Use a spray bottle to regularly spray water onto the drilling area. This reduces friction and helps prevent the glass from overheating and breaking.
Step 5: Drill Through the Glass
Continue drilling until you’ve penetrated through the other side of the glass. If you’re drilling all the way through the bottle, be cautious as you approach the other side to avoid chipping or splintering.
Common Mistakes To Avoid While Drilling
Mistakes during the drilling process can lead to broken bottles or imperfect holes. Here are some common mistakes and how to avoid them:
1. Applying Too Much Pressure
Pressing down too hard can cause the glass to crack. Always use light, even pressure and let the drill bit do the work.
2. Not Keeping the Drill Bit Cool
If you fail to cool the drill bit, friction will build up, increasing the risk of the glass cracking. Always spray water or use a cooling lubricant during the process.
3. Using the Wrong Drill Bit
Using bits designed for wood or metal will damage the glass. Ensure you are using a diamond or carbide-tipped drill bit specifically made for glass.
Tips For Maintaining The Glass Integrity During The Process
Maintaining the structural integrity of the glass bottle is crucial to avoid breakage. Here are a few tips:
Avoid Heat: Friction causes heat, and heat is one of the primary causes of glass breaking. Keeping the drill bit cool with water will prevent overheating.
Go Slow: Speed is your enemy when drilling glass. Always work at low speeds and be patient.
Check the Bottle for Cracks: Before you begin, inspect the bottle for any existing cracks or weak spots. Drilling near these areas can cause the bottle to shatter.
Read More: How to Drill into Brick Wall at Home
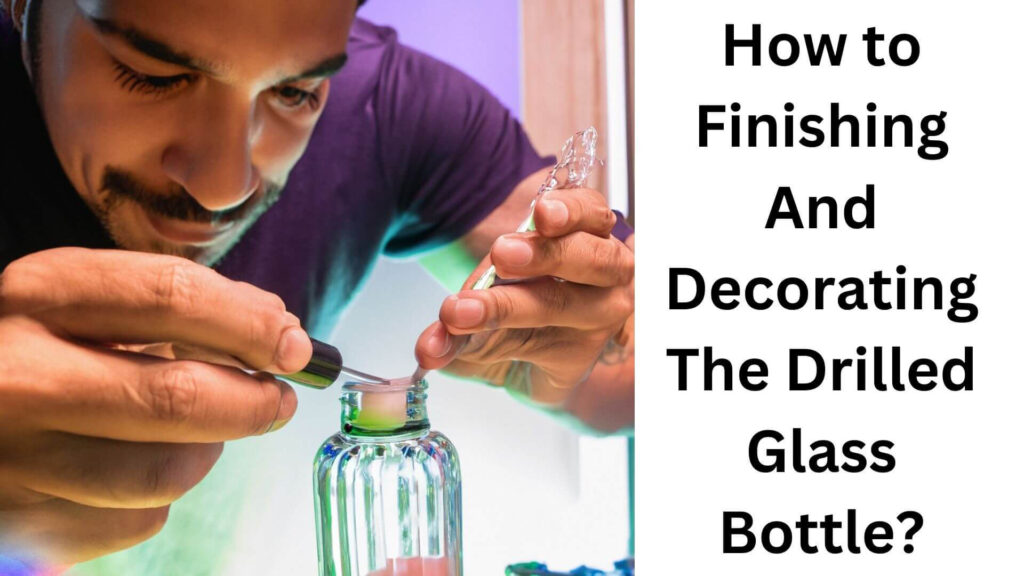
How to Finishing And Decorating The Drilled Glass Bottle?

Once you’ve successfully drilled your hole, you may want to finish and decorate the bottle to enhance its appearance.
Step 1: Smooth the Edges
The edges of the hole may be rough after drilling. Use a fine-grit sandpaper or a glass file to smooth them out and prevent any sharp edges.
Step 2: Clean the Bottle
After drilling, rinse the bottle again to remove any glass dust or debris.
Step 3: Add Decorations
Now that your bottle is drilled, you can begin decorating! Whether you plan to use the bottle as a lamp, vase, or candle holder, you can personalize it by painting it, adding lights, or wrapping it with decorative wire.
Read More: What Drill Should I Buy for Home Use?
Frequently Asked Questions Of How To Drill Glass Bottles At Home
1. Can I use a regular drill to drill through glass?
Yes, you can use a regular drill, but you need to ensure that it’s fitted with a diamond or carbide-tipped drill bit specifically designed for glass.
2. How do I prevent the glass from cracking while drilling?
To prevent cracking, always work slowly, apply gentle pressure, and regularly cool the drill bit with water.
3. What is the best type of drill bit for glass?
Diamond-tipped drill bits are the best for drilling glass because they cut through hard materials smoothly without excessive force.
4. Can I drill a hole in a glass bottle without water?
While it’s technically possible, drilling without water increases the risk of the glass overheating and cracking. Water cools the bit and reduces friction.
5. How thick should the glass be for safe drilling?
Thicker glass is generally more forgiving and less likely to crack than thin glass. If possible, choose bottles with thicker walls for safer drilling.
Final Remarks
Drilling glass bottles at home can be a fun and creative project that allows you to repurpose old bottles into stunning décor items. However, it’s important to approach the task with care, using the right tools, safety precautions, and techniques. By following the steps and tips outlined in this guide, you’ll be able to successfully drill glass bottles without breaking or damaging them, opening the door to a variety of exciting DIY projects.

Hey, I am MD Hrithik Hossain, I’m a huge fan of DIY crafts. My workshop is where I spend most of my spare time, and I’m always working on some project. To that end, I’d like to share some of my knowledge and experience with you in power tools, woodworking, and other specialized materials fabrication.
I will guide you with genuine knowledge that can assist you with deciding whether a drill is appropriate according to your requirements or not. If you want to find the best drill and know which type of drill is most suited for your needs, then I can guide you with my expertise. My passion lies in helping others find the correct products they need at an affordable price.


