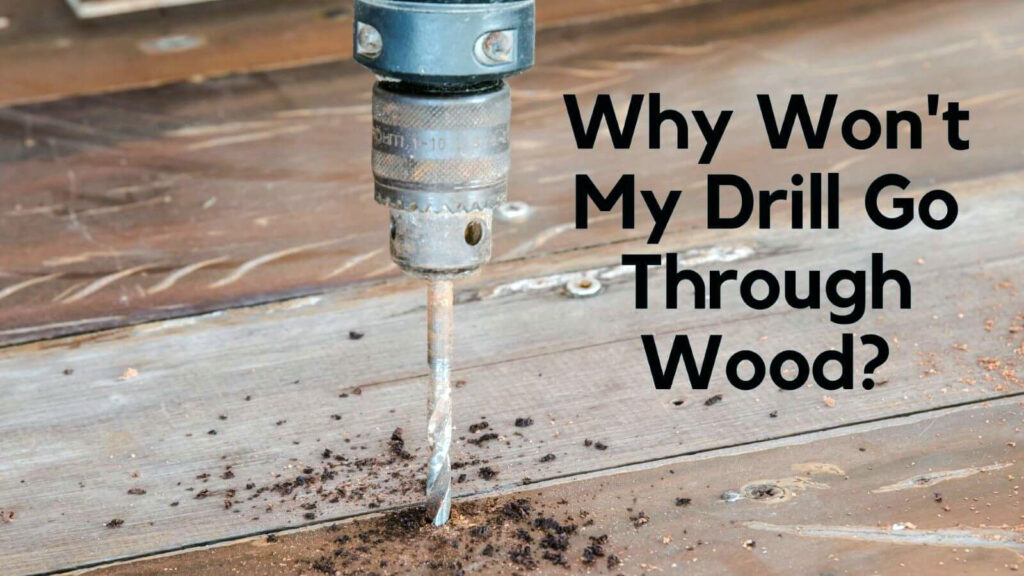
One of the most frustrating experiences during a woodworking project is when your drill simply refuses to penetrate the wood. Whether you’re a beginner or an experienced woodworker, encountering this issue can derail your project. Fortunately, there are several common reasons why your drill won’t go through wood, and with a few easy tips, you can solve the problem and get back on track.
In this blog post, we’ll go over the causes of this issue and provide you with five practical tips to fix it. Additionally, we’ll help you choose the right drill and drill bit for your woodworking projects to prevent this problem from happening in the future.
Table of Contents
What Causes a Drill to Stop Working Through Wood?
Before diving into the solutions, it’s essential to understand the possible reasons your drill won’t go through wood. There are several common culprits:
- Dull Drill Bit: A worn-out or dull drill bit is one of the most frequent causes. A dull bit can’t cut through the wood fibers properly, causing resistance.
- Incorrect Drill Bit Type: Not all drill bits are designed for woodworking. Using a bit made for metal or masonry will make drilling through wood difficult.
- Low Power or Torque: If your drill doesn’t have enough power, it may not be able to generate the force needed to cut through wood.
- Loose Chuck: The chuck, which holds the drill bit in place, might be loose, causing the bit to slip or spin ineffectively.
- Wood Density: Some types of hardwoods, like oak or maple, are denser than others, requiring more torque and the correct bit to penetrate.
How to Fix a Drill That Won’t Go Through Wood
Let’s move on to some practical steps to fix the issue. These steps will address the most common reasons why your drill may not be working through wood.
Step 1: Remove the Bit from the Drill
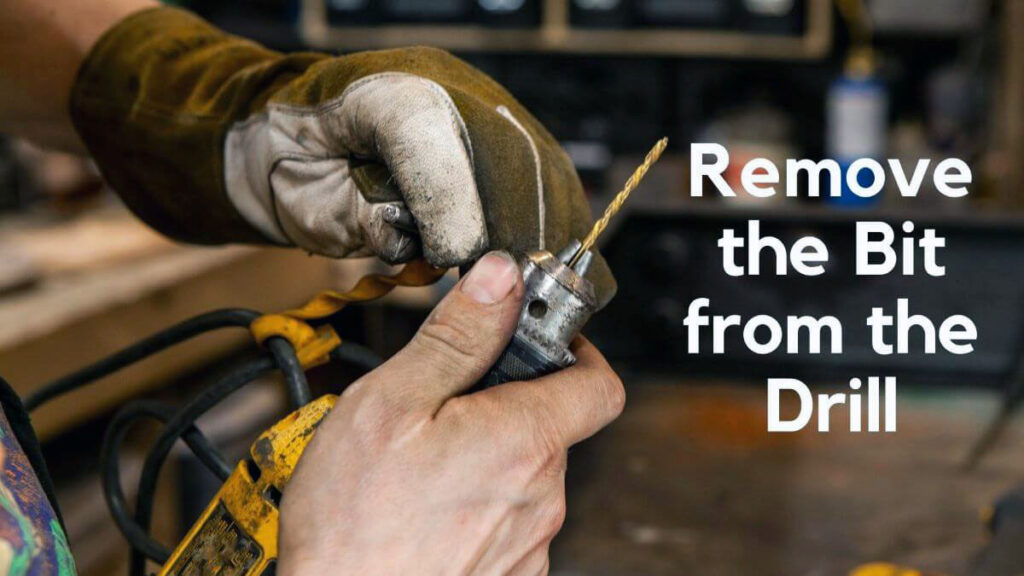
Start by removing the drill bit from the chuck. This allows you to inspect the bit for signs of wear and tear. If the bit appears dull, chipped, or worn out, it’s likely the culprit. You’ll need to either sharpen the bit (if applicable) or replace it with a new one.
Step 2: Clean the Drill Bit
If the drill bit is still in good condition, clean it thoroughly. Sometimes, wood shavings, resin, or debris can accumulate on the bit, reducing its cutting efficiency. Use a wire brush or a bit of sandpaper to clean the bit and remove any buildup.
Step 3: Tighten the Screws on the Chuck
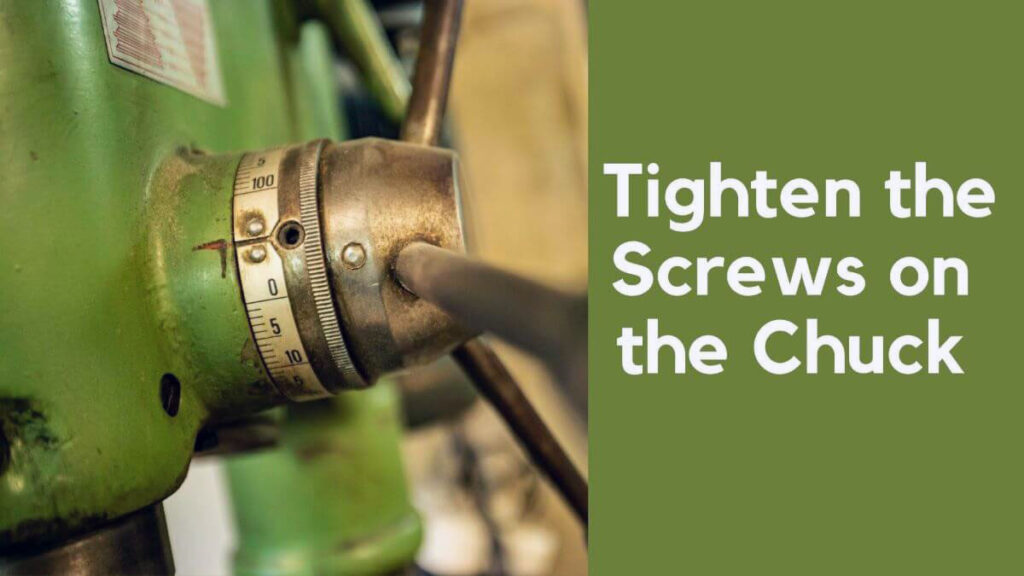
A loose chuck can cause the drill bit to slip and spin without making proper contact with the wood. Ensure that the chuck is securely tightened around the bit. Most drills have a keyless chuck that you can tighten by hand, while others require a chuck key for tightening.
Step 4: Insert the Drill Bit into the Wood
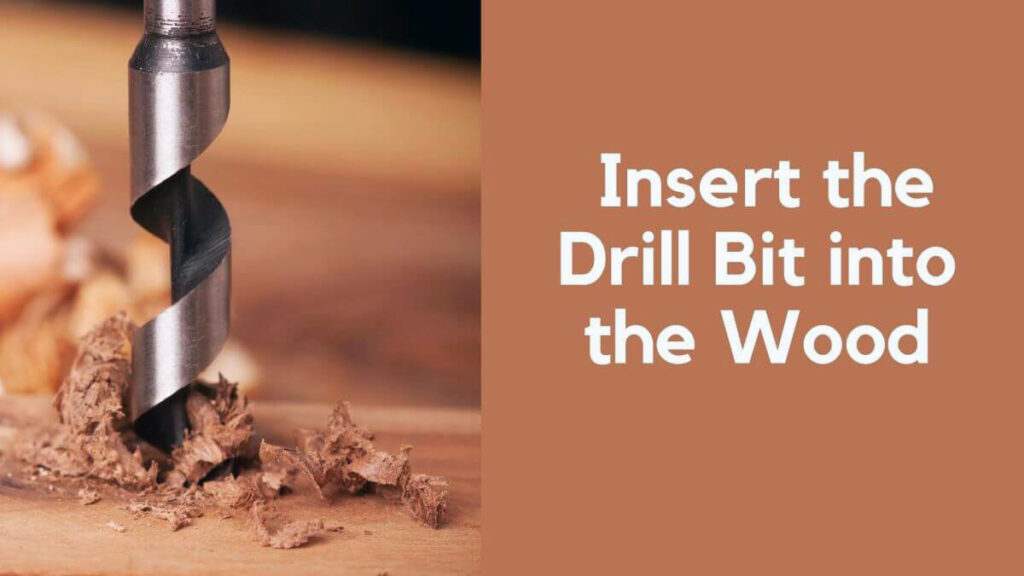
Now that your drill bit is clean and the chuck is secure, place the drill bit where you want to make the hole. Make sure you’re applying steady pressure on the drill and that the drill bit is perpendicular to the surface of the wood.
Step 5: Turn the Drill on
Turn on the drill and begin drilling into the wood. If the drill still struggles, check the speed settings. For most woodworking projects, a medium speed is sufficient. Lower speeds may not generate enough torque, while excessively high speeds can cause overheating and burning of the wood.
How to Choose Which Drill is Suitable for Your Woodworking Projects
When selecting a drill for woodworking, consider both the power and features you’ll need for your projects. Here are the key factors to keep in mind:
Ergonomics and Comfort: Since you’ll be handling the drill for long periods, choose one that is comfortable to hold, lightweight, and well-balanced.
Power (Voltage): Cordless drills typically range from 12V to 20V, with higher voltage drills providing more power. If you frequently work with hardwoods, consider a drill with higher torque and power.
Speed Settings: Look for a drill that offers variable speed control. For woodworking, medium speeds work best, so having the option to adjust speed is a bonus.
Chuck Size: A 3/8-inch chuck size is usually sufficient for most woodworking projects. However, for larger bits, a 1/2-inch chuck may be necessary.
Which Drill Bit Should I Use Go Through Wood
Using the correct drill bit is essential for drilling through wood. Here are some of the best options for woodworking:
- Twist Drill Bits: These are general-purpose bits that work well for softwoods and most common types of wood. They are readily available and affordable.
- Brad Point Bits: Specifically designed for woodworking, these bits have a pointed tip that makes it easier to start holes without slipping.
- Spade Bits: Ideal for creating larger, rough holes in wood. These bits work well for boring holes for pipes or wires.
- Forstner Bits: These bits are used for drilling flat-bottomed holes or when you need a clean finish. They’re commonly used for furniture-making or cabinetry.
- Hole Saw Bits: Used for cutting large-diameter holes, such as those needed for plumbing or electrical work.
Always ensure that your drill bit is sharp and appropriate for the type of wood you are working with to avoid unnecessary wear or damage to the material.
What is the Best Drill for Woodworking?
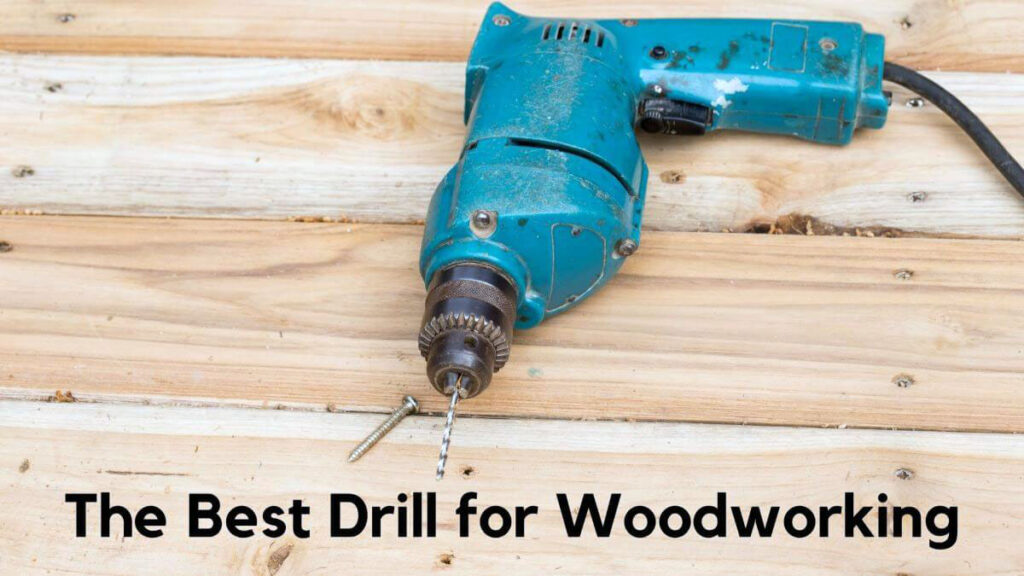
For woodworking, a cordless drill with variable speed settings is often the best choice. Cordless drills offer flexibility, mobility, and are usually lightweight, making them easier to handle during woodworking tasks. Popular brands such as DeWalt, Makita, and Bosch offer reliable cordless drills suitable for various woodworking projects. Features to look for include:
- Variable Speed Control: This allows you to adjust the drilling speed based on the type of wood and bit.
- High Torque: This is especially important if you work with hardwoods like oak or maple.
- Battery Life: If you choose a cordless drill, make sure the battery has a long life, or consider buying an extra battery for longer tasks.
Why Won’t My Other Tools Go Through Wood?
If you’re experiencing issues with other tools not working through wood, it could be for similar reasons. Dull blades, inadequate power, or incorrect tool selection can lead to difficulties when working with wood. For instance, a saw with a dull blade won’t cut efficiently, and using the wrong type of sandpaper won’t smooth wood properly.
Always ensure your tools are sharp, properly maintained, and designed for woodworking to achieve the best results.
FAQs On Why Won’t My Drill Go Through Wood
What should I do if my drill won’t go through the wood?
Check the condition of your drill bit and ensure it’s the correct type for woodworking. Clean the bit, tighten the chuck, and ensure you are applying enough pressure when drilling.
How long does it take to drill a hole in the wood with a drill?
It depends on the thickness and density of the wood, as well as the size of the hole. Drilling a hole in softwood can take just a few seconds, while hardwood or large-diameter holes may take longer.
Why does my drill stop when I try to drill into wood?
Your drill may stop due to a dull bit, insufficient power, or if the torque setting is too low. Try cleaning or replacing the bit, adjusting the settings, or using a more powerful drill.
Is there anything I can do to make my drill go through the wood easier?
Yes! Ensure you are using a sharp, appropriate drill bit, and set the correct speed and torque settings for the material. Keeping the drill bit clean and lubricated can also help.
Last Word
Drilling through wood is an essential part of many woodworking projects, but encountering problems like a drill not going through the wood can be frustrating. By following the tips in this guide—such as cleaning and sharpening the drill bit, tightening the chuck, and using the correct drill and drill bit for your project—you’ll be able to fix these issues and continue with your work smoothly. Regular maintenance and understanding how to select the right tools for your projects are key to avoiding these setbacks in the future.
Happy drilling!

Hey, I am MD Hrithik Hossain, I’m a huge fan of DIY crafts. My workshop is where I spend most of my spare time, and I’m always working on some project. To that end, I’d like to share some of my knowledge and experience with you in power tools, woodworking, and other specialized materials fabrication.
I will guide you with genuine knowledge that can assist you with deciding whether a drill is appropriate according to your requirements or not. If you want to find the best drill and know which type of drill is most suited for your needs, then I can guide you with my expertise. My passion lies in helping others find the correct products they need at an affordable price.

