
Are you a DIY enthusiast who needs a budget-friendly way to add a benchtop drill press to your home woodworking shop? Converting your floor drill press can be a perfect solution if you want to save space. But how?
The answer is: Remove the column and mounting post to convert a floor drill press into a benchtop. Then, drill holes into the base and use bolts to secure it to the workbench.
This project allows you to turn your existing machine into a benchtop unit by creating a stable and secure base that fits on your workbench.
In this article, I’ll walk you through the steps you need to follow, from the tools and materials you’ll need to convert a floor drill press into a benchtop.
Table of Contents
Tools And Materials Required
Converting a floor drill press to a benchtop drill press is simple and cost-effective. With a few essential tools and materials, you can create a more compact and versatile drilling machine that will help you save space in your workshop.
In this section, I will discuss the necessary tools and materials for the conversion process, explaining briefly the function of each one.
I will also provide tips for sourcing affordable supplies and emphasize the importance of using quality materials.
Read More: Floor Standing Drill Press Review: Top Picks and Expert Analysis
List Of Necessary Tools And Materials For The Conversion Process
To convert your floor drill press into a benchtop drill press, you will need the following tools and materials:
- Drill press vice: A vice is a clamping tool that holds the workpiece in place while drilling. A drill press vice is a specialized type designed to fit onto the drill press table and has the workpiece securely.
- Tabletop: A tabletop creates a flat, stable work surface on top of the drill press. You can use a piece of MDF or plywood as the tabletop.
- Bolts and nuts: You will need bolts and nuts of the appropriate size to securely attach the drill press to the tabletop.
- Drill bits: You will need drill bits of various sizes to drill holes in the workpiece.
- Wrench set: Wrenches of different sizes will be necessary to tighten and loosen bolts and nuts.
- Screwdriver set: A set of screwdrivers of different sizes will help attach and detach parts of the drill press.
- Safety glasses: Safety glasses are a vital accessory that protects your eyes from flying debris while drilling.
Brief Explanation Of Each Tool And Material
- Drill press vice: A drill press vise is an essential attachment for any drill press. This attachment is designed to fit onto the drill press table, making it an ideal addition to a benchtop drill press. It holds the workpiece securely in place, ensuring accuracy and precision while drilling.
- Tabletop: A tabletop is required to create a flat, stable work surface on top of the drill press. A flat surface is necessary for accurate drilling, and stability is crucial for safety. You can make a tabletop from a piece of MDF or plywood of a suitable size.
- Bolts and nuts: Bolts and nuts are necessary to securely attach the drill press to the tabletop. Choose bolts and nuts of the appropriate size and strength to ensure the drill press stays in place.
- Drill bits: Drill bits are required to drill holes in the workpiece. Different sizes of drill bits will be necessary to make holes of varying diameters. Ensure you have a set of drill bits of varying sizes to cater to different drilling needs.
- Wrench set: Wrenches of varying sizes will be necessary to tighten and loosen bolts and nuts while attaching and detaching parts of the drill press.
- Screwdriver set: A set of screwdrivers of varying sizes will be helpful while attaching and detaching parts of the drill press. It will be necessary to use a screwdriver to remove the drill press’s column from the base to enable conversion to a benchtop drill press.
- Safety glasses: Safety glasses are essential accessories that protect your eyes from flying debris while drilling. It is vital to wear safety glasses while working with a drill press to prevent eye injuries.
Tips For Sourcing Affordable Supplies
- Look for deals online: E-commerce websites like Amazon, eBay, and Craigslist often have sales on drill press accessories. Shopping online allows comparing prices and choosing the most affordable option. Here are some tips for sourcing cheap supplies:
- Check local hardware stores: Local hardware stores may offer discounts on drill press accessories. Contact your local hardware store for discounts and deals on drill press accessories.
- Visit garage sales: Garage sales are a great way to find affordable drill press accessories. Check your neighborhood for garage sales and look for drill press accessories that may be on sale.
- Use coupons: Some drill press accessory companies offer coupons and promo codes that customers can use to save money on purchases. Look for these coupons online or ask the store for deals.
Importance Of Quality Materials
When converting your drill press to a benchtop drill press, it is vital to use quality materials. Using low-quality materials can result in accidents, machine failure, and poor drilling results.
- Safety: Quality materials ensure the drill press remains stable and secure during use, minimizing the risk of accidents.
- Durability: High-quality materials are durable, ensuring the benchtop drill press lasts long.
- Accuracy: High-quality materials enable the drill press to work accurately and efficiently, improving drilling results.
Converting a floor drill press to a benchtop drill press is an excellent way to save space and improve the versatility of your workshop. The process requires a few essential tools and materials that are affordable and easy to find.
Using quality materials is crucial for safety, durability, and accuracy. Following the guidelines in this section, you can have a functional and efficient benchtop drill press in no time.
Step-By-Step Conversion Process
Do you want to avoid having a bulky floor drill press in your workspace that takes up a valuable room? Consider converting it into a benchtop version, which is more compact and convenient.
I will guide you through converting a floor drill press into a benchtop version, including creating a base, attaching the drill press, and reassembling it.
So, let’s get started with the first step.
Detailed Instructions For Disassembling The Floor Drill Press:
The first step in converting your floor drill press into a benchtop version is dismantling it.
- Unplug the drill press from the outlet and remove the motor cover (if present).
- Using a ratchet wrench, loosen the bolts that secure the drill press to the stand.
- Carefully remove the drill press from the stand and set it aside.
- Use a wrench to loosen and remove the drill chuck from the spindle.
- Remove the table and the fence from the column of the drill press.
- Keep all the bolts, washers, and nuts securely in a container to avoid losing them.
Explanation Of How To Create A Base For The Benchtop Conversion:

The next step is to create a solid base for attaching the drill press.
- Measure the footprint of the drill press and mark the dimensions on a piece of plywood.
- Cut the plywood using a circular saw or a jigsaw, according to the measurements.
- Sand the edges of the plywood to smooth them out.
- Cut four pieces of 2×4 lumber to 12 inches each, and screw them to the plywood’s corners using wood screws to make a frame.
- Cut four more pieces of lumber to 18 inches to fit inside the frame, and attach them using wood screws to reinforce the structure.
- Paint the base with a coat of varnish to protect it against moisture and wear.
Explanation Of How To Attach The Drill Press To The Benchtop:
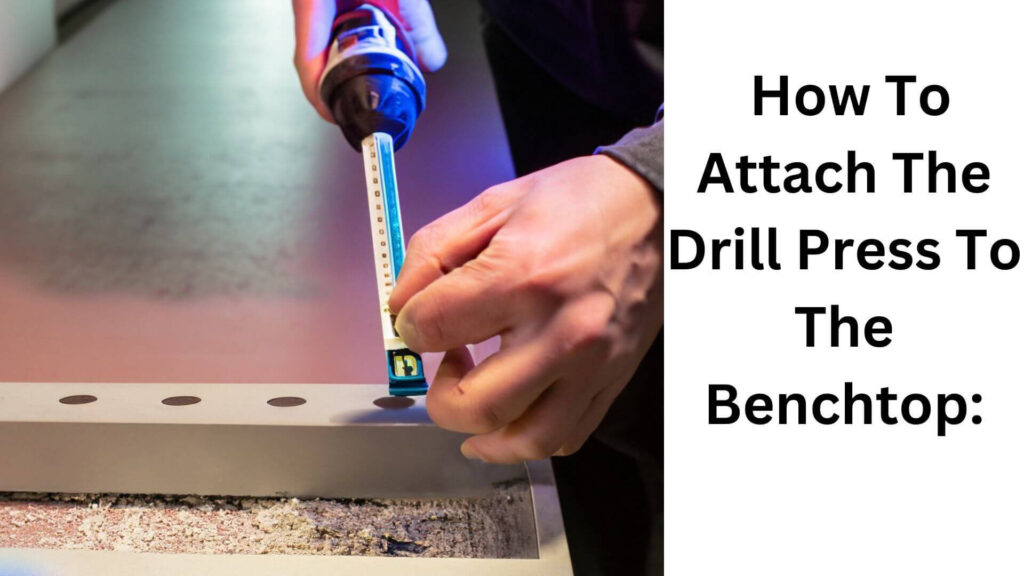
The next step is to fix the drill press to the base securely.
- Center the drill press onto the plywood base, and mark the locations of the mounting holes using a marker.
- Drill the holes into the base using a 1/4-inch drill bit.
- Apply a layer of epoxy glue to the base and place the drill press on it, aligning the holes.
- Securely bolt the drill press to the plywood base using washers and nuts.
Explanation Of How To Attach The Motor And Pulley System:
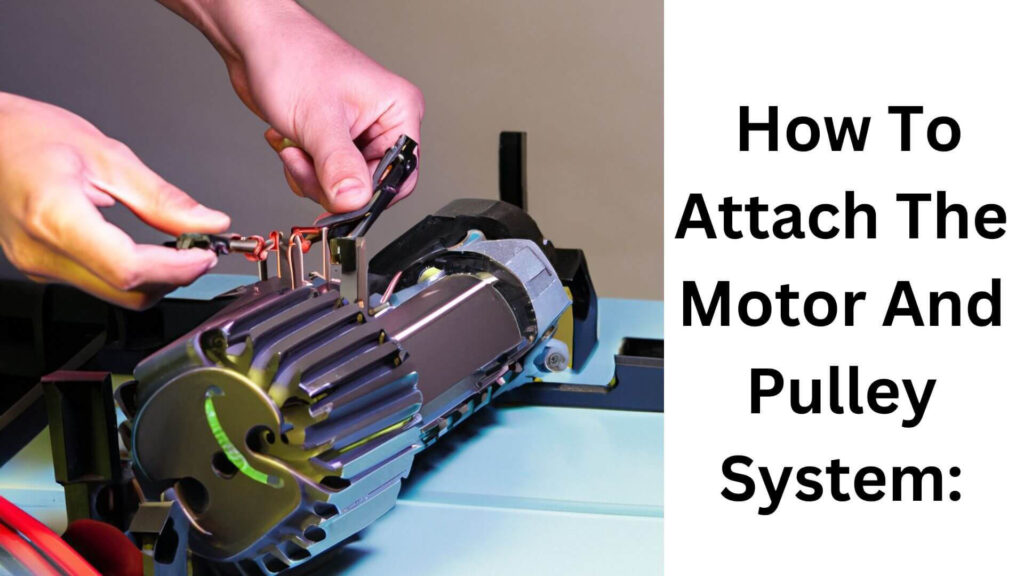
You must attach the motor and pulley system to power the drill press.
- Bolt the motor mount plate to the side of the drill press body.
- Mount the electric motor onto the mounting plate using bolts, washers, and nuts.
- Mount the pulleys and the belt onto the motor shaft and the drill press spindle.
- Adjust the belt’s tension by moving the motor mount plate to achieve the desired speed of the drill press.
Instructions For Reassembling The Converted Benchtop Drill Press:
The final step is to reassemble the drill press into its modified configuration.
- Reverse the disassembly process, reattaching the table, the fence, and the drill chuck and tightening them securely.
- Attach the safety shield and the motor cover (if present) to the drill press.
- Plug the motor into the outlet, and test the drill press for proper function.
- Congratulations! You have successfully converted your floor drill press into a compact benchtop version.
Tips For Ensuring Accuracy In The Conversion Process:
Some advice to ensure accuracy and safety during the conversion process are:
- Always wear safety goggles, work gloves, and a dust mask while working with power tools.
- Carefully read the manufacturer’s instructions and follow them during every step.
- Double-check your measurements before cutting or drilling the material.
- Use good-quality tools and materials to ensure durability and stability.
- Test the converted drill press with scrap material before using it for the actual work.
Converting a floor drill press into a benchtop version is an easy and cost-effective solution for improving your workspace’s functionality and flexibility.
Following the step-by-step conversion process outlined in this post, you will have a fully operational benchtop drill press in no time.
Read More: Floor Drill Press Weight: Exploring the Average Weight Range and Considerations
Troubleshooting And Common Issues
Common Issues Encountered During The Conversion Process
Converting a drill press into a benchtop requires precision and care to ensure the drill press is safe to use and performs the intended tasks.
- Misaligned holes: The drill press should be aligned on the benchtop to ensure the holes drilled are in the correct position. Misaligned holes can cause poor finishing and inaccurate drilling.
- Motor alignment: The motor must be firmly attached to the benchtop drill press. Misaligning the motor and pulley system could cause vibrations and inaccurate drilling.
- Table height adjustment: The workbench should be adjusted to the correct height based on the operator’s preference. Inaccurate height measurements could lead to a strain on the operator and erroneous drilling.
Tips For Identifying And Resolving These Issues
If you encounter any of these problems, follow these tips to identify and resolve them:
- Misaligned holes: Use a square or level to align the drill press accurately. Check the drilling accuracy by drilling a few test holes in scrap wood. If the holes are not aligned correctly, you may need to adjust the drilling head.
- Motor alignment: Tighten all the bolts and nuts to ensure everything is firmly attached to the benchtop. Check if there are worn-out belts and pulleys. They may need to be replaced.
- Table height adjustment: Make sure to measure accurately before making any adjustments. Check the operator’s preference and readjust accordingly.
Troubleshooting Tips For Motor And Pulley System
The motor and pulley system is essential to the drill press conversion process.
- Faulty motor: If your engine is not starting, check to see if the virus is connected to a power source, or you may need to replace the fuse or reset the switch. If it still doesn’t work, consider replacing the motor.
- Worn-out belts and pulleys: If you hear strange noises, it could be worn-out belts or a pulley. Clean all the pulleys, replace the belt, and lubricate the parts where necessary.
Tips For Ensuring Safety During Troubleshooting
It’s essential to ensure the operator’s safety during the conversion process and even more so when troubleshooting.
- Disconnect the power source before any maintenance or troubleshooting.
- Read the manufacturer’s manual to understand the troubleshooting process clearly.
- Wear safety goggles to protect your eyes during maintenance, cleaning, or troubleshooting.
By following the tips above, you can quickly identify and resolve problems you may encounter during the conversion process and ensure your benchtop drill press’s long-term safe and effective use.
Read More: Installing a Vice on a Floor Drill Press
Frequently Asked Questions For How To Convert Floor Drill Press In Benchtop?
How Do I Convert A Floor Drill Press Into A Benchtop Model?
Using a conversion kit, you can easily convert a floor drill press into a benchtop model.
What Are The Benefits Of Converting A Floor Drill Press Into A Benchtop Model?
Converting a floor drill press into a benchtop model saves you space and is more convenient.
What Tools Do I Need To Convert A Floor Drill Press Into A Benchtop Model?
You will need a conversion kit, wrench, and socket set to convert a floor drill press into a benchtop model.
Do I Need To Be Mechanically Inclined To Convert A Floor Drill Press Into A Benchtop Model?
You don’t have to be mechanically inclined but need an essential wrench, socket, and drill usage knowledge.
Can I Buy A Benchtop Drill Press Instead Of Converting A Floor Drill Press?
Yes, you can. However, a conversion kit is more affordable for converting a floor drill press into a benchtop model.
Final verdict
Converting a floor drill press into a benchtop version is a practical solution for small shops, DIY enthusiasts, or anyone with limited space. The process can go smoothly and yield satisfying results with patience and the right tools and parts.
The first step is ensuring the drill press is compatible with the conversion kit, which might require research or consultation. Then, the disassembling and reassembling must be done carefully and precisely, following the instructions and safety guidelines.
The end product should be stable, sturdy, and convenient to use on a workbench. Converting a floor drill press into a benchtop can save space, money, and time while allowing for precision drilling, sanding, and polishing.
With this tutorial, readers can embark on a DIY project they can be proud of and enjoy the benefits of a versatile and space-saving tool.

Hey, I am Shihab Uddin, I’m a huge fan of DIY crafts. My workshop is where I spend most of my spare time, and I’m always working on some project. To that end, I’d like to share some of my knowledge and experience with you in power tools, woodworking, and other specialized materials fabrication.
I will guide you with genuine knowledge that can assist you with deciding whether a drill is appropriate according to your requirements or not. If you want to find the best drill and know which type of drill is most suited for your needs, then I can guide you with my expertise. My passion lies in helping others find the correct products they need at an affordable price.
