
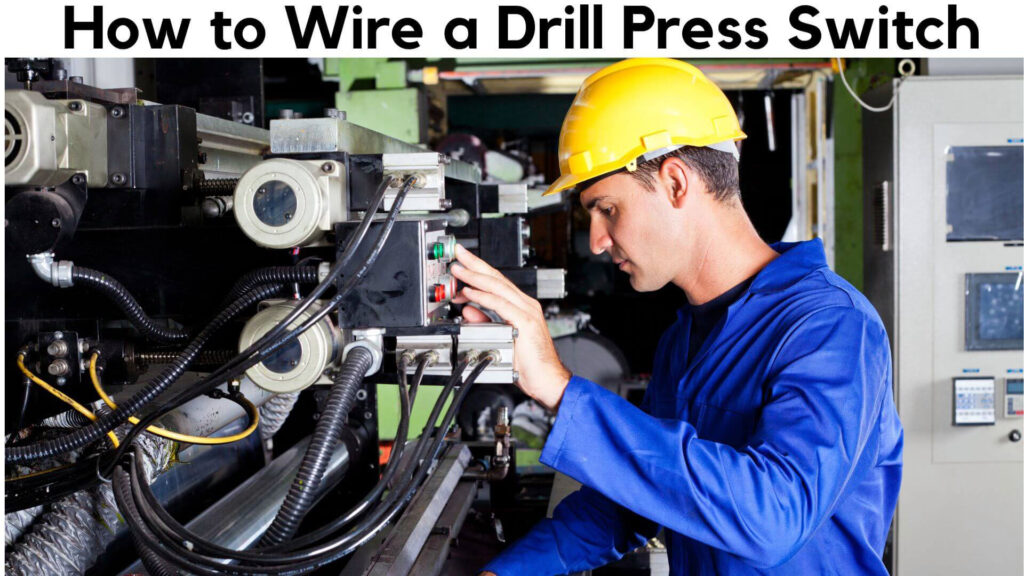
Like most people, you probably use a drill press every day. And if you’re like most people, you probably don’t know how to wire a drill press switch.
That’s why we’ve put together this guide—to teach you everything you need to know about wiring a drill press switch. In just a few easy steps, you’ll be able to wire your drill press switch in no time!
Table of Contents
What is a Wire Drill Press Switch?
A wire drill press switch is a small, relatively inexpensive piece of equipment that allows you to turn the power on or off to your drill press using a foot pedal. This is helpful if you need to stop the drill from drilling, for example, when making a hole in a piece of wood.
Why Do I Need to Wire a Drill Press Switch?
A drill press is a valuable tool for many home DIYers and handymen. However, if you’re not careful, it can also be a dangerous tool. That’s why it’s essential to know how to wire a drill press switch so you can safely use it.
A drill press switch lets you toggle between two power sources: the motor and the hammer. This is important because if the engine supplies too much power (for example, if you’re using a high-speed bit), the hammer could hit the material too hard and damage it.
Conversely, if the motor is not providing enough power (for example, if you’re using a slower bit), the bit might not cut through materials easily.
To wire a drill press switch, first identify which power source your drill press uses (the motor or the hammer). Then connect one end of an electrical cable to the outlet on your drill press and connect the other end to either side of your switch (the black terminal on one side and the red terminal on the other).
Finally, plug in your drill and test your new switch by switching between motors and hammers.
What Are the Materials Needed to Wire a Drill Press Switch?
A few materials are needed to wire a drill press switch. The most important material is the drill press switch itself. Another important material is the wire.
The wire needs to be strong enough to handle the power and heat that will be put through during installation but also thin enough so that it does not cause interference with other nearby electrical equipment. Other materials may be needed include screws, washers, and a nut.
What Does Wiring a Drill Press Switch Entail?
Installing a drill press switch is not difficult, but it does require some basic wiring skills. The switch attaches to the drill press power cord and controls the power to the tool.
There are usually two wires attached to the switch: one for the ground and one for power. If you have a 3-wire drill press, there will also be a third wire for trigger or starting voltage.
First, remove the cover on the tool housing to install a drill press switch. On most drills, this is simply unscrewing four screws in a straight line near the top of the housing.
Once it’s off, you’ll see two wires from each side of the housing: one black (ground) and one red (power). Strip about 1/2″ of insulation off each end of each wire, then twist each wire around a screwdriver handle so that they’re tightly bound together. Finally, reattach the housing cover and screw it in place.
Now you’re ready to connect your switch! The black wire from your switch should go into one side of an electrical outlet on your wall (or into an extension cord if you have an older drill).
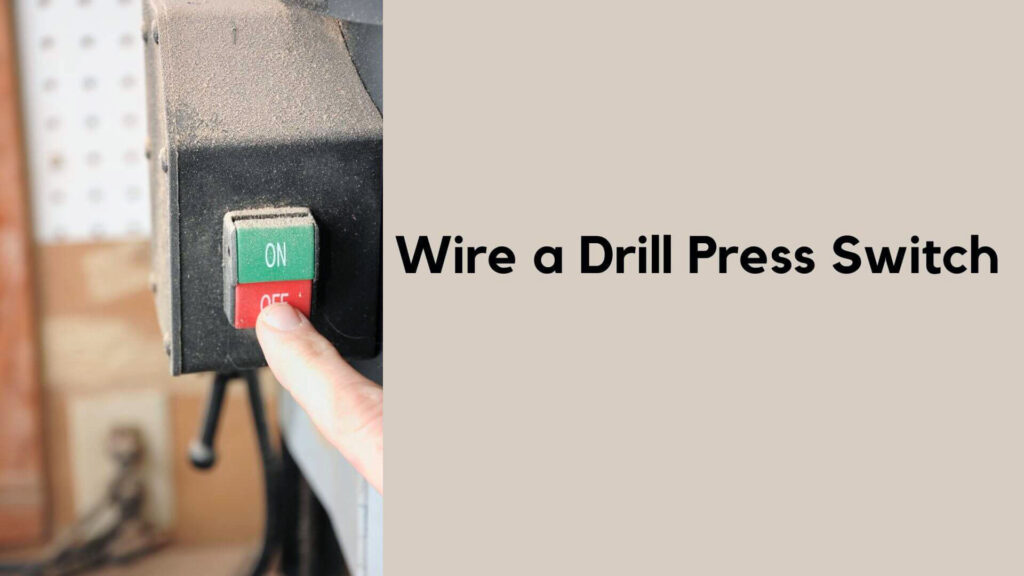
How to Wire a Drill Press Switch
Here are the steps you need to take to wire a drill press switch:
1. Disconnect the power to the drill press
2. Remove the switch from the drill press
3. Remove the cover from the switch
4. Remove the wires from the switch
5. Strip the insulation off of each wire
6. Connect each wire to the correct terminal on the switch
7. Reinstall the cover, switch, and power cord
8. Test the switch by turning it on
A drill press switch is a device that allows you to operate your drill press in multiple directions at the same time. A drill press switch is typically attached to the back of a drill press via a connector and can be used to control the direction in which the drill bit moves.
First, remove the old switch from the drill press by using pliers or fingers to wire a drill press switch.
Next, cut two small pieces of the wire using scissors and older shrink wrap (or any other appropriate electrical tape).
Solder one end of each piece of wire to the back of one of the screws on the front of the drill press (the black screw in our example), and then reattach the switch using pliers or fingers. Connect both ends of the wire to form an even loop.
Check Also: How to Install Chuck on a Drill Press for Faster and Easier Drilling
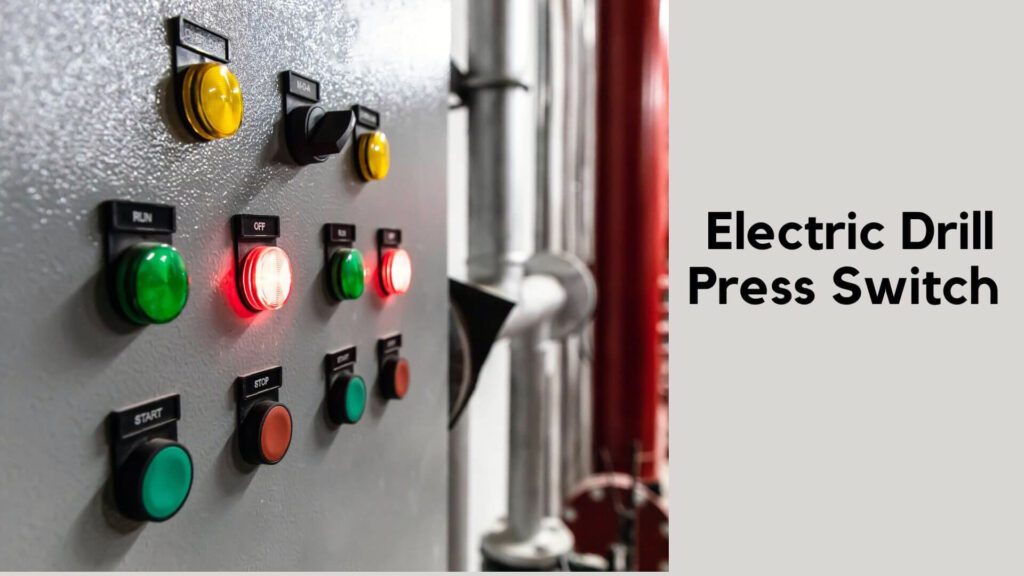
How to Wire an Electric Drill Press Switch
To wire an electric drill press switch, you must know how to connect the power cord to the drill press. You must find the outlet connected to your drill press and plug it in.
Then, you will need to find the switch on the wall near the power cord. Once you have identified the switch, you will need to connect one end of the power cord to it and the other end of the switch to your drill press.
Finally, you will need to touch both ends of the power cord together and turn on your drill press. As a result, your drill press should now be able to work without any problem.
How to Use an Electric Drill Press Switch
To use an electric drill press switch, you must determine which button corresponds with which function. For example, if you are using your drill press as a hammerhead: The button for this function might be labeled “H” or “H1” on your drill Presses manual or machine settings screen.
If this is not already clear from where you are sitting (due to the different positions of your machine), please consult our customer service for more detailed instructions on how to use your electric Drill Press switches.
How to Wire a Hydraulic Drill Press Switch
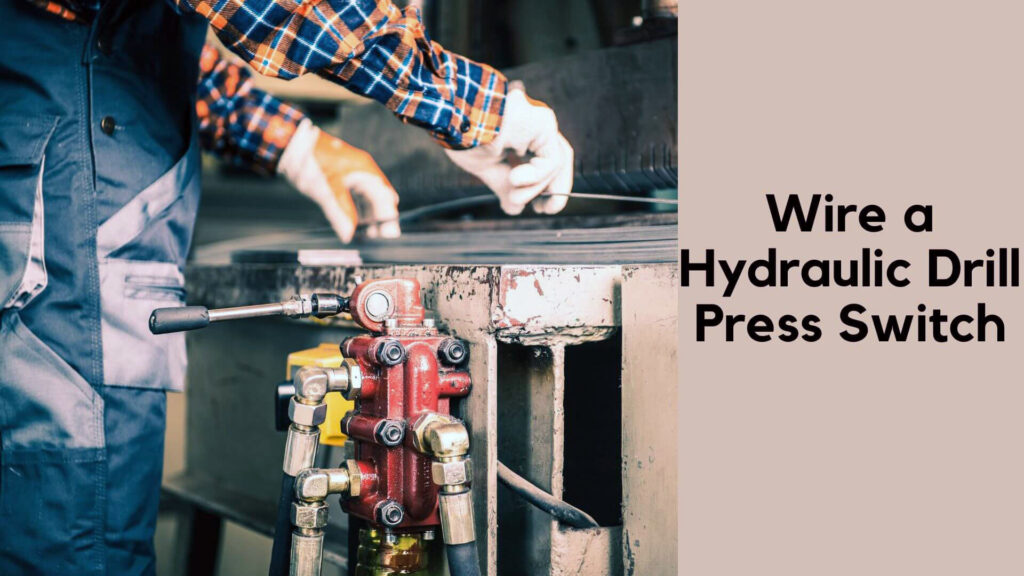
The drill press switch is critical in any drilling and cutting operation. To wire it correctly, you first need to understand how it works.
The hydraulic motor will start up when a drill press is turned on. This will cause the Drilling fluid to be forced through the hole in the switch housing and into the drill bit. If this fluid gets too close to the electric current running through the drill bit, it could short out or even turn off the drill bit completely! To prevent this, you must wire your drill press switch so that no fluid can enter or leave the Drill Press until after the Drill Press has been turned off.
To wire your drill press switch, follow these steps:
1) Cut a small hole in one of the front edges of your switch housing (you’ll do this by using an x-acto knife).
2) Connect one end of each wire to one side of a connector (an RCA cable or similar).
3) Connect the other end of each wire side of the connector (a T-bar connector).
4) Turn on your drills by depressing one of the screws on top of your drill press.
5) When everything works as should, release both screws and allow fluid to flow freely between wires.
6) Enjoy your new drilling machine!
What is a Good Drill Press Switch?
A drill press switch is a necessary component for operating a drill press. It allows the operator to choose between drilling and milling operations.
The switch consists of a rotating handle and a gearbox connecting the handle to the motor. When the gearbox is rotated, it sends power to either the drilling or milling operation.
A good drill press switch should be easy to use, have precise positioning, and have a durable construction.
A good drill press switch should be easy to use, have precise positioning, and have a durable construction. Many drills have a built-in switch that is easy to use and has precise positioning. However, if you want to add a drill press switch of your own, it is essential to consider the following factors:
The switch should be easy to use—you don’t want to spend too much time fiddling with it.
The switch should have precise positioning—you want it positioned so that the drill bit always goes straight down when you start drilling.
The switch should be durable—it shouldn’t break easily and work for a long time without needing repairs or replacements.
Last Thought
If you’re looking for an easy way to change the settings on your drill press, you need to check out a drill press switch. This little device can help you quickly change the settings on your drill press, and it’s a great addition to any workshop. By wiring a drill press switch, you can ensure that your Drill Press is working correctly and that you can adjust the settings easily.

Hey, I am Shihab Uddin, I’m a huge fan of DIY crafts. My workshop is where I spend most of my spare time, and I’m always working on some project. To that end, I’d like to share some of my knowledge and experience with you in power tools, woodworking, and other specialized materials fabrication.
I will guide you with genuine knowledge that can assist you with deciding whether a drill is appropriate according to your requirements or not. If you want to find the best drill and know which type of drill is most suited for your needs, then I can guide you with my expertise. My passion lies in helping others find the correct products they need at an affordable price.
