
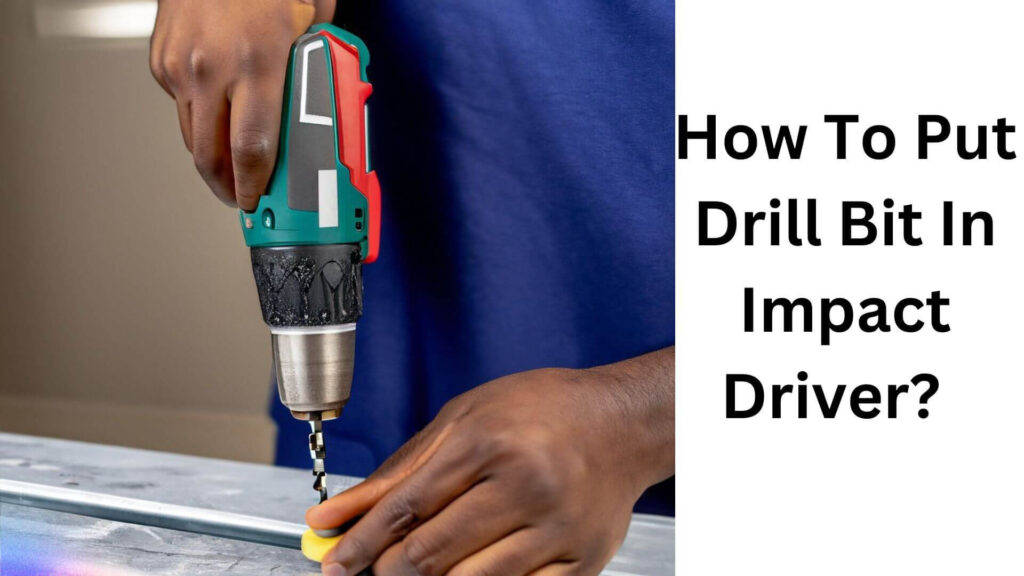
Are you struggling with putting a drill bit in an impact driver? If so, you’re not alone. Many people find this task confusing or intimidating, but fear not! The answer is:
To put a drill bit in an impact driver, insert the shank of the drill bit into the chuck and tighten it securely. Now, let’s dive deeper into the steps involved in this process.
Impact drivers are powerful tools that allow for speedy and efficient drilling. However, putting a drill bit in an impact driver can be tricky if you are unfamiliar with the process. With the right steps, you can easily insert the drill bit into the impact driver and get started on your project.
In this article, I will guide you through the steps involved in putting a drill bit in an impact driver. By the end of this article, you will know how to put a drill bit in your impact driver properly.
Table of Contents
Understanding Your Impact Driver
An impact driver is a powerful tool designed to drive screws, bolts, and nuts into various materials by delivering a high rotational force or torque. It’s essential to understand its components and operation and why it’s useful for various tasks.
1. Components Of An Impact Driver
An impact driver has three essential components:
- Chuck, this is where you attach a bit to your impact driver. Some chucks are keyless and can be operated by hand, while others require a key.
- Body; this is the main part of the impact driver and houses the motor that creates the rotational force.
- Battery; this is the energy source that powers the motor.
2. Explanation Of How An Impact Driver Operates
- An impact driver works by rotating an internal mechanism called the anvil. The anvil then delivers repetitive linear impacts to the bit, causing it to sink into the material.
- Unlike a drill, which exerts continuous force, an impact driver’s rotational force is quick and powerful but only lasts instantaneously. This makes it more efficient and less tiring to use.
- An impact driver features an impact-release mechanism that limits the number of impacts per second to minimize damage to the bit.
3. Why An Impact Driver Is Useful For Various Tasks?
An impact driver is a versatile tool suitable for different types of construction, renovation, or repair projects. Here are some reasons why it’s beneficial:
- Higher torque; an impact driver delivers higher torque than a standard drill, making it ideal for heavy-duty tasks such as fixing large lag screws, nuts, and bolts.
- Easy to use; an impact driver is lightweight, compact, and ergonomically designed, making it easy to handle and maneuver in tight spaces.
- Time-saving; an impact driver’s repetitive linear impacts save time and effort when working with hard materials like concrete or thick wood.
- Affordable; while an impact driver is an important tool, it’s not as expensive as other power tools, making it a cost-effective option for various tasks.
With this newfound knowledge of your impact driver’s key components, how it operates, and its benefits, you can confidently use it to tackle your next project.
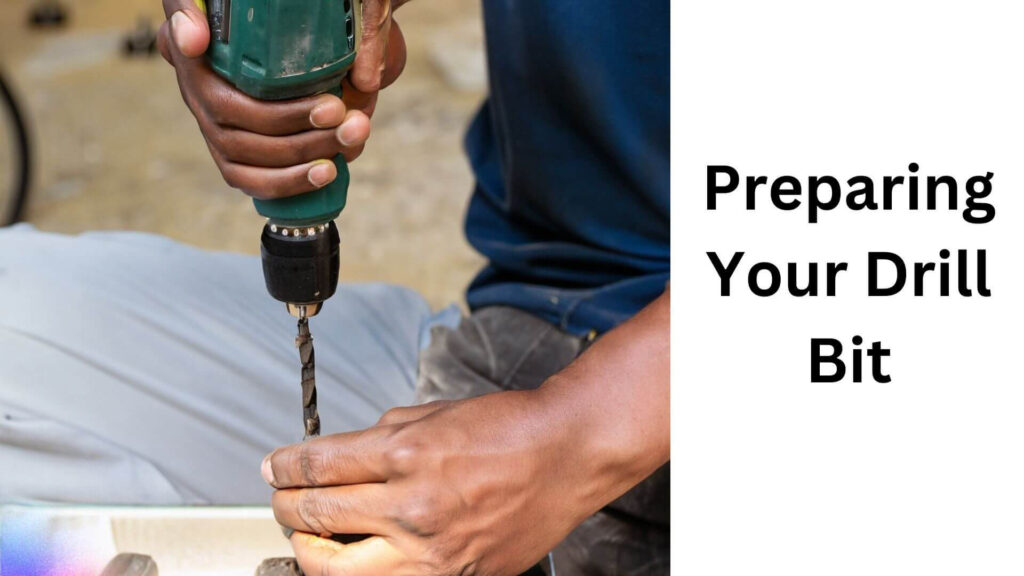
Preparing Your Drill Bit
1. Types Of Drill Bits Compatible With An Impact Driver
An impact driver is a versatile tool that can be used to drive screws and drill holes. However, not all drill bits can be used with an impact driver. Here are the types of drill bits that are compatible with an impact driver:
- Hex-shank drill bits: These drill bits are specifically designed for use with an impact driver. They have a hexagonal shank that fits securely into the impact driver’s chuck.
- Brad-point drill bits: They have a sharp point that helps them stay on target when drilling into wood. They also have a center point preventing them from walking as they drill.
- Twist drill bits: Twist drill bits are the most common drill bit. They have a spiral design that helps to remove the material as they drill. However, they can be difficult to use with an impact driver because they can slip and spin in the chuck.
2. Select The Appropriate Drill Bit Size
Selecting the appropriate drill bit size is crucial for achieving the desired results. Here are some tips for selecting the correct drill bit size:
- Determine the hole size you need to drill: Measure the width of the hole you need to drill and select a drill bit slightly larger than the hole you need.
- Consult the drill bit size chart: Most drill bit sets have a size chart. Use this chart to select the appropriate drill bit size for the material you are drilling into.
- Consider the material: The material you are drilling into affects the size of the drill bit you should use. For softer materials, use a smaller drill bit; for harder materials, use a larger drill bit.
3. Tips For Keeping Your Drill Bits In Good Condition
Keeping your drill bits in good condition is essential for achieving accurate and precise results. Here are some tips for keeping your drill bits in good condition:
- Clean your drill bits after each use: Use a wire brush or a cleaning solution to remove any debris or residue from your drill bits.
- Store your drill bits properly: Store them in a dry and secure location to prevent them from getting damaged.
- Sharpen your drill bits when necessary: Dull drill bits can cause inaccuracy and rough edges on drilled holes. Sharpen your drill bits to maintain their cutting edge.
Remember to follow these tips to ensure your drill bits are in good condition and ready for your next project.
Read More: How Does an Impact Driver Work?
Step-By-Step Guide To Inserting Drill Bits In An Impact Driver
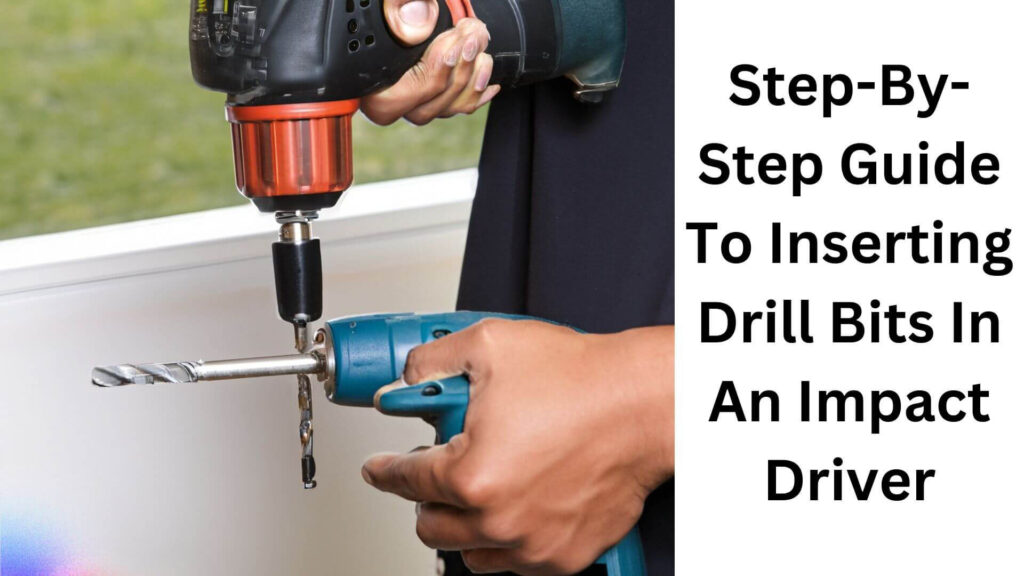
Step 1: Identifying The Chuck
Before you can insert a drill bit in your impact driver, you need to identify the chuck, which is the cylindrical-shaped part that holds the drill bit in place. Generally, corded and cordless impact drivers have keyed or keyless chucks.
Here is how you can identify them:
- Keyed chucks: They have gear teeth that hold the bit in position and require a special key to tighten or loosen them.
- Keyless chucks: These chucks have a collar that you can twist to open and close the jaws to secure or release the drill bit.
Step 2: Opening The Chuck
After identifying the chuck type, the next step is to open it. Here is how to do that:
- For a keyed chuck: Insert the key into the hole on the side of the chuck and twist it counterclockwise to loosen the jaws.
- For a keyless chuck: Use your hand to twist the collar counterclockwise to open the jaws.
Step 3: Inserting The Drill Bit
Once the chuck is open, you can insert the drill bit. Here are the steps to follow:
- Hold the drill bit between your thumb and forefinger and ensure the shank (non-drilling end) is lined up with the chuck jaws.
- Push the bit’s shank into the chuck until the jaws grip it firmly.
- Use your other hand to twist the chuck clockwise, tightening the jaws around the bit.
Step 4: Securing The Drill Bit In Place
After inserting the drill bit, you need to secure it in position to prevent it from slipping or falling out. Here is how to do it:
- For a keyed chuck: Insert the key into the side hole and turn it clockwise to tighten the jaws around the bit.
- For a keyless chuck: Use your hand to twist the collar clockwise to tighten the jaws around the drill bit. You’ll feel the collar stop twisting when the chuck is secure.
Step 5: Closing The Chuck
After securing the drill bit, the last step is to close the chuck. Here is how:
- For a keyed chuck: Twist the key clockwise to close the jaws tightly around the bit.
- For a keyless chuck: Use your hand to twist the collar clockwise until it stops turning, indicating that the jaws are tightly closed around the drill bit.
Inserting a drill bit into an impact driver is easy if you follow the five simple steps outlined above. Remember to carefully identify the chuck, open it, insert the bit, secure it, and finally close it.
With this guide, you can confidently install different drill bits for any diy project you undertake.
Read More: How to Easily Remove Bits from Impact Drivers?
Best Tips For Safe And Effective Use Of An Impact Driver
1. Understanding The Limitations Of An Impact Driver
An impact driver is a powerful tool that can drive screws and bolts quickly with ease. However, it also has some limitations you should be aware of to avoid damaging the tool or the material you’re working on. Here are some key points to keep in mind:
- An impact driver is unsuitable for delicate or precise tasks requiring a gentle touch. It delivers a lot of torque, which can strip screws or damage fragile materials. Use a regular drill for such tasks.
- Impact drivers are not designed for drilling holes in hard surfaces like concrete or metal. Use a hammer drill instead for such tasks.
- Avoid using an impact driver to loosen screws or nuts that are overtightened or rusted. The sudden torque can break the bit, damage the screw or nut or even hurt you. Use a breaker bar or impact wrench instead.
2. Safety Precautions When Using An Impact Driver
An impact driver is a powerful tool that can be dangerous if not used properly. Here are some safety precautions that you should follow to prevent injuries or accidents:
- Always wear eye and ear protection when using an impact driver. The noise and debris generated by the tool can harm your senses.
- Use the right size and type of bits or sockets for the job. Using the wrong size can cause the bit to slip or break, damaging the tool or the material.
- Securely fasten the material you’re working on before using the tool. Unsecured material can vibrate or move, causing injuries.
- Keep your fingers and other body parts away from the path of the bit or socket. The sudden movement can cause serious injuries.
- Turn off the tool and unplug it before changing bits or sockets. Accidentally pressing the trigger can cause injuries.
3. Proper Maintenance And Storage Of Your Impact Driver
An impact driver is an expensive tool that can last long if properly maintained and stored. Here are some tips to keep your impact driver in good shape:
- Clean the tool and bits after each use. Use a soft, dry cloth to remove dust and debris.
- Lubricate the impact mechanism regularly with a few drops of oil recommended by the manufacturer. This will prevent wear and tear and prolong the life of the tool.
- Store the tool and bits in a dry, protected place away from heat and humidity. Avoid hanging the tool from the cord, which can damage the cord or plug.
- Check the tool and cord regularly for signs of wear or damage. Replace any damaged or worn parts immediately to prevent accidents.
Following these simple tips, you can use your impact driver safely and effectively for all your diy or construction projects. Happy drilling!
Read More: What Size Impact Driver Do I Need?
Frequently Asked Questions On How To Put Drill Bit In Impact Driver?
How Do You Install A Drill Bit In An Impact Driver?
To install a drill bit in an impact driver, remove the chuck by turning counterclockwise. Insert the bit and tighten the chuck.
How Do You Remove A Drill Bit From An Impact Driver?
Pull the chuck sleeve forward to remove a drill bit from an impact driver, and the bit will release. Alternatively, you can turn the chuck counterclockwise.
Can I Use Any Drill Bit In An Impact Driver?
No, you cannot use any drill bit in an impact driver. For optimal performance, you need a hex-shank drill bit compatible with your impact driver.
Can You Drill Holes With An Impact Driver?
You can drill holes with an impact driver using a hex-shank drill bit. Impact drivers are ideal for drilling holes in wood, metal, and plastics.
When Should I Use An Impact Driver Instead Of A Drill?
An impact driver is ideal for driving screws and fasteners into hard materials like concrete and metal. Use a drill for drilling holes and general-purpose fastening tasks.
Final Verdict
Learning how to put a drill bit in an impact driver can be overwhelming for beginners. But you can carry out this task efficiently with practice, patience, and understanding of the necessary steps.
Remember that safety is of utmost importance when handling any power tool. Always wear protective gear and follow safety measures. Take your time to choose the correct drill bit and ensure that it is securely installed in the impact driver.
With these simple tips and tricks, you’ll be ready to tackle any diy project that comes your way with confidence. So go ahead, put your newly acquired skills to the test, and enjoy the satisfaction of completing your task successfully.

Hey, I am Shihab Uddin, I’m a huge fan of DIY crafts. My workshop is where I spend most of my spare time, and I’m always working on some project. To that end, I’d like to share some of my knowledge and experience with you in power tools, woodworking, and other specialized materials fabrication.
I will guide you with genuine knowledge that can assist you with deciding whether a drill is appropriate according to your requirements or not. If you want to find the best drill and know which type of drill is most suited for your needs, then I can guide you with my expertise. My passion lies in helping others find the correct products they need at an affordable price.
