
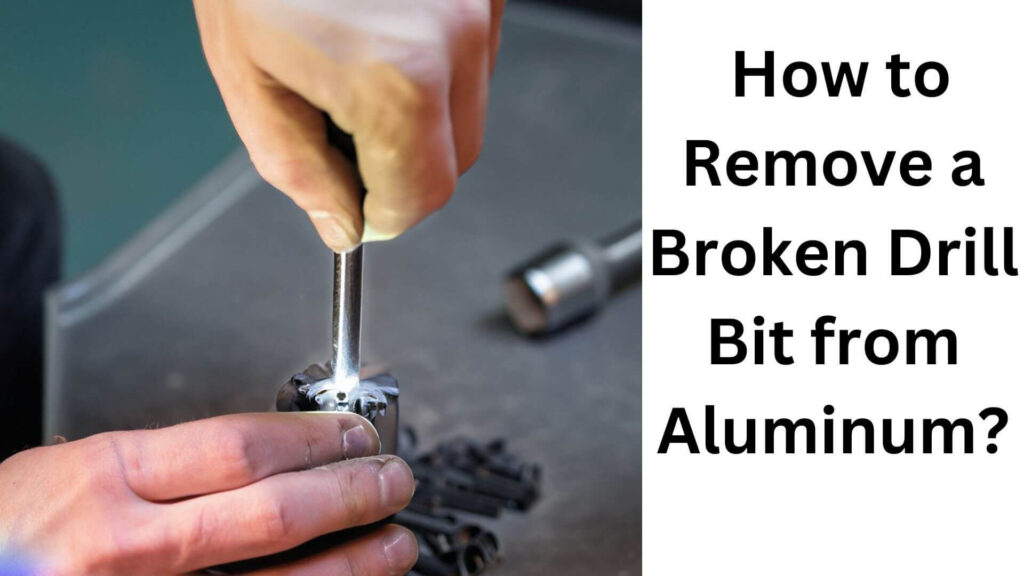
To remove a broken drill bit from aluminum, use a drill bit extractor or a set of pliers to carefully back the bit out of the hole. Breaking a drill bit can be frustrating and ruin a project, but there are ways to remove the broken piece from aluminum.
Whether you have a drill bit extractor or a set of pliers, you can take a few steps to safely and effectively remove the broken drill bit. In this article, we’ll explore the different methods you can use based on the severity of the break.
I’ll also provide some tips for preventing drill bit breakage in the first place. So, if you’re dealing with a broken drill bit in aluminum, keep reading to learn how to handle the situation like a pro.
Table of Contents
Why Is It Important To Know How To Remove A Broken Drill Bit From Aluminum?
Brief Explanation Of The Importance Of Removing A Broken Drill Bit From Aluminum
Accidents happen, and breaking a drill bit in aluminum is common when working with the material. While it might seem like a minor issue, leaving a broken drill bit in an aluminum can have severe consequences, and it’s essential to know how to remove it properly.
Highlighting The Consequences Of Not Removing The Broken Drill Bit
Leaving a broken drill bit in an aluminum can lead to the following issues:
- Damage to your tools: The broken drill bit can cause further damage.
- Difficulty in completing your project: You can only drill new holes or complete the project if the bit is stuck.
- Safety concerns: A broken drill bit can become a potential hazard, as it can cause injury or damage to the materials around it.
- Corrosion and rust: The broken bit can cause corrosion and rust, weakening the aluminum over time and compromising its structural integrity.
Knowing how to remove a broken drill bit from aluminum is a crucial skill, and it’s essential to recognize the severity of this issue. It might seem like a minor inconvenience, but it can cause significant problems and even put your safety at risk.
Following the proper techniques can easily remove a broken drill bit from aluminum and avoid any potential consequences.
Read More: What Kind of Drill Bit for Aluminum?
Materials And Tools Required
List Of Materials Required For The Process:
To remove a broken drill bit from aluminum, you will need the following materials:
- Drill bits extractor kit: This kit comes with a range of drill bits and pieces you will need to remove a broken drill bit from aluminum.
- Safety equipment: Wear safety glasses, gloves, and appropriate clothing to keep yourself safe.
- Lubricant spray: A lubricant spray will help loosen the broken drill bit and make removing it easier.
- Cleaning cloth: A cleaning cloth will be handy after the process.
List Of Tools Required For The Process:
Here are the tools required to remove a broken drill bit from aluminum with ease:
- Drill machine: You’ll need a good quality drill machine to drill out the broken bit.
- Center punch: You need a center punch to keep the drill bit centered.
- Hammer: A hammer is needed to tap the center punch to create an indentation.
- Drill bits: The extractor kit mentioned above will have drill bits.
- Screwdriver: A screwdriver will be helpful to turn the extractor and remove the broken bit.
- Pliers: Pliers can help you grip the broken bit and remove it.
To remove a broken drill bit from aluminum, ensure all the above tools and materials are ready. Using the right tools can make the process easy and hassle-free.
What Materials Are Needed?
Explanation Of The Necessary Materials
Removing a broken drill bit from aluminum can be frustrating, but it can be accomplished easily with the right tools and techniques. Here is a breakdown of the necessary materials that you will need for the job:
- Safety glasses: Safety glasses are a must-have during this process to protect your eyes from flying debris and metal shavings. Always wear them when working with power tools.
- Drill bits: You’ll need a set of new drill bits to complete this task. Choose the correct size of a drill bit that will penetrate the broken part of the drill bit.
- Screw extractor: A screw extractor is designed to remove broken or damaged screws. It is also helpful in removing a broken drill bit.
- Drill press: A drill press is a tool that will help keep the drilling process centered and straight and help prevent further damage to the aluminum.
- Lubricant: Lubricating the aluminum while removing the broken drill bit will help keep the bit cool and prevent further damage to the material.
Tips On How To Choose The Right Materials
Choosing suitable materials is vital to remove a broken drill bit from aluminum successfully. Here are some tips to help you select the right materials:
- Safety glasses: Look for safety glasses that meet ANSI z87.1 standards. This will ensure that the glasses you choose protect you from flying debris.
- Drill bits: Choose a new drill bit that is approximately the same size as the broken bit. This will help to minimize any additional damage to the aluminum.
- Screw extractor: Ensure that the screw extractor you choose is designed for use with the size of a drill bit you will remove.
- Drill press: While a drill press is unnecessary, it can help prevent any additional damage to the aluminum during removal. Look for a drill press with a solid build and a sturdy base.
- Lubricant: Choose an oil that is designed for use with aluminum. This will help to keep the bit cool and prevent further damage to the material.
By following these guidelines, you’ll be well-equipped to remove the broken drill bit from aluminum easily. Use all the necessary materials and follow the manufacturer’s instructions for best results.
What Tools Are Needed?
Explanation Of Necessary Tools
Removing a broken drill bit from aluminum can be challenging but much easier with the right tools. Here are the necessary tools that you will need to remove a broken drill bit from aluminum:
- Pliers with long, thin, and sturdy jaws
- Small hand drill or rotary tool
- Left-handed drill bits that match the size of the broken bit
- Lubricant or cutting oil
- Safety gloves and goggles
Tips On How To Choose The Right Tools
The right tools are crucial for successfully removing the broken drill bit from aluminum. Here are some tips to help you choose the right tools:
- Choose pliers with long, thin, sturdy jaws to grasp the broken drill bit firmly.
- Choose a small hand drill or rotary tool that can be precisely controlled and used in tight spaces.
- Choose left-handed drill bits that match the size of the broken bit. Left-handed drill bits are designed to turn counterclockwise and can help remove the broken bit by
themselves as they bite into the metal.
- Use a lubricant or cutting oil to help loosen the broken bit and prevent the drill bits from overheating or getting damaged.
- Wear safety gloves and goggles to protect your hands and eyes from metal shavings and bits that might fly off during drilling.
By using the right tools and following these tips, you can effectively and quickly remove a broken drill bit from aluminum without causing damage to the material.
Preparing For The Process
Steps To Be Taken Before Starting The Process
Before removing the broken drill bit from the aluminum, you should take a few preparatory steps to ensure the process goes smoothly. Here are the key points to consider:
- Gather your materials: Make sure you have all the necessary tools and equipment before you begin. You will need pliers, a drill, a drill bit (slightly larger than the broken piece), and lubricant.
- Assess the situation: Carefully examine the broken drill bit and the surrounding area. Determine how much of the bit is still embedded in the aluminum and whether any external factors (such as rust or corrosion) may complicate the removal process.
- Choose the proper lubricant: To make the removal process more accessible, apply oil to the area around the broken drill bit. The best fat to use will depend on the specific situation. Wd-40 is popular, but you may opt for a more robust product, such as pb blaster, for more complex cases.
- Take safety precautions: Finally, taking the proper safety measures before you begin is essential. Wear safety goggles to protect your eyes from flying debris, and work on a stable surface to avoid injury from slipping or falling.
Tips For Safety Measures
Safety should always be your top priority when working with power tools. Here are some tips to help ensure that you stay safe while removing a broken drill bit from aluminum:
- Protect your eyes: Wear safety goggles to protect your eyes from flying debris that may result from drilling or manipulating the metal.
- Use a stable work surface: Work on a durable surface that is clear of clutter and debris. This will help prevent you from accidentally slipping or falling while you work.
- Keep your hands clear: When using pliers or drilling, make sure your hands are clear of the immediate area around the broken drill bit.
- Avoid excessive force: Applying too much power when attempting to remove the broken drill bit can cause damage to the surrounding metal. Apply just enough pressure to remove the bit without causing any significant damage.
- Seek assistance if necessary: If the broken drill bit is in a tough spot or you’re unsure about the removal process, don’t hesitate to seek the help of a professional.
Following these preparatory steps and taking proper safety precautions can increase your chances of successfully removing the broken drill bit from the aluminum.
Assessing The Situation
Removing a broken drill bit from aluminum can be challenging. Still, with the proper technique and knowledge, it can be done in a way that ensures minimal damage to the material.
The key to success here is assessing the situation, which involves understanding the extent of damage caused by the broken drill bit and determining the best extraction method.
Explanation Of How To Analyze If The Drill Bit Is Broken:
Before performing any extraction technique, verifying whether the drill bit is genuinely broken is essential. Here are some tips to help you analyze the situation:
- Observe the drill bit closely and look for any signs of damage like bends, cracks, or breakage.
- Place your finger on the drill bit and try to wiggle it. If the drill bit moves, then it’s most likely broken.
- Turn on the drill and see if the bit spins correctly. If the bit wobbles, then there’s a high possibility that it’s broken.
Methods To Investigate The Extent Of The Damage:
Once you ascertain that the drill bit is genuinely broken, the next step is to determine the damage’s extent. This will help you identify the best extraction method. Here are some ways to investigate the damage:
- Use a magnifying glass to assess the damage more closely.
- Insert another drill bit the same size as the broken one into the hole and check if it fits snugly.
- Tap the drill bit lightly with a hammer to assess how much of the bit is still stuck in the hole.
- Check the depth of the hole and estimate the size of the remaining broken drill bit.
By following these methods, you can get a clear idea of the extent of damage caused by the broken drill bit.
This information will help you determine the right approach to remove the bit safely and without causing further damage to the aluminum material.
Check Also: Discovering the Ultimate Drill Bit for Aluminum
Safety Measures
Explanation Of Safety Tips And Precautions
When removing a broken drill bit from aluminum, it’s essential to prioritize safety to avoid accidents and injuries. Here are some safety tips and precautions to help you stay safe during this process:
- Always wear protective gear, such as gloves and goggles, to protect your hands and eyes from flying debris.
- Never touch the drill bit, and avoid blowing into the hole.
- Use a well-ventilated area and avoid inhaling aluminum dust.
- Keep the workpiece secure and stable to prevent slipping, and always work on a flat surface.
- Use the correct tools and ensure that they are in good working condition.
- Never use too much force to remove the drill bit, as it can cause further damage to the workpiece.
Tips On How To Minimize Injury Risks During The Process
Here are some tips to help you minimize injury risks during the process of removing a broken drill bit from aluminum:
- Before starting the process, examine the drill bit’s condition and assess the best removal approach.
- Take your time with the process and work slowly to avoid accidents.
- Use a drill press or a vice to avoid hand-held operations if possible.
- Use cutting oil or lubricant to reduce the drilling pressure and keep the bit from getting too hot.
- Always check your surroundings and ensure no distractions or obstacles in your work area.
Remember, safety is critical when removing a broken drill bit from aluminum. You can complete the task without risking injury with the right tools, protective gear, and a cautious attitude.
Removing A Broken Drill Bit From Aluminum
Breaking a drill bit while working on a project can be a frustrating experience. It becomes even more challenging to handle when it happens in an aluminum material. Trying to remove it without the right tools or knowledge can cause further damage to the workpiece.
This guide will provide the procedures and tips to efficiently remove a broken drill bit from aluminum.
Procedures To Follow To Remove The Broken Drill Bit:
- Step 1: Assess the situation. Examine the workpiece to know the extent of the damage caused by the broken drill bit.
- Step 2: Determine the right tools for the job. Select the proper tools, including pliers, a drilling machine, and a drill bit extractor.
- Step 3: Create a guide hole. Drill a small hole using a drill bit slightly smaller than the broken bit to create a starting point for the extractor.
- Step 4: Attach the extractor. Attach the extractor to the drilling machine and insert it carefully into the guide hole. Be gentle with the process.
- Step 5: Twist the extractor. Twist the extractor with the drill motor to securely grab the broken bit’s remains.
- Step 6: Remove the broken bit. Slowly and gently draw the fractured bit out of the aluminum. If necessary, employ pliers to pull the broken bit entirely.
Tips On How To Ensure Successful Removal:
- Wear safety equipment. It’s crucial to wear goggles and gloves to protect yourself from flying aluminum shavings and other harmful materials.
- Drill straight. Ensure to drill straight throughout, mainly if the broken bit is shallow and close to the surface.
- Use the right drill bit. Choose a drill bit of appropriate size and length and use a high-quality one.
- Be patient. The extractor must cling to the broken bit tightly; however, forcing the extractor may snap the drill bit, causing further damage. So be patient instead.
- Use penetrating oil if needed. Apply penetrating oil to persuade it to loosen if the broken bit is rigid.
By adhering to these procedures and tips, you can successfully remove a broken drill bit from aluminum without causing significant damage to the workpiece. Remember to be patient, take your time, and use appropriate tools to complete the job successfully.
Method 1: Using A Left-Handed Drill Bit
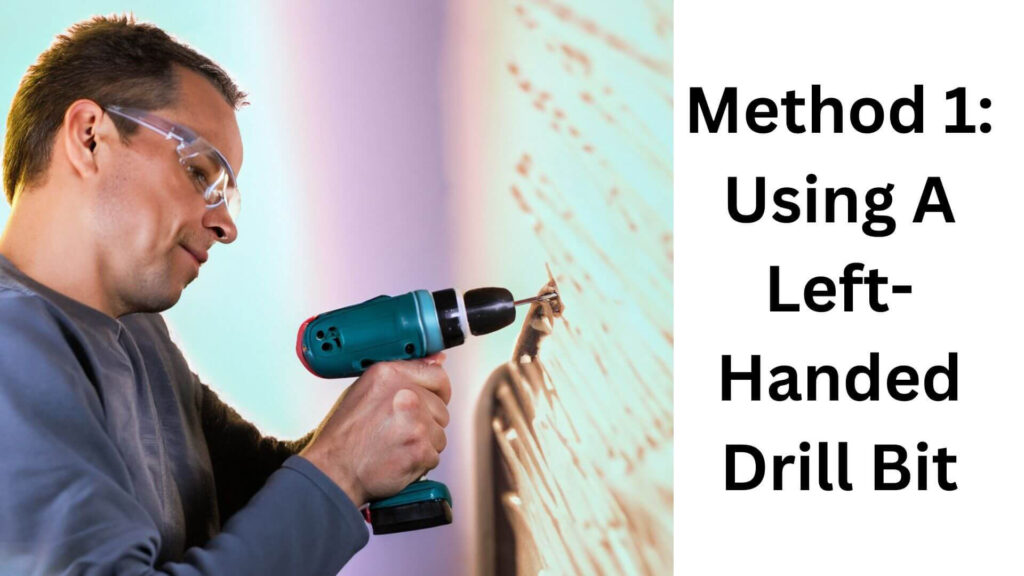
If you have a broken drill bit that is stuck in aluminum, don’t panic. There are several methods for removing a broken drill bit from aluminum, and using a left-handed drill bit is one of the most effective. Here is what you need to know about using this method:
Explanation Of The Procedure To Follow
- Using a left-handed drill bit involves drilling a hole in the center of the broken drill bit in the opposite direction than you drilled in your original spot.
- The theory behind using a left-handed drill bit is that as you start drilling, the bit will naturally begin to unscrew the broken bolt or drill bit.
- When drilling with a left-handed drill bit, start with a minor bit and gradually increase its size until more significant than the broken drill bit.
Possible Challenges And How To Overcome Them
- One of the biggest challenges of using a left-handed drill bit is not drilling too deep and damaging the threads inside the hole. To avoid this, use a depth stop collar on the drill bit or wrap some tape around the bit to indicate when to stop drilling.
- Another challenge is having the right tools. You will need a left-handed drill bit and a drill with reverse settings. If you don’t have these tools, consider purchasing or renting them to avoid damaging your aluminum workpiece.
Now that you know the procedure to follow and how to overcome some possible challenges, you can confidently use a left-handed drill bit to remove a broken drill bit from aluminum. Happy drilling!
Method 2: Using A Screw Extractor
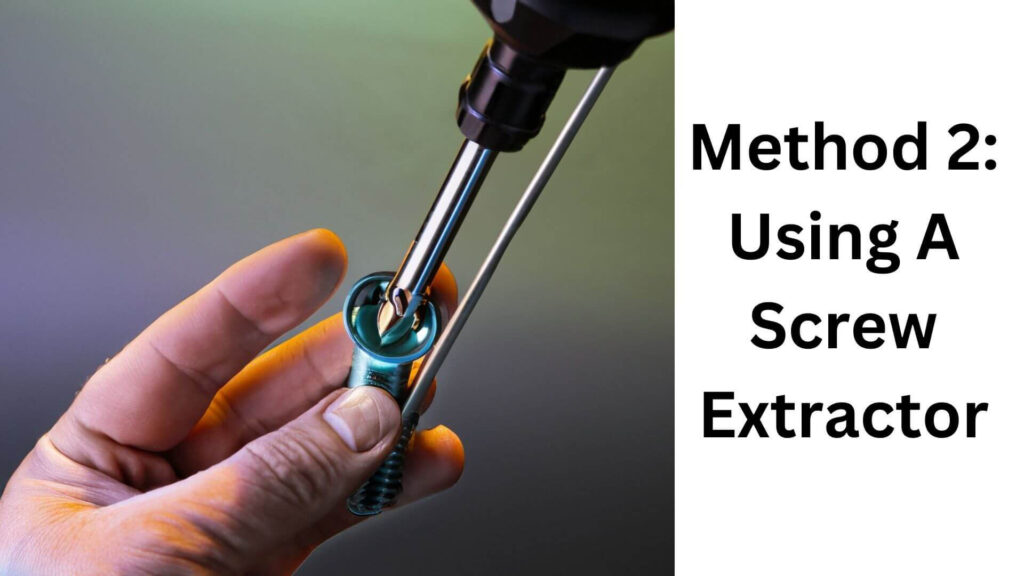
When a drill bit becomes stuck inside aluminum, it poses a significant challenge. Fortunately, a screw extractor can help you hassle-free remove the broken end. Below is a step-by-step guide that will help you use this tool effectively.
Read More: Aluminum Drilling Mastery: A Comprehensive Guide for Perfect Results
Explanation Of The Procedure To Follow
- Attach the screw extractor to the drill.
- Start by inserting the extractor tip slowly into the center of the stuck drill bit. Then, you will want to turn the screw extractor clockwise.
- Once the extractor bit is safely installed, you can use the drill to rotate it. Be sure to apply moderate pressure to avoid breaking the extractor tip and worsening the situation.
- Eventually, you should feel a slight increase in resistance in the drill as the broken drill bit begins to budge. So keep turning the drill, applying more pressure until the fractured drill bit loosens completely from the aluminum.
Possible Challenges And How To Overcome Them
Using a screw extractor involves a lot of precision, and several things can go wrong. Some of the potential challenges include:
- Breaking the extractor tip inside the drill bit – if the extractor tip fails in the drill bit, you will need to extract it first using pliers.
- Difficulty installing the extractor bit – if you experience a problem installing the extractor tip, try applying penetrating oil to the area before trying again.
- Drill bit stuck too deep in the aluminum – if the drill bit is too deep, you may need to use a rotary file or a similar tool to create an indentation around the broken bit before removing it with a screw extractor.
Using a screw extractor is an effective way to remove a broken drill bit from aluminum. It is a straightforward process that requires attention to detail. If you experience difficulties, try using some tips above to overcome them.
Frequently Asked Questions For How To Remove A Broken Drill Bit From Aluminum
How Can I Prevent Breaking My Drill Bit?
To prevent this, use a center punch to mark the spot, drill a pilot hole, and apply a lubricant to reduce heat.
What Should I Do If My Drill Bit Breaks Off?
Turn off the drill, remove the debris, and use a left-handed drill bit to drill a hole into the broken bit.
Is It Safe To Use Pliers To Remove The Broken Bit?
Using pliers may damage the surrounding metal. For example, extracting it using a left-handed drill bit or a screw extractor is best.
Where Can I Find A Left-Handed Drill Bit Or Screw Extractor?
You can find them at a hardware store or online. You can also borrow one from a friend or neighbor.
Can I Use The Same Broken Drill Bit Again?
Reusing a broken drill bit is not recommended as it may cause further damage and breakage. Therefore, it’s best to use a new one.
Final Fate
With these simple but effective techniques, you can easily remove a broken drill bit from aluminum. Remember to be patient and careful during the process, avoiding any possible damage to the material. Start by assessing the situation and determining the best approach.
Use tools like pliers, vice grips, and drill bits to extract the remaining piece of the drill bit carefully. If all else fails, seek professional help to avoid any further complications.
Following these steps, you can successfully remove the broken drill bit and move forward with your project.
Don’t let a setback like this discourage you from doing what you love. Instead, keep pushing forward; remember, you can overcome any obstacle with determination and the right tools.

Hey, I am Shihab Uddin, I’m a huge fan of DIY crafts. My workshop is where I spend most of my spare time, and I’m always working on some project. To that end, I’d like to share some of my knowledge and experience with you in power tools, woodworking, and other specialized materials fabrication.
I will guide you with genuine knowledge that can assist you with deciding whether a drill is appropriate according to your requirements or not. If you want to find the best drill and know which type of drill is most suited for your needs, then I can guide you with my expertise. My passion lies in helping others find the correct products they need at an affordable price.
