
A drill is a versatile and indispensable tool in any DIY or professional setting. Over time, it is normal for a drill chuck to wear out or become damaged, requiring replacement. This can be frustrating, especially for those who have never done it before.
The good news is that removing a chuck from a Ryobi drill is a relatively simple process.
Table of Contents
The tools and materials you will need
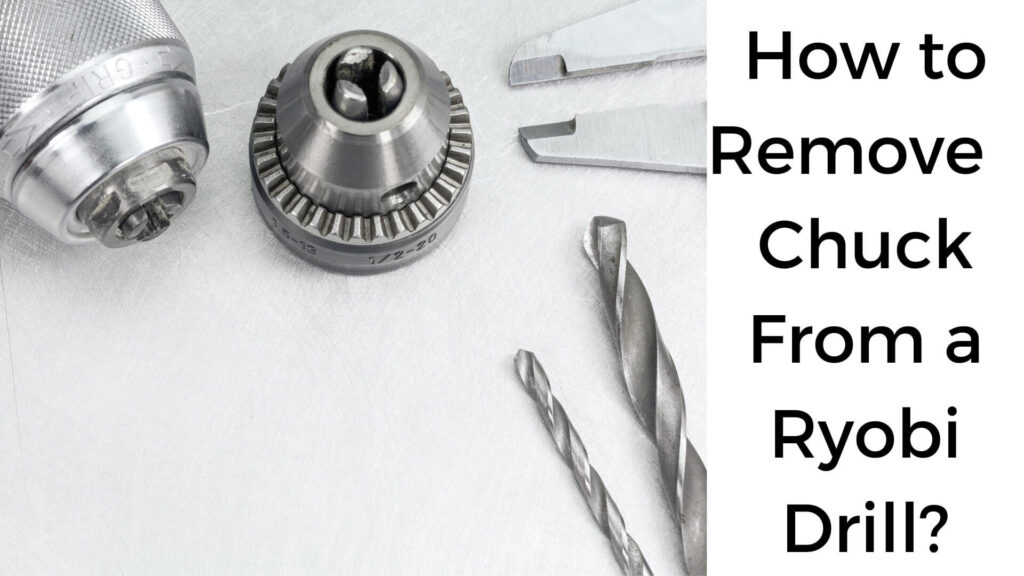
To remove the chuck from a Ryobi drill, you will need a few basic tools and materials. These include a wrench or pliers, a chuck key, a cloth, and oil.
The chuck key is a small, L-shaped tool specifically designed to tighten or loosen the chuck. If you don’t have a chuck key, you can purchase one at any hardware store.
Safety precautions to keep in mind
Before you begin, it’s important to take a few safety precautions. Always unplug the drill or remove the battery before working on it. This will prevent the drill from accidentally turning on while you are working on it.
Additionally, it’s a good idea to wear gloves to protect your hands from any sharp edges on the chuck or drill.
Steps to Remove the Chuck
Step 1: Gather the necessary tools and materials.
Before you begin, ensure you have all the necessary tools and materials. This will ensure you can complete the process without having to stop in the middle to look for something you’re missing.
Step 2: Loosen the chuck with a wrench or pliers.
The first step in removing the chuck from a Ryobi drill is to loosen it. To do this, insert the chuck key and turn it counterclockwise. If the chuck is very tight, you may need to use a wrench or pliers to turn the chuck key. Be sure to hold onto the drill securely to prevent it from turning in your hand.
Step 3: Remove the chuck using a chuck key.
Once the chuck is loose, you can remove it by turning the chuck key counterclockwise. The chuck should come off easily. If it doesn’t, use a wrench or pliers to gently tap the end of the chuck key to loosen the chuck.
Step 4: Clean the threads and shank of the drill.
Before installing a new chuck, it’s important to clean the threads and shank of the drill. Use a cloth to remove any dirt or debris that may have accumulated on the drill. Then, apply a small amount of oil to the threads and shank of the drill to help protect them from rust and corrosion.
Step 5: Replace the chuck with a new one.
To install a new chuck, simply insert it onto the drill’s shank and turn it clockwise until it is tight. Make sure that the chuck is securely fastened before using the drill again.
Importance of regular maintenance on your Ryobi drill
Regular maintenance on your Ryobi drill is essential to keep it in top working condition. This includes cleaning the chuck and shank, applying oil to protect against rust and corrosion, and storing the drill in a dry place when not in use.
Read More: How to Lock Ryobi Drill Bit.
Tips and Tricks
How to loosen a stuck chuck?
If the chuck is stuck and won’t turn, you can try a few things. First, tap the chuck key’s end with a hammer to loosen it.
If that doesn’t work, you can use a pair of pliers to grip the chuck and turn it counterclockwise. Sometimes, you may need to use a wrench to get enough leverage to loosen the chuck.
How to maintain the chuck to avoid rust and corrosion?
To keep your chuck in top working condition, it’s important to maintain it properly. After each use, clean the chuck and the drill’s shank to remove any dirt or debris.
You can also apply a small amount of oil to the threads and shank to help protect them from rust and corrosion. Additionally, storing the drill in a dry place when not in use can help prevent rust and corrosion.
How to replace the chuck with a larger or smaller size?
If you want to replace the chuck with a larger or smaller size, select a chuck that is compatible with your Ryobi drill.
The chuck should have the same thread size and shank diameter as your current chuck. To install the new chuck, follow the steps described in the previous section.
Conclusion
Removing the chuck from a Ryobi drill is a simple process that can be done with a few basic tools and materials. First, loosen the chuck with a wrench or pliers. Then, remove the chuck using a chuck key. Clean the threads and shank of the drill, and finally, replace the chuck with a new one.

Hey, I am Shihab Uddin, I’m a huge fan of DIY crafts. My workshop is where I spend most of my spare time, and I’m always working on some project. To that end, I’d like to share some of my knowledge and experience with you in power tools, woodworking, and other specialized materials fabrication.
I will guide you with genuine knowledge that can assist you with deciding whether a drill is appropriate according to your requirements or not. If you want to find the best drill and know which type of drill is most suited for your needs, then I can guide you with my expertise. My passion lies in helping others find the correct products they need at an affordable price.
