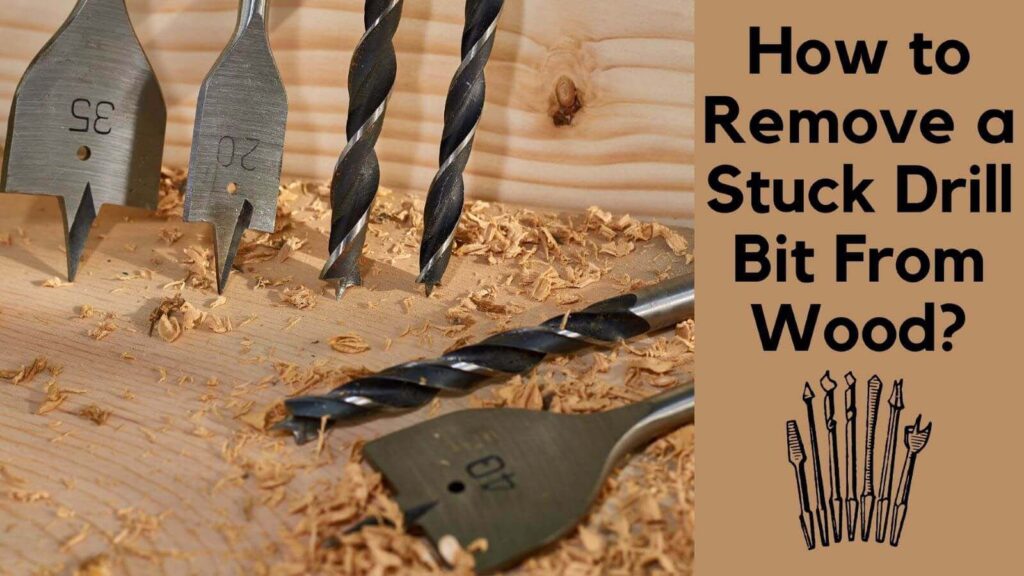
Occasionally, when working on your woodwork, your drill bit will become caught.
We encountered the same issue in the past, and as a result of our investigation, we identified several different methods for releasing a jammed drill bit.
There are several ways to accomplish this, and we will demonstrate the simplest and most time-efficient ones. Thus, how do you unstick a stuck drill bit from wood?
If the drill bit shank protrudes through the wood, it can be easily removed using simple hand tools such as pliers. If the head of the screw is fractured and cannot be accessed, you’ll need a screw removal kit.
If you opt to drill from the opposite side, you can pry the stuck drill bit out with a screwdriver after drilling a narrow hole.
So This article shows you how to remove a stuck drill bit from wood.
Table of Contents
Why Drill into Wood?
When a drill bit becomes caught in wood, it’s usually due to the fact that we’ve drilled too far down. Because wood is an organic substance, it will eventually shrink and distort.
There’s a danger that when we drill into old wood, the hole we’re leaving behind will be greater than we expected. Drilling a “pilot” hole can help you avoid this problem if you know how the wood behaves.
Drill a pilot hole with a small drill bit (approximately 1/16″), and then use that hole as a guide to drill a bigger diameter hole appropriate for the screw or bolt size that follows.
Drilling at the correct depth every time and having more control over what happens, can save you a lot of trouble.
Read More: Why Won’t My Drill Go Through Wood
Why Do Drill Bits Stuck?
A stuck drill bit should be removed. But how did it end up in this situation? Many possibilities exist as to why this is happening.
To begin with, the chuck may not be lubricated properly. Routine drill maintenance would be incomplete without proper lubrication.
Inserting and removing the drill bit will be a lot easier now that you’ve completed this step. In some cases, you may need to over tighten the chuck.
The power drill’s chuck may have gotten even tighter as a result of the vibrations from using it. By the time you’re ready to remove the bit, it may be too tight.
Check to see if you’re using the right drill bit for the job. For example, certain drill bits are designed for drilling metal, while others are made for drilling wood.
Thus, the risk of bit shearing off or getting caught while drilling into an object can be reduced to an absolute minimum.
Read More: How to Remove a Broken Drill Bit
Step to Step Remove a Stuck Drill Bit from Wood
I will explain 3 different methods for various situations. Let’s start with the easiest.
1. Using a Pliers
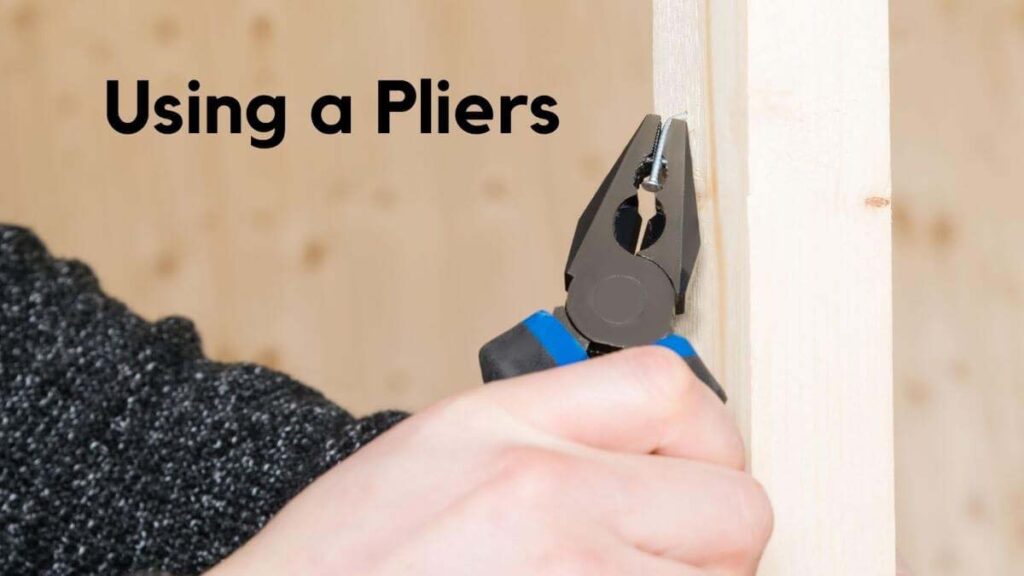
If the drill bit is a broken one and you can get to it, you’re fortunate. You’ll only need a plier and the following instructions to remove it.
● Step 1:Spread the pliers wide and hold the spindle tip to extricate the jammed drill bit from the wood.
Any plier with toothed jaws or one that has a locking mechanism will do. Take extra care, since the edges of the shattered bit may be razor-sharp. Take care not to harm oneself by accident.
● Step 2: By pressing the plier handles, swivel your bit counterclockwise. If the bit remains immobile, pour some lubricating oil into the hole to facilitate the removal of the stuck drill bit.
The majority of drills appear to rotate in a clockwise direction inward and outward in a counterclockwise direction.
● Step 3: When the drill bit is free and loose, remove it. If you jerk your pliers, you risk shattering the drill bit, which will make extraction much more difficult.
Read More: What is a Split Point Drill Bit & How it Works?
2. Using a Screw Extractor
Ok, before we describe this technique that involves the use of a screw extractor kit, let us first describe the equipment.
A screw removal kit is responsible for removing a headless or rusted screw after drilling the head.
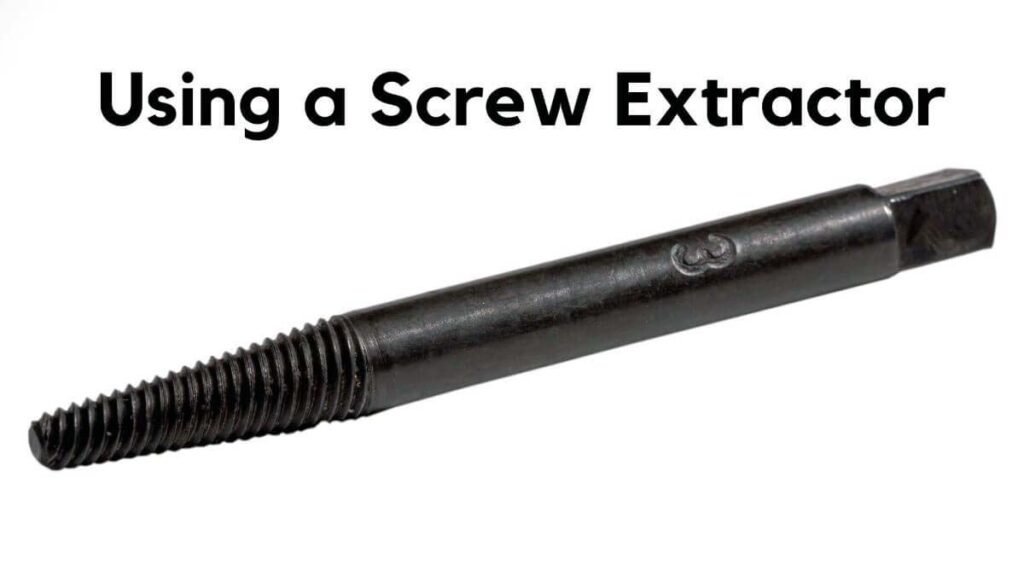
You can refer to the instructions in this video to gain a better understanding of how the system operates. View it immediately to ensure that the remainder of this post makes sense.
Using the screw removal method may be problematic when dealing with broken drill bits. The most challenging issue will be drilling a hole through the snapped drill bit’s breaking point.
That the breaking point is not flat, which makes starting a hole difficult. Another consideration is the toughness of the drill bit material.
Because drills are typically made of a more complex material than screws, the manufacturer creates the hole necessary for the remover to function.
Assume the piece was neatly snapped off and the bit is made of a medium-hard material. Follow these basic instructions to operate the screw extractor tool.
- Step 1: Select the appropriate size extractor tool for the broken bit. This method will not work if the drill bit is very thin and damaged.
- Step 2: Reverse your drill and insert your extractor equipment so that the drilling head protrudes.
Due to the relative softness of wood, you can easily pull the bit out when drilling. As always, use a high-quality drill for this.
- Step 3: To assist in cooling, dab a small amount of oil on the breaking point. Bore a hole for the extractor tool using the drilling end. Drill a quarter-inch-deep hole.
- Step 4: Unplug the extractor from the drill and replace it with the end inside the drill. Continue rotating the drill in the opposite way.
- Step 5: Continue pressing inwards while gradually initiating the practice. You’ll rotate the broken part out. That is all.
3. Drill Oppositely
Thus, another excellent approach to free a stuck drill that is not a wood drill is to drill in the opposite direction.
If another end of the wood is reachable and you wish to drill through it, you may use a drill similar in size to the one you are using to drill from the other side.
Take care not to repeat the error that caused the last exercise to fail. Additionally, exercise caution as touching the tip of the jammed drill may cause the new one to fracture.
So let’s go explicit about the details and actions you’ll need to perform.
- Step 1: The first step is to find the precise location of the jammed drill bit. You can accomplish this in a variety of ways, depending on the situation.
Assume you’re drilling perpendicular to the wood’s surface; in this instance, you can use graph paper to align one end with the product.
Following that, make a note on the graph paper of the location of the drill. Reverse the graph paper, using the same reference points, and make a note of the drilling location on the reverse side.
- Step 2: Using a drill, insert a bit with a smaller diameter than the broken bit and slowly begin drilling from the opposite side. Immediately come to a halt when you approach the other stuck drill. Assure that you drill in the same direction as the damaged drill.
- Step 3: Once you’ve identified the trapped drill from the opposite side, pound it out with a metallic rod or a screwdriver. Exercise utmost caution to prevent causing damage to the work piece.
Read More: What is a Mag Drill
Extra Tip: A Broken Drill Bit in Wood
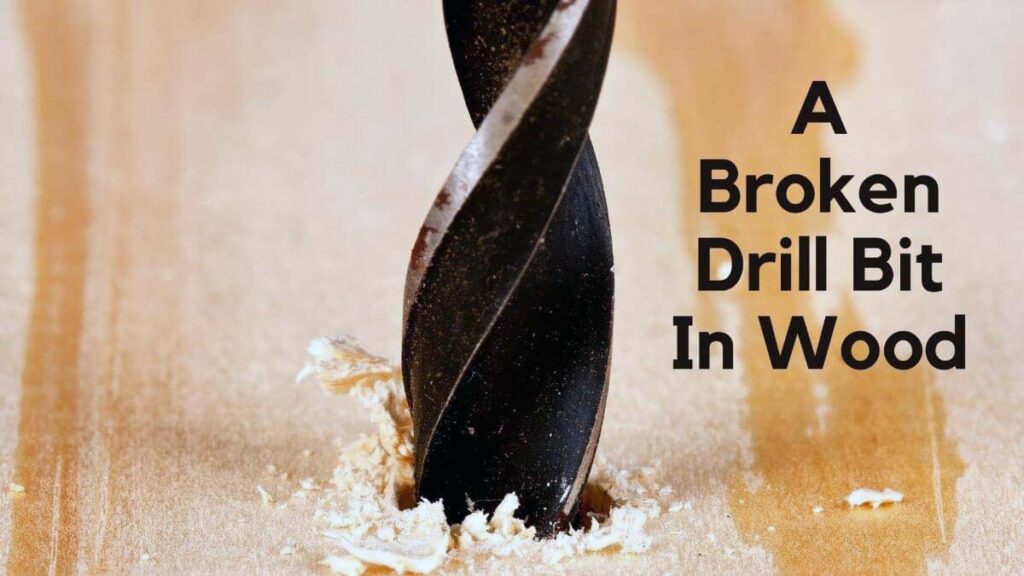
In other situations, the drill bit may have sheared off within the drill. If this is the case, it may be more difficult to perform one of the operations indicated above.
In this case, you’ll need pliers to grasp the damaged bit. Then begin softly rotating the chuck in either direction.
This method releases the bit’s pressure and enables it to be firmly detached from the drill.
As a short safety tip, keep in mind that drill bits contain sharp edges, especially if they fall off. As a result, caution should be exercised when working with the drill bit to avoid injury.
How to Avoid Drill Bits Getting Stuck?
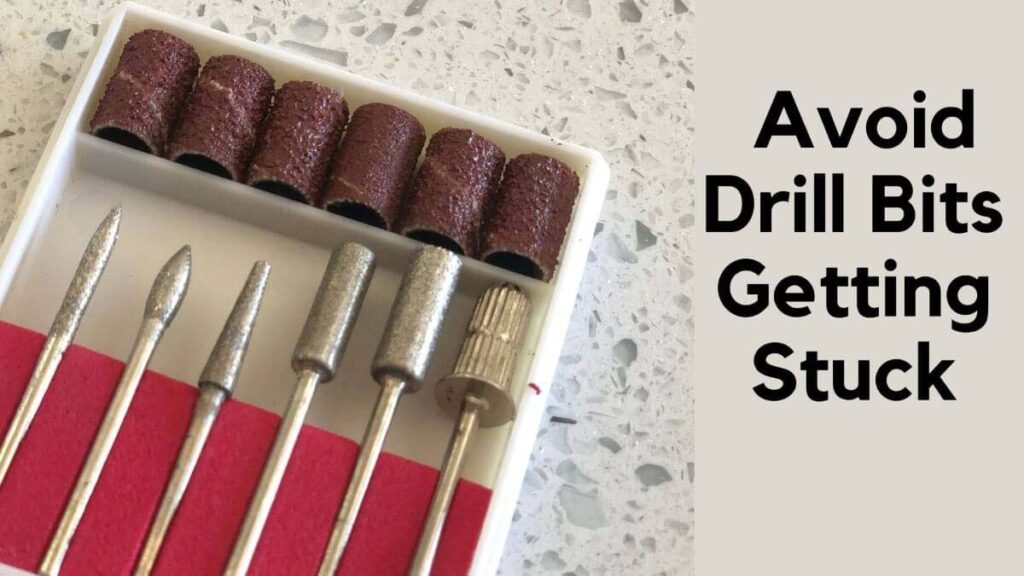
We showed you how to remove a stuck drill bit from wood. You can avoid this in the future. This will help you.
Guidelines for Wood Surfaces
- Always use well-maintained and sharp drill bits.
- Other parts are required for various types of wood. Ensure that you are always using the correct drill bit.
- Drill swiftly to avoid splintering or blowouts.
- After drilling multiple holes in hardwood, allow time for the drill bit to cool.
- When drilling into difficult-to-reach areas, such as hardwoods, use an expert drill.
Guidelines for Hard Surfaces
- To avoid bit staining, ensure that the drill bit is properly positioned and snugged in the drill. Drilling at slow rates on steel and hard surfaces such as cement is always recommended to avoid your drill bit from overheating and being damaged.
- Choose the correct drill bit for each surface, for example, a brickwork drill bit for concrete.
- Use coolant depending on the type of surface and the drilling process. Utilize a few droplets of oil when drilling into metal. Consider adding water to your drill when drilling into concrete to make the job easier and dust-free.
FAQ
How to Unstick a Spade Drill Bit?
Spade drills are typically used to create larger holes, which allows you to draw it out with a plier with long, thin jaws. Counterclockwise rotation of the drill makes it much easier to remove a spade drill bit.
How Did My Drill Bit Break?
Drill bits can fracture as a result of a variety of factors. The most common is to twist the pieces beyond their capability.
When the bit is not sharp enough or the hole is not properly drilled, the twisting forces increase. One cause of fractured drill bits is bending them as a result of improper drilling procedures.
Why Do Drill Bits Stick in Wood?
When a drill bit loses its cutting capacity, it can get caught in the wood. However, once it is no longer capable of cutting through the wood fibres, a drill bit will be able to enter the hole like a nail and become stuck.
Final Thought
There are a lot of different ways to get a drill bit out of wood. After reading this article, you are already familiar with three methods for removing broken drill bits.
As a result, you may resolve these issues on your own!
We appreciate your time in reading!

Hey, I am Shihab Uddin, I’m a huge fan of DIY crafts. My workshop is where I spend most of my spare time, and I’m always working on some project. To that end, I’d like to share some of my knowledge and experience with you in power tools, woodworking, and other specialized materials fabrication.
I will guide you with genuine knowledge that can assist you with deciding whether a drill is appropriate according to your requirements or not. If you want to find the best drill and know which type of drill is most suited for your needs, then I can guide you with my expertise. My passion lies in helping others find the correct products they need at an affordable price.

