
If you’ve ever had to change a drill bit or wanted to clean out your cordless drill, you know that the first step is removing the chuck. But what is a chuck? And how do you remove it?
I will show you how to remove the chuck from a cordless drill quickly and easily. Following these simple steps, you can remove chuck from your drill without problems.
This is an essential tutorial because often, times, the chuck can become stuck in the drill, preventing it from working correctly. By following these steps, you can fix your drill quickly and easily.
Table of Contents
What is a Chuck?
A chuck is a clamp that holds an object with a rotating shaft, such as a drill bit. Chucks are used in many power tools, including drills, lathes, and mills. There are three main types of chucks: keyless chucks, Jacobs chucks, and SDS chucks.
How Does Chuck Become Stuck In The Drill?
Chuck can become stuck in the drill for several reasons.
1. Chuck gets stuck in the drill because he tries to use it for something it was not meant for.
2. Chuck gets stuck in the drill because he does not correctly read the instructions.
3. Chuck gets stuck in the drill because he is not cautious enough.
4. Chuck gets stuck in the drill because he is not using the right tool for the job.
5. Chuck gets stuck in the drill because he is not adequately lubricated.
6. Chuck gets stuck in the drill because he does not have a quality cordless drill.
7. Chuck gets stuck in the drill because he does not have enough power.
8. Chuck can also get stuck due to dried paint or varnish.
9. Chuck can get stuck due to debris or sand between the chuck and the drill bit.
How to Remove a Chuck
Removing a chuck from a cordless drill is a simple process that can be done in just a few steps. First, detach the battery from the drill. Next, unscrew the chuck using the appropriate size wrench or socket. Finally, remove the chuck from the drill body.
The Different Types of Chucks.
Keyless Chucks
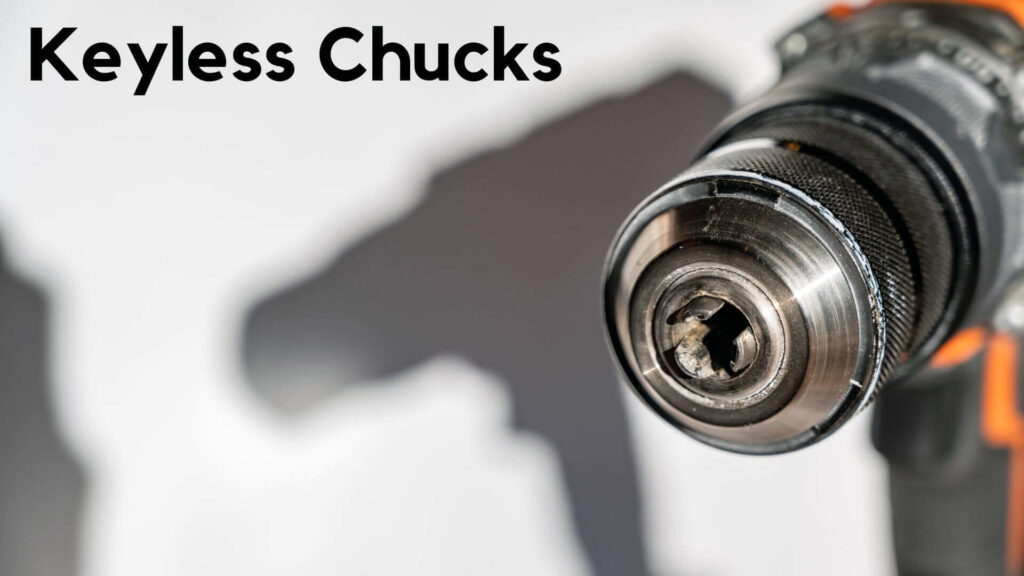
A keyless chuck is the simplest type of drill chuck. It relies on a tightening jaw to grip the drill bit and loosening the jaws to release it. To remove a drill bit from a keyless chuck, first, grip the drill bit with one hand. Then, use your other hand to twist the chuck clockwise until it loosens. Once the chuck is loose, you can pull the drill bit out with your first hand.
Jacobs Chucks
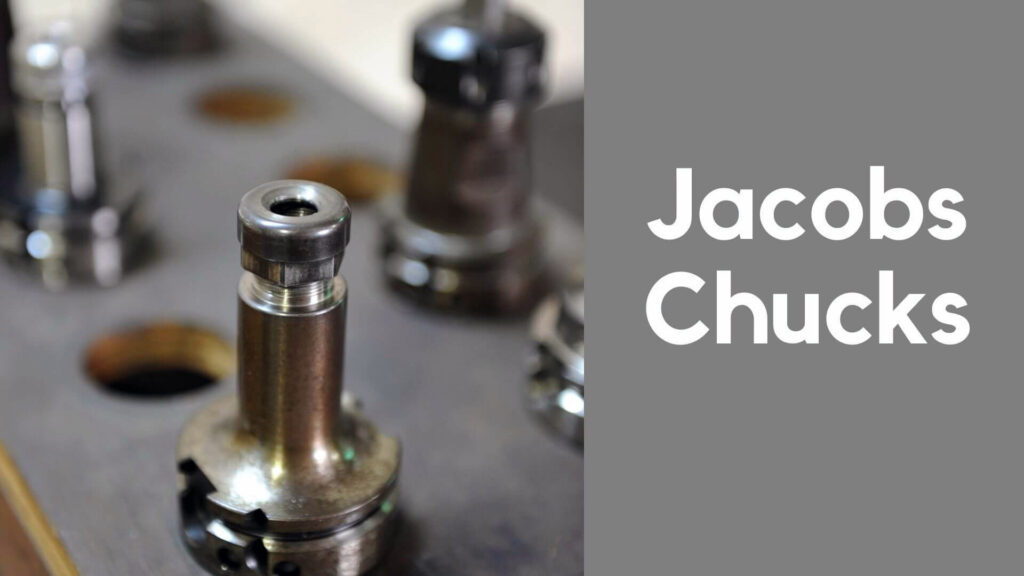
Jacobs chucks have a more complex design than keyless chucks but are also more versatile and easier to use.
To remove a drill bit from a Jacobs chuck, first locate the retaining ring at the base of the chuck. Then, use a wrench or pliers to loosen the retaining ring until it is no longer tight against the Chuck body.
Next, unscrew the Jacobs chuck from the drill body by turning it counterclockwise. Finally, pull the drill bit out of the now-loosened Jacobs chuck.
SDS Chucks
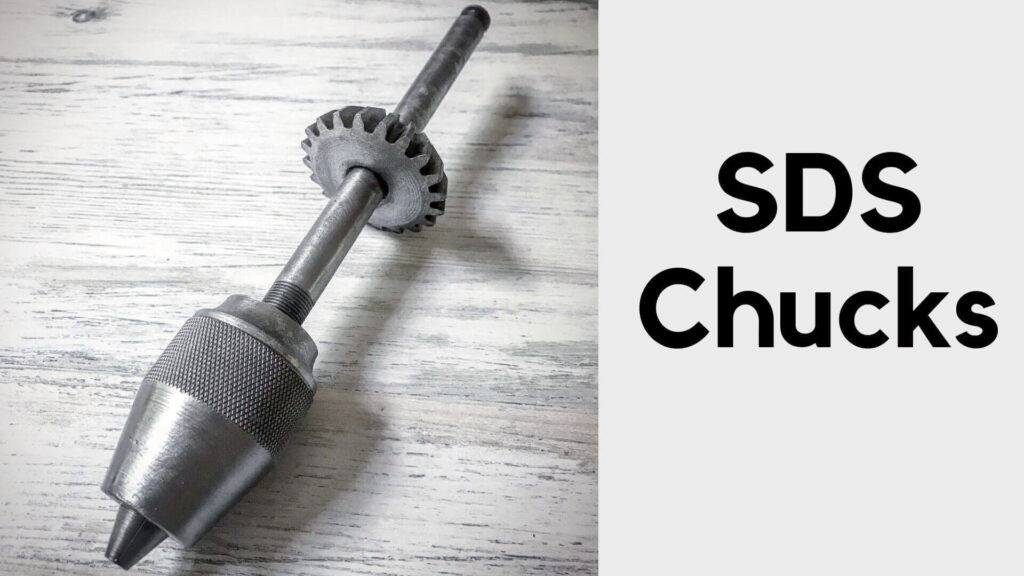
SDS (Slotted Drive System) chucks are similar in design to Jacobs chucks, but they have one significant advantage: they can be used with impact drivers and drills. First, locate the retaining collar at the base of The Chuck body to remove a drill bit from an SDS chuck.
Then, use a wrench or pliers to loosen The retaining collar until it is no longer tight against Chuck’s body.
Next, unscrew The SDS Chuck from The Drill body by turning It counterclockwise. Finally, pull The Drill Bit out of The now-loosened SDSChuck.
Check Also: How To Change A Drill Bit Without A Chuck Key And Save Time And Money
How to Remove a Chuck From a Cordless Drill in an Easy way
Step 1: Detach the Battery
Before attempting to remove the chuck from the cordless drill, it is essential first to detach the battery. This will ensure that the drill is not accidentally turned on while you are working on it.
Step 2: Unscrew the Chuck
Once the battery has been detached, you can proceed to unscrew the chuck from the drill. Simply use your fingers to twist the chuck in a counterclockwise direction until it comes loose.
Step 3: Remove the Chuck
Now that the chuck is unscrewed, you can simply pull it off the drill. Be careful not to lose any small parts that may have come with it, such as washers or O-rings. With the chuck removed, you should now be able to see inside the drill’s housing where the bits are stored.
Read More: How to Install Chuck on a Drill Press for Faster and Easier Drilling
FAQs About How to Remove Chuck from Cordless Drill
What is the best way to remove the chuck from the cordless drill?
To remove the chuck from the cordless drill, insert a hex wrench down the center of the chuck and loosen it until the chuck pulls out.
Do you need special tools to remove the chuck from the cordless drill?
Yes. A wrench is required to remove the chuck from a cordless drill.
Can I use a hammer to get the chuck out of the cordless drill?
No. Hammers are not designed for this purpose.
How much time does it take to remove the chuck from the cordless drill?
It takes a few seconds.
Conclusion
In conclusion, removing the chuck from a cordless drill can be beneficial for many reasons. It allows for more versatility with different types of bits and also makes it easier to clean the drill.
Thank you for taking the time to watch our quick and easy tutorial on how to remove a chuck from a cordless drill. By following these steps, you can fix your drill quickly and easily. We hope you found this tutorial helpful. Thank you again!

Hey, I am Shihab Uddin, I’m a huge fan of DIY crafts. My workshop is where I spend most of my spare time, and I’m always working on some project. To that end, I’d like to share some of my knowledge and experience with you in power tools, woodworking, and other specialized materials fabrication.
I will guide you with genuine knowledge that can assist you with deciding whether a drill is appropriate according to your requirements or not. If you want to find the best drill and know which type of drill is most suited for your needs, then I can guide you with my expertise. My passion lies in helping others find the correct products they need at an affordable price.
