A drill press is an essential tool for precise and efficient drilling operations, whether you are working on wood, metal, or plastic. One of the key components that determine its efficiency is the chuck. The chuck holds the drill bit securely in place and enables you to perform accurate drilling tasks.
If you need to install or replace a chuck on your drill press for smoother operation, this guide will walk you through everything you need to know. From understanding what a chuck is, to installing it using different methods, I’ve got you covered.
Table of Contents
What is a Chuck?
A chuck is a mechanical device used to hold a drill bit securely in place on the spindle of a drill press. It clamps around the shank of the bit, ensuring that it stays firm during drilling, which is essential for accuracy and safety. Chucks come in various sizes and types, designed to accommodate different drill bits, depending on the kind of drilling operation you’re performing.
Key features of a chuck:
Tapered fitting: The chuck is typically mounted onto the drill press spindle using a taper, which keeps it securely fastened.
Three jaws: Most common drill press chucks have three jaws that tighten uniformly around the drill bit when adjusted.
Chuck key: Many chucks come with a key to tighten or loosen the jaws, securing the bit in place.
What are the Different Types of Chucks?
There are several types of chucks available for drill presses, each serving a unique purpose depending on the specific drilling application. The most common types include:
- Keyed Chucks: These chucks require a chuck key to tighten or loosen the jaws around the drill bit. They offer excellent grip strength, especially for heavy-duty tasks, but require the use of a separate key for adjustments.
- Keyless Chucks: These can be tightened or loosened by hand without the need for a key. They are convenient and offer quick bit changes, making them ideal for light to medium-duty drilling.
- Jacobs Chucks: A specialized type of chuck often found in drill presses, Jacobs chucks are known for their high precision and strength. They come in both keyed and keyless variants.
- Self-Tightening Chucks: These chucks automatically tighten as the drill rotates, offering a solid grip on the drill bit during operation.
Understanding the type of chuck you need depends on the tasks you’ll be performing and how much convenience you prefer.
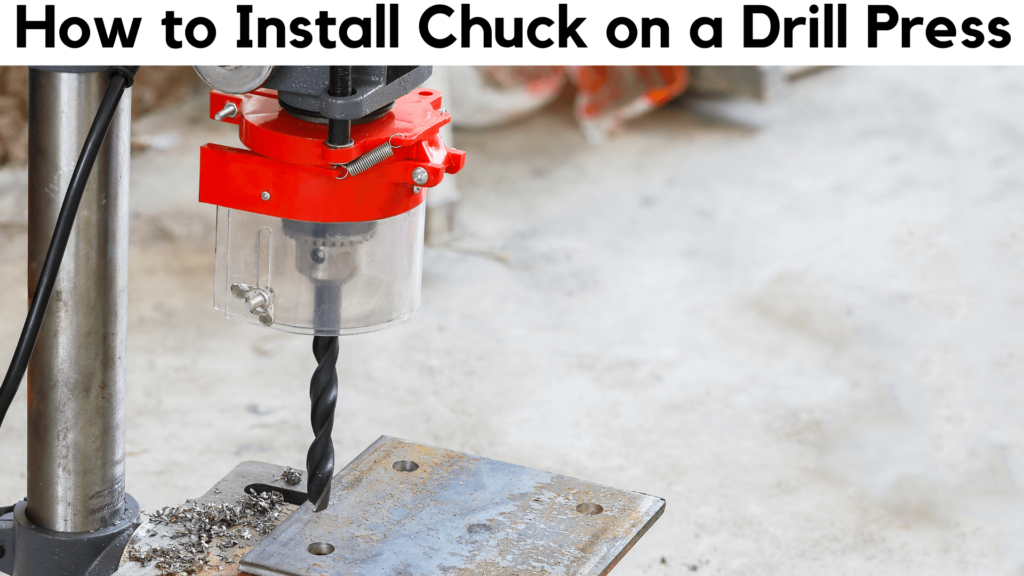
How to Install a Chuck on Your Drill Press?
When it comes to installing a chuck on your drill press, there are multiple methods to consider depending on the tools available and the type of chuck you’re working with. Below are the different methods you can use to install the chuck.
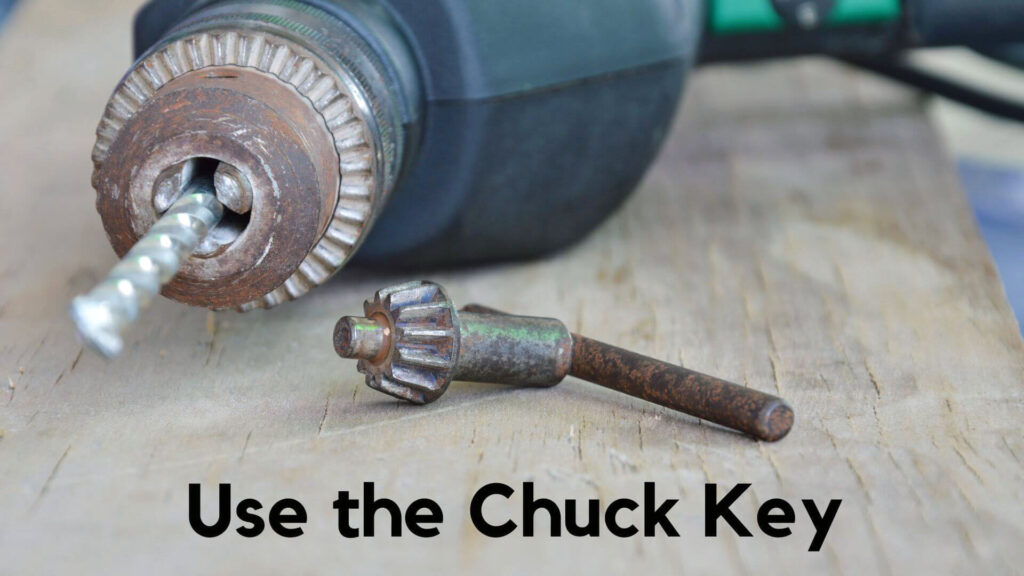
Methods 1: Use the Chuck Key

The chuck key is the most traditional and common way to install or remove a chuck. Here’s how to do it:
Tighten with the key: Use the chuck key to tighten the jaws around the drill bit and ensure everything is secured.
Prepare the chuck: Clean the spindle and the inside of the chuck to remove any debris or grease that may interfere with a secure fit.
Insert the chuck key: Fit the chuck key into the chuck’s hole, then turn it counterclockwise to open the jaws wide enough to insert a drill bit.
Align the taper: Position the chuck’s taper with the spindle’s taper, ensuring that they align properly.
Mount the chuck: Press the chuck onto the spindle by hand until it’s secure. You can give it a firm tap with a mallet to ensure it’s snug (just be careful not to damage the chuck).
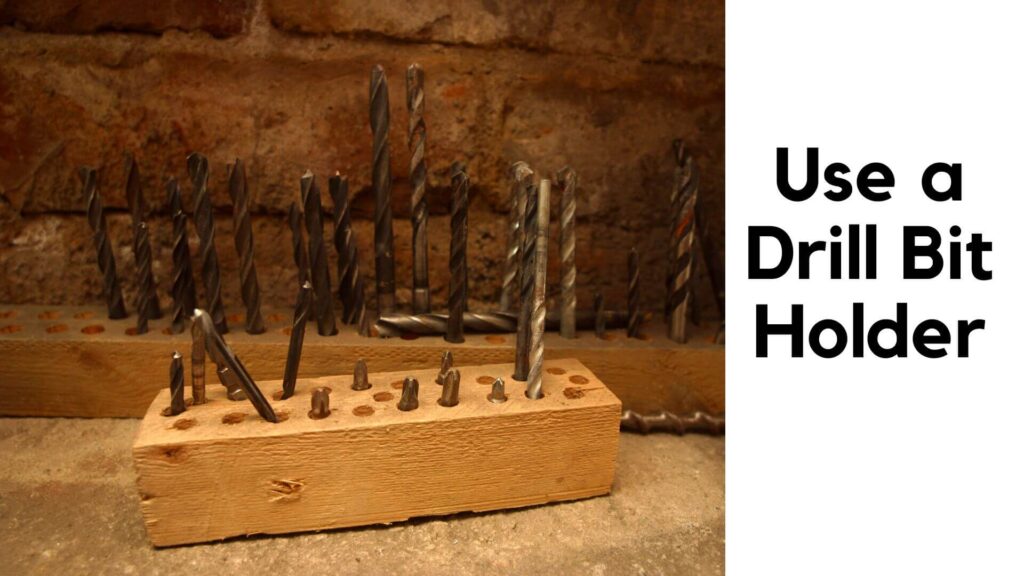
Methods 2: Use a Drill Bit Holder

This method is suitable for keyless chucks and allows for faster bit changes. Here’s how you can install the chuck with a drill bit holder:
Mount the chuck: Press the chuck onto the spindle by hand and give it a slight tap to ensure a tight fit.
Clean the spindle: Make sure the spindle and the inside of the chuck are clean.
Insert the bit holder: Open the jaws of the chuck wide enough to fit the drill bit holder.
Align the chuck: Position the bit holder into the chuck, ensuring everything aligns properly.
Tighten the jaws: Manually tighten the chuck around the bit holder by turning the chuck sleeve until it’s securely fastened.
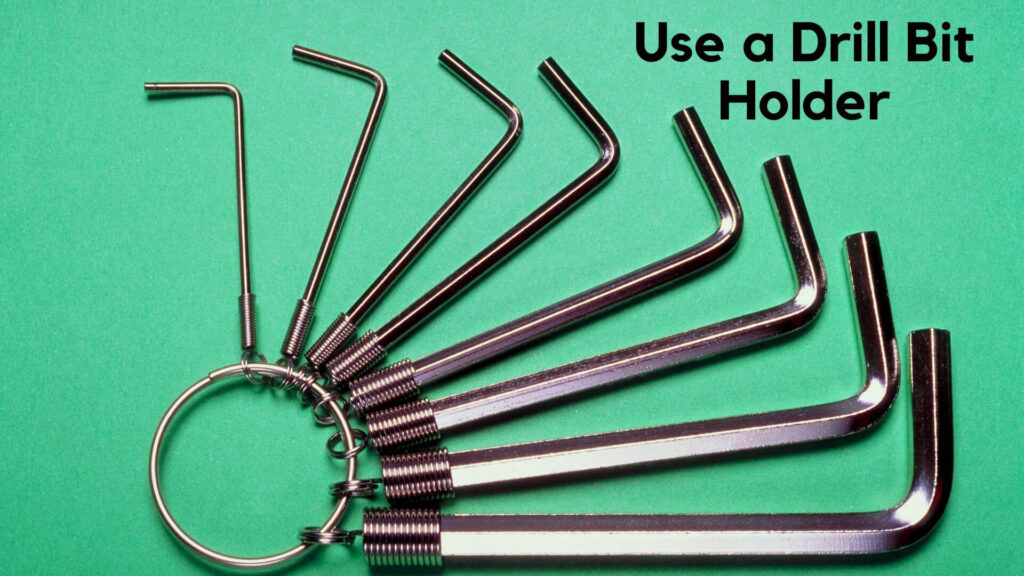
Methods 3: Use an Allen Wrench

Using an Allen wrench is another method that can help in installing a chuck without a chuck key. Here’s how it works:
Open the chuck: Use the Allen wrench to turn the chuck and open the jaws wide.
Insert the wrench: Place the Allen wrench inside the chuck and manually tighten it.
Mount the chuck: Position the chuck onto the spindle, and once aligned, press it firmly into place.
Tighten with the wrench: Continue tightening the Allen wrench to secure the chuck.
Methods 4: Reattach the chuck’s cover.
Once the chuck is installed, you may need to reattach any protective covers that came with the drill press or chuck. This step ensures the chuck and spindle are safe from dust and debris during operation.
Methods 5: Enjoy your newly installed chuck!
Once you’ve followed any of the methods mentioned above, you’re ready to use your newly installed chuck. Ensure that it’s secure and that the drill bit is properly clamped for smooth, accurate drilling.
Check Also: How To Change A Drill Bit Without A Chuck Key
What Type of Drill Press Do I Need a Chuck for?
Chucks are an essential part of all types of drill presses, but the specific type of chuck you need depends on the kind of drill press you have:
Magnetic Drill Press: These specialized drill presses may use more precise chucks like Jacobs chucks to ensure accuracy when drilling into metal.
Benchtop Drill Press: Typically used for lighter tasks, these models can use either keyed or keyless chucks depending on the user’s preference for convenience or grip strength.
Floor Drill Press: Larger and more powerful, these models are often paired with heavier-duty keyed chucks for extra security during intense drilling tasks.
Read More: How To Wire A Drill Press Switch Without A Wiring Diagram
What are the materials needed to install chuck on the drill press?
Before installing the chuck, gather the necessary materials:
- New Chuck: The replacement or upgrade chuck you want to install.
- Chuck Key or Allen Wrench: Depending on whether you’re using a keyed or keyless chuck.
- Mallet: A soft mallet for gently tapping the chuck into place if needed.
- Cleaning Supplies: A brush or cloth to clean the spindle and chuck.
- Lubricant (Optional): To ensure smooth operation of the chuck.
What is the process of installing a new chuck on the drill press?
Installing a new chuck on a drill press involves removing the old chuck, cleaning the spindle, and securely attaching the new one. Follow these steps:
- Remove the old chuck: Loosen the jaws of the old chuck using a chuck key or Allen wrench and gently tap it off the spindle.
- Clean the spindle: Use a brush or cloth to clean the spindle and remove any dirt or grease.
- Align the new chuck: Position the new chuck’s taper with the spindle and press it onto the drill press.
- Secure the chuck: Use a chuck key, Allen wrench, or your hands (for keyless chucks) to tighten the chuck and secure it in place.
- Test the chuck: Insert a drill bit and test the chuck to ensure it’s properly installed and functional.
What is a necessary safety precaution for installing a new chuck on the drill press?
When installing a chuck on your drill press, always disconnect the power to the machine. This prevents accidental starts during installation, which can result in injury. Additionally, wear protective gloves and eye protection to avoid injury while handling the chuck and spindle.
Last Thoughts
Installing a chuck on a drill press is a straightforward process that enhances your tool’s performance and efficiency. Whether you’re replacing an old chuck or installing a new one, the key is to ensure that everything is properly aligned and securely fastened. By following the methods outlined in this guide, you’ll be able to install a chuck quickly and easily, resulting in smoother drilling operations.

Hey, I am MD Hrithik Hossain, I’m a huge fan of DIY crafts. My workshop is where I spend most of my spare time, and I’m always working on some project. To that end, I’d like to share some of my knowledge and experience with you in power tools, woodworking, and other specialized materials fabrication.
I will guide you with genuine knowledge that can assist you with deciding whether a drill is appropriate according to your requirements or not. If you want to find the best drill and know which type of drill is most suited for your needs, then I can guide you with my expertise. My passion lies in helping others find the correct products they need at an affordable price.


