An impact driver is a powerful tool used for driving screws and fasteners into various materials. It is a reliable device for professionals and DIY enthusiasts, but one of the critical aspects of using an impact driver is understanding how to change and remove bits correctly.
Whether you are switching between tasks or dealing with a stuck bit, knowing the proper removal process is essential for both efficiency and tool longevity. In this guide, I will walk you through the process of removing a bit from an impact driver, while also addressing common challenges, precautions, and maintenance tips.
Table of Contents
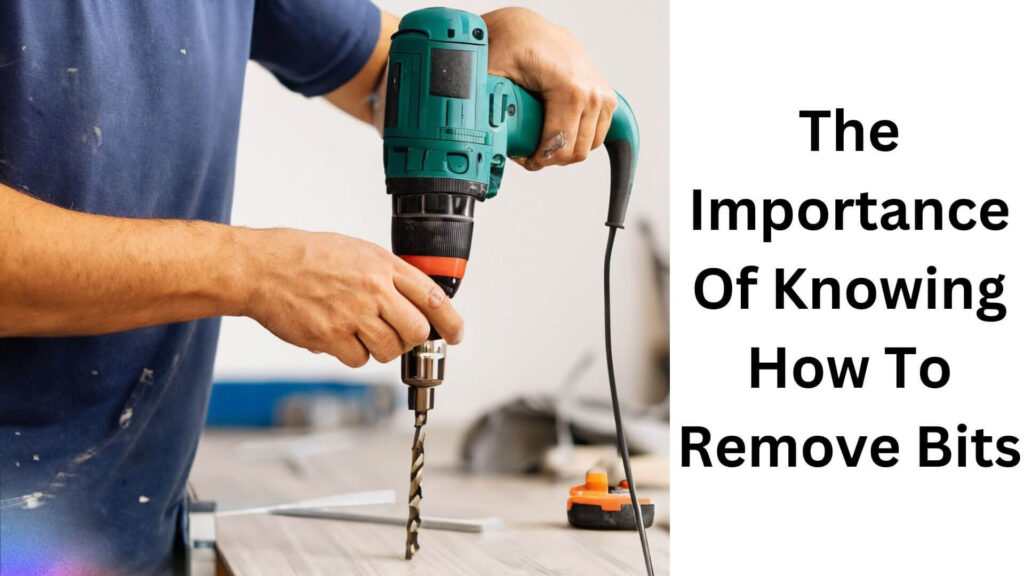
The Importance Of Knowing How To Remove Bits
Understanding how to remove bits from your impact driver is a crucial skill for any tool user. Not only does it ensure a smooth workflow when switching between bits for different tasks, but it also helps prevent damage to both the tool and the bit. Failing to remove the bit correctly could lead to breakage, jams, or even injury.

Key Benefits of Knowing How to Remove Bits:
- Efficiency: Being able to quickly and safely swap bits means less downtime during projects, leading to faster task completion.
- Tool Longevity: Regularly removing and inspecting bits prevents wear and tear on the driver’s chuck and helps you detect potential issues before they worsen.
- Safety: Mishandling or forcing a stuck bit can lead to injury, especially if the tool is powered during removal.
Read More: Top 7 impact drivers chosen by electricians for ultimate performance
Tools And Equipment Required
Before we dive into the step-by-step guide on removing a bit, it’s important to have the right tools and equipment. Thankfully, the process of removing a bit from an impact driver doesn’t usually require much beyond what you already have.
Required Tools and Equipment:
- Impact Driver: The tool you’re working with.
- Hex Key or Small Screwdriver (Optional): For situations where the bit is stuck.
- Cleaning Cloth or Brush: To clean any debris after removal.
- Lubricant (Optional): For stuck bits that need a bit of loosening.
These basic tools will help ensure that you can remove the bit quickly and safely, whether the task is routine or involves troubleshooting.
Step-By-Step Process On How To Remove A Bit From An Impact Driver
Removing a bit from an impact driver is a straightforward process, but doing it correctly is essential to avoid damaging the tool or injuring yourself. Here’s a simple guide to follow:
Step 1: Power Off the Impact Driver
Before attempting to remove a bit, make sure the impact driver is turned off and unplugged or that the battery is removed. This ensures that the tool won’t accidentally power on while you’re handling the bit.
Step 2: Locate the Bit Release Mechanism
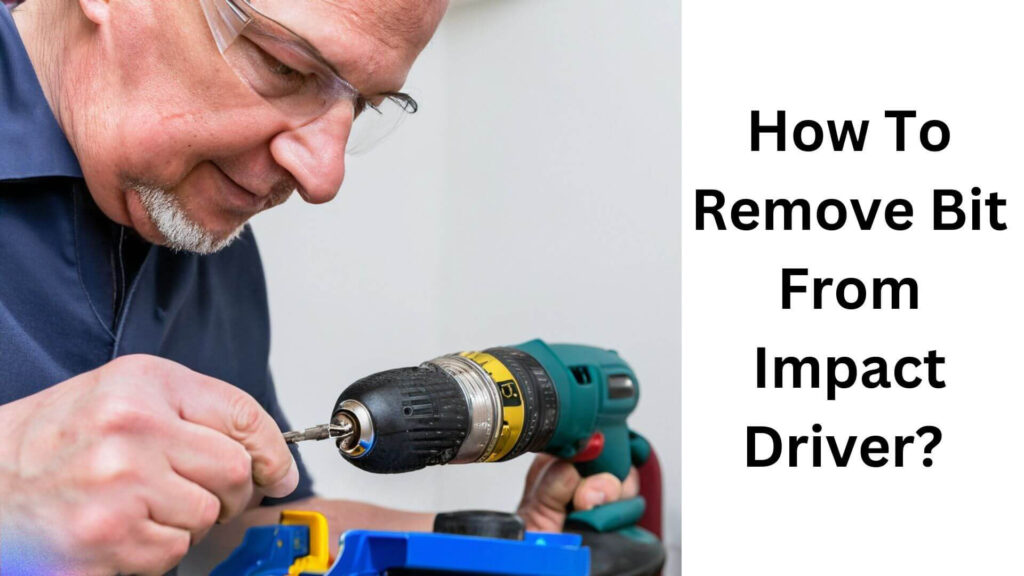
Impact drivers typically feature a quick-release mechanism in the chuck, which is a metal sleeve at the front of the tool that holds the bit. Depending on the model of your impact driver, the mechanism may work slightly differently, but most have a spring-loaded collar that you need to pull.
Step 3: Pull the Collar Away from the Bit
Firmly grip the metal collar around the chuck and pull it away from the bit. This action will release the bit from the chuck’s internal mechanism. Keep the collar pulled back throughout the process.
Step 4: Remove the Bit
With the collar pulled back, use your other hand to gently pull the bit straight out of the chuck. If the bit doesn’t slide out immediately, try twisting it slightly while pulling, but do not force it, as this could damage the driver or the bit.
Step 5: Inspect the Bit and Chuck
Once the bit is removed, inspect both the bit and the chuck for any debris or signs of wear. If necessary, clean them using a brush or cloth. Keeping the chuck and bits clean will help ensure smooth operation and prevent future issues.
Read More: How to Put Drill Bit in Impact Driver?
Helpful Tips On Troubleshooting Common Issues While Removing The Bit
Occasionally, you may encounter difficulties when trying to remove a bit from your impact driver. Here are some common problems and troubleshooting tips to help you resolve them:
Problem 1: The Bit Is Stuck in the Chuck
If the bit is stuck and doesn’t come out after pulling the collar, try applying a few drops of lubricant (such as WD-40) around the bit to loosen it. Let the lubricant sit for a few minutes, then attempt to remove the bit again. In some cases, gently tapping the bit with a small hammer or using a pair of pliers to grip it can help release it.
Problem 2: The Quick-Release Collar Won’t Pull Back
If the collar mechanism is jammed, dirt or debris may be obstructing it. Clean the area around the chuck with a brush or compressed air, and then try pulling the collar again. If the issue persists, check the tool’s manual to ensure the release mechanism is functioning correctly.
Problem 3: The Bit Is Worn and Won’t Engage the Release Mechanism
Over time, bits can become worn down, making them difficult to remove. If this happens, use pliers or a wrench to grip the bit firmly and pull it out while holding back the collar.
Cautions And Warnings To Be Mindful Of During The Process
Safety should always be a top priority when working with power tools. Here are some important cautions and warnings to keep in mind while removing bits from an impact driver:
Avoid Overheating: If the tool or bit becomes hot during use, allow them to cool down before attempting to remove the bit. Hot bits can cause burns or get stuck due to expansion from the heat.
Always Turn Off the Tool: Never attempt to remove a bit while the impact driver is powered on or plugged in, as this can lead to accidental activation and injury.
Use Proper Grip: Be mindful of how you hold the tool. A firm grip on the collar and bit is essential, but don’t use excessive force, which could cause the bit to break.
Wear Safety Gear: When working with tools, it’s always a good idea to wear safety gloves and protective eyewear to prevent injury from flying debris or accidental slips.
Common Mistakes To Avoid
Even seasoned tool users can make mistakes when removing bits from impact drivers. Here are some common errors to avoid:
1. Forgetting to Power Off the Tool
Attempting to remove a bit from a powered impact driver is not only dangerous, but it also risks damaging the tool. Always ensure the tool is off and unplugged or that the battery is removed before starting.
2. Using Excessive Force
If a bit doesn’t come out easily, resist the temptation to force it. Using too much force can damage the chuck or the bit, leading to more significant problems down the road.
3. Neglecting Maintenance
Failing to clean the chuck or inspect bits regularly can lead to jams and worn parts, making bit removal more difficult. Make maintenance part of your routine to avoid these issues.
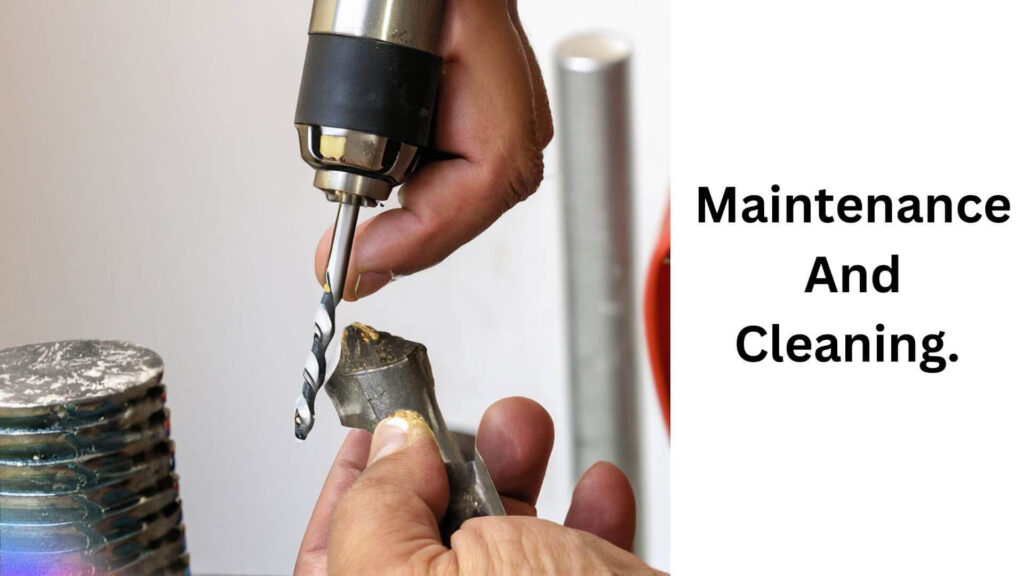
Maintenance And Cleaning Tips
Regular maintenance and cleaning of your impact driver can prolong its life and make tasks like bit removal easier. Here’s how to take care of your tool:

Clean the Chuck
After each use, wipe down the chuck and collar mechanism to remove dust, dirt, and debris. You can use a soft brush or compressed air to clean hard-to-reach areas.
Lubricate Moving Parts
Apply a small amount of lubricant to the moving parts of the chuck to ensure smooth operation. This is particularly important if you notice the collar becoming stiff or difficult to pull.
Inspect and Replace Worn Bits
Check your bits regularly for signs of wear or damage. Worn bits not only perform poorly, but they can also get stuck in the chuck more easily.
Frequently Asked Questions Of How To Remove Bit From Impact Driver?
1. Why won’t my impact driver bit come out?
- A stuck bit can be caused by dirt, debris, or wear. Try cleaning the chuck and applying lubricant to the bit before attempting to remove it again.
2. Can I use pliers to remove a stuck bit?
- Yes, pliers can be used to grip the bit more firmly if it’s stuck. Be careful not to apply too much pressure, as this could damage the bit or the tool.
3. How often should I clean the chuck?
- It’s a good idea to clean the chuck after each use, especially if you’ve been working in dirty or dusty environments.
4. What should I do if the quick-release mechanism is jammed?
- If the quick-release collar won’t pull back, try cleaning the area around the chuck and applying some lubricant. If the issue persists, consult your tool’s manual for further guidance.
5. Can I use any bit with an impact driver?
- Impact drivers are designed for ¼-inch hex shank bits, which are stronger and more durable than regular drill bits. Using the correct bits will prevent jamming and wear.
Final Thoughts
Knowing how to remove a bit from an impact driver is a fundamental skill that every tool user should master. By following the step-by-step process outlined in this guide, you can ensure that bit changes are quick, efficient, and safe.
Additionally, regular maintenance and attention to detail will keep your impact driver in excellent working condition, preventing common issues like stuck bits or jammed mechanisms. Always prioritize safety, use the right tools for the job, and make routine cleaning a habit to prolong the life of your impact driver and its accessories.
With these tips, you’re ready to tackle bit changes with confidence and keep your impact driver running smoothly for years to come.

Hey, I am MD Hrithik Hossain, I’m a huge fan of DIY crafts. My workshop is where I spend most of my spare time, and I’m always working on some project. To that end, I’d like to share some of my knowledge and experience with you in power tools, woodworking, and other specialized materials fabrication.
I will guide you with genuine knowledge that can assist you with deciding whether a drill is appropriate according to your requirements or not. If you want to find the best drill and know which type of drill is most suited for your needs, then I can guide you with my expertise. My passion lies in helping others find the correct products they need at an affordable price.


