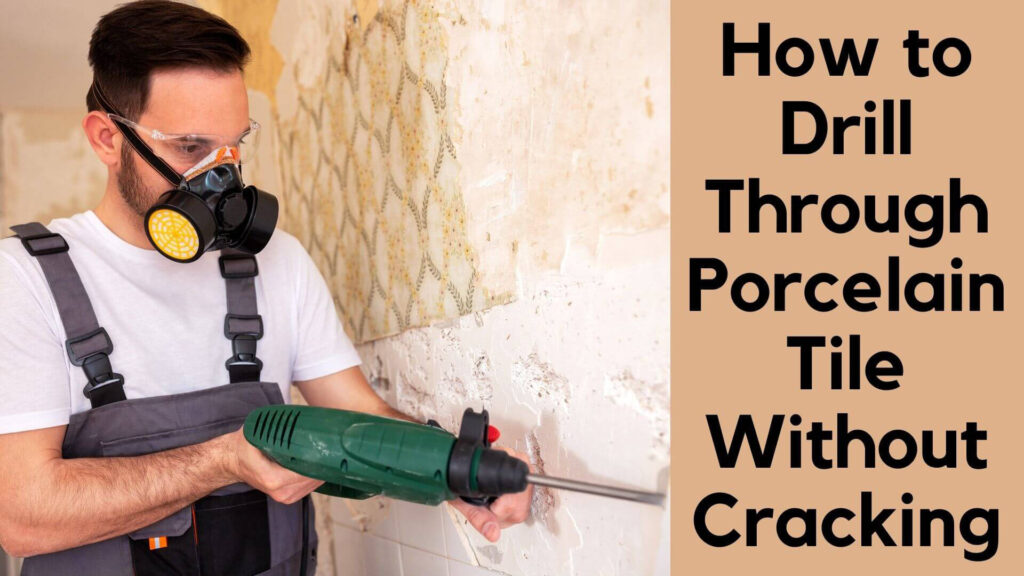
Porcelain tiles are a popular choice for flooring, countertops, and bathroom walls due to their durability and aesthetic appeal. However, their toughness can make drilling through them challenging, especially when trying to avoid cracks. Drilling through porcelain tiles requires specific techniques and tools to ensure that the tiles remain intact. In this guide, we will walk you through six simple steps to drill through porcelain tile without cracking it, as well as provide insights into the proper equipment, best practices, and common pitfalls to avoid.
Table of Contents
What Is Porcelain Tile?
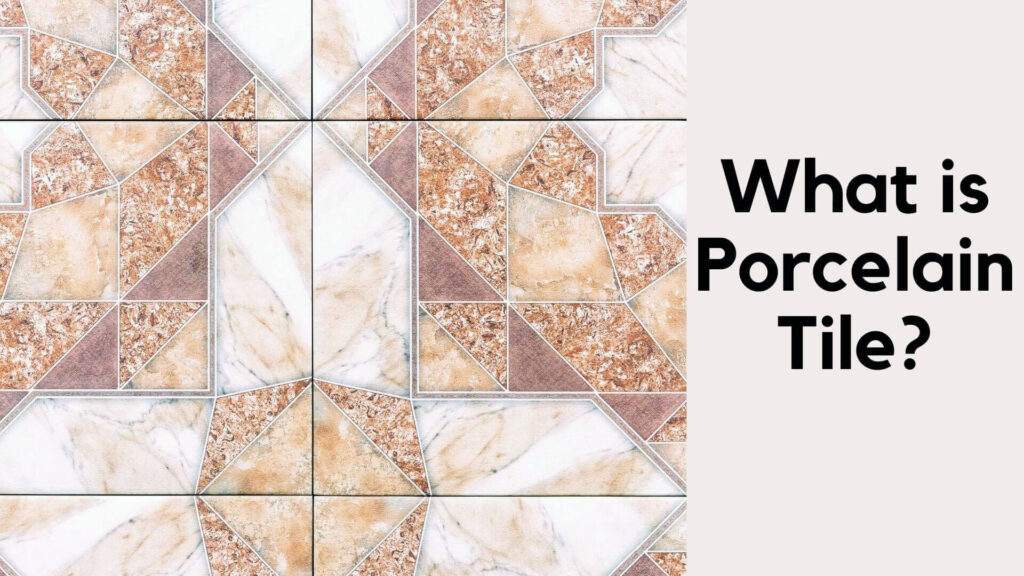
Porcelain tile is a type of ceramic tile made from a refined clay fired at high temperatures. This process gives porcelain tiles a dense, hard, and highly durable surface that is resistant to water and wear. The material’s toughness makes it ideal for high-traffic areas, as it can withstand heavy use and extreme conditions.
There are two primary types of porcelain tiles:
- Glazed Porcelain: These tiles have a glass-like coating on the surface that gives them a glossy finish.
- Unglazed Porcelain: These tiles have a more natural, matte finish, often mimicking the appearance of stone.
Porcelain tiles are often chosen for areas exposed to moisture, like bathrooms and kitchens, but their density and hardness make them more difficult to work with, especially when drilling or cutting.
The Proper Equipment for the Job
Before attempting to drill through porcelain tile, it’s crucial to gather the right tools and equipment. This will not only make the process smoother but also reduce the risk of damaging the tile.
A suitable drill bit
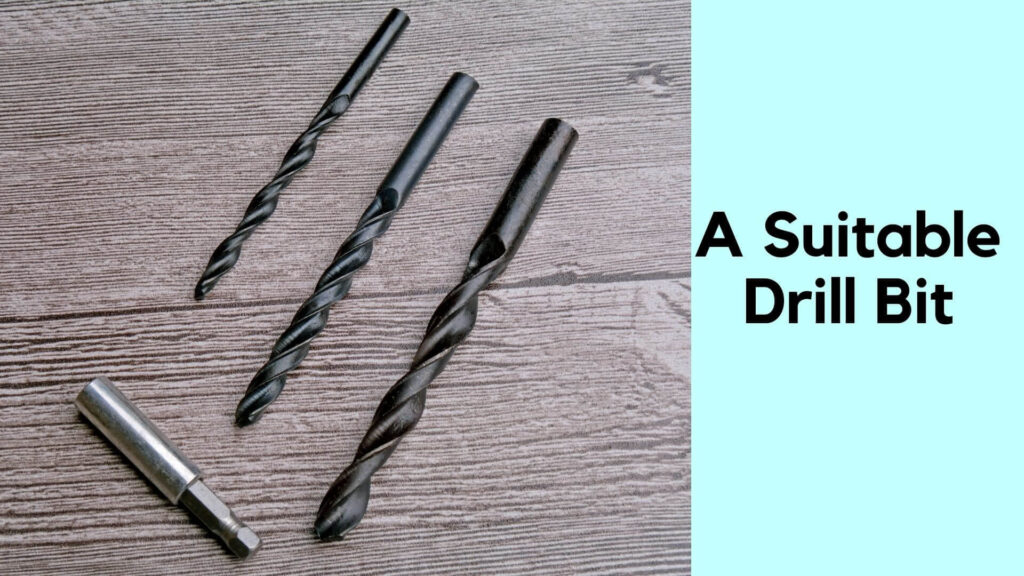
The most important tool you’ll need is a diamond-tipped drill bit. Porcelain tiles are extremely hard, and standard drill bits used for wood or metal won’t be able to penetrate the surface. Diamond drill bits are specifically designed for cutting through hard materials, including porcelain, glass, and stone.
A Drill with an Adjustable Trigger Speed
It’s also essential to have a drill with adjustable speed settings. Drilling through porcelain requires slow and controlled movements to prevent cracking. Drills with adjustable speed triggers allow you to start slow and then gradually increase the speed as needed.
Cooling Lubricants
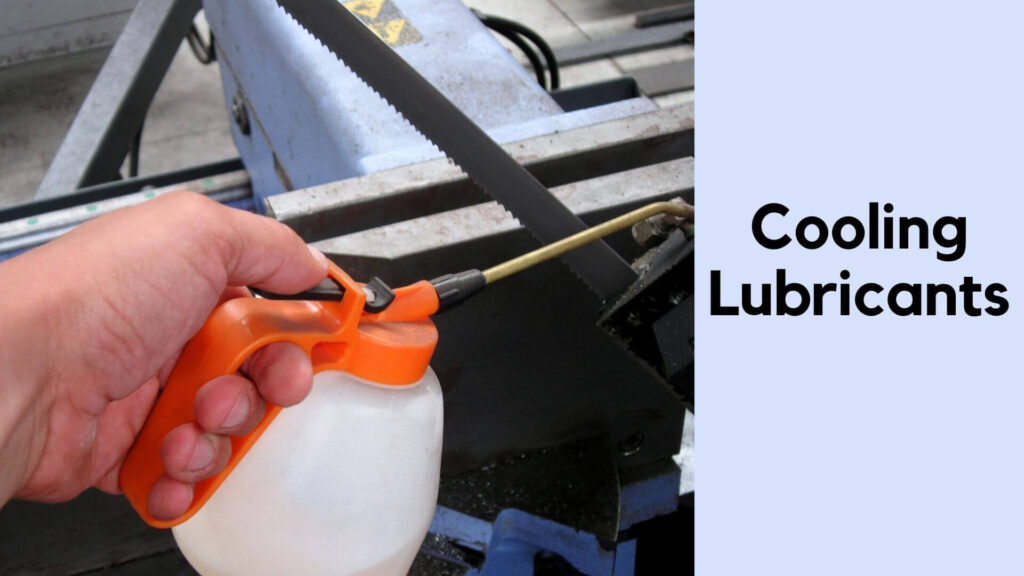
- Regardless of the drill bit used, it will become boiling. A coolant, such as cutting oil or even water, will assist in cooling the bit.
- Use a sponge or spray bottle to administer water often, and be prepared to do it frequently.
Even a beginner DIYer can make holes in dense, hard porcelain tiles with the right drill bit.
The key to success is preparation, which may necessitate the purchase of a diamond or carbide drill bit. A standard masonry or tile drill bit will be inadequate for this task.
Many first-time drillers may find acquiring a diamond drill a bit odd. However, due to their longevity, carbide and diamond are widely used in a range of instruments, such as:
- Saw Blades
- Lathes Blades
- Router Blades
- Dental Drills
- Measuring tape.
- Marker or pencil.
A homeowner or handyman who possesses a drill bit with these characteristics will be able to drill through a range of hard tiles and surfaces.
Porcelain and ceramic tiles are prevalent throughout the home, particularly in the kitchen and bathroom. There is a possibility that you will need to drill through the tile many times.
What Kind Of Drill Bit Is Best For Porcelain Tile?
As mentioned earlier, the best drill bit for porcelain tiles is a diamond-tipped drill bit. These bits are coated with fine diamond particles, which give them the ability to cut through dense and hard surfaces like porcelain, glass, and ceramics. Diamond bits come in various sizes, so choose one based on the size of the hole you need to make.
Carbide-tipped masonry bits are also an option for drilling through porcelain, though they are less effective than diamond bits and more prone to wearing out quickly. Carbide bits may work for smaller jobs, but for larger or more frequent drilling tasks, diamond-tipped bits are the way to go.
Why is Drilling through Porcelain Tile so Hard?
Drilling through porcelain tile is difficult because of its density and hardness. Porcelain is fired at extremely high temperatures, which results in a durable but brittle material. This means that while the surface is tough, it’s also prone to cracking under pressure, especially if the correct technique isn’t used.
The glaze on some porcelain tiles adds another layer of difficulty, as it’s slippery and hard, making it easy for drill bits to slip and scratch the surface. Without proper care, applying too much pressure or using the wrong bit can result in chips, cracks, or shattered tiles.
What You Should Know Before Trying to Drill Through Porcelain Tile?
Before you begin drilling into porcelain tile, there are a few key things to keep in mind:
- Go Slow: Rushing the process is a common mistake. Drilling too quickly or applying too much pressure can cause the tile to crack.
- Cool the Drill Bit: Drilling through hard materials generates a lot of heat. Use water to cool the drill bit as you work to prevent it from overheating.
- Protect the Tile Surface: Start drilling slowly to avoid slipping, which could damage the tile surface or cause chips.
- Wear Safety Gear: Always wear safety goggles and gloves when drilling to protect yourself from tile dust and debris.
By keeping these tips in mind, you’ll reduce the likelihood of cracking or damaging the tile during the drilling process.
How To Drill Through Porcelain Tile Without Cracking It?
Drilling through porcelain tile requires precision and patience. Follow these 6 steps to get the job done without causing damage.
Step 1: Drive the drill bit into the tile at a moderate speed.
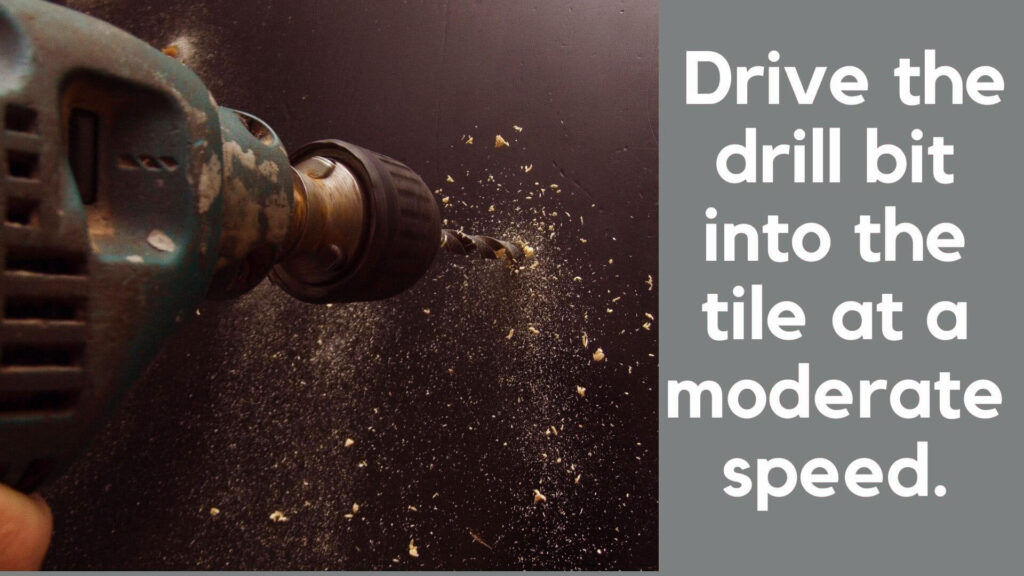
Start by marking the spot where you want to drill with a pencil. To prevent the drill bit from slipping on the glazed surface, place a piece of masking tape over the spot to provide extra grip.
Attach the diamond-tipped drill bit to your drill and set the drill to a low or moderate speed. Start drilling at an angle to create a small dent in the tile, which will help the bit grip the surface. Once the drill bit is steady, move the drill to a vertical position and continue drilling straight into the tile.
Step 2: Stop the drill bit as soon as it goes through the tile.
As you drill, maintain steady pressure but don’t force the drill bit through the tile. Let the bit do the work. Once you feel the bit breaking through the other side of the tile, stop drilling immediately. Continuing to drill past this point can damage the surface beneath the tile or create unnecessary pressure that could cause cracks.
Step 3: Carefully remove the drill bit.
Once the hole is complete, carefully pull the drill bit out of the tile. Don’t jerk the drill or remove the bit too quickly, as this could crack the tile or widen the hole unintentionally.
Step 4: Clean the drill bit and repeat the process.
After completing each hole, clean the drill bit with water or a damp cloth to remove any tile dust or debris. Keeping the bit clean will ensure it continues to cut efficiently and prevent overheating during the next hole.
Step 5: Use water to cool the porcelain tile.
It is essential to use water when drilling through any tile, especially porcelain tile. As the drill bit and tile come into contact, a tremendous amount of friction is created, which generates a great deal of heat.
Although diamond-tipped drill bits are resilient, they are not indestructible. Allowing the bit to overheat decreases the tool’s durability and the quality of the holes drilled. It can implement several techniques to keep the drilling site moist and cool:
- If you are drilling through floor or countertop tile, or if your tile has not yet been completed, try using putty to create a tiny pool of water around the drill site. Fill this pool with a small amount of water to cool the drill bit continuously during the process.
- A spray bottle is an excellent device for keeping drill areas moist. Spray the area surrounding your drill hole periodically with water.
- Use a wet sponge or towel to moisten the drill bit and hole. Additionally, you can squeeze a small amount of water on the wall above the crater and allow it to drop around the drill bit.
- A simple cup of water would suffice as well. Dip your drill bit in water occasionally to cool it down and remove any tile fragments that have adhered to it.
Step 6: Consult a professional if you experience issues with drilling through porcelain tile.
If you’re having trouble drilling through porcelain tile or are concerned about damaging the tile, don’t hesitate to consult a professional. An expert can help assess the situation and ensure that the drilling process is done correctly, especially for large or complex projects like bathroom renovations or kitchen backsplashes.
Read More: How To Drill Marble Without Cracking Step by Step
How to Knock Out Tough Porcelain Tile with a Hammer and Chisel?
In cases where you need to remove old porcelain tiles or create larger holes, a hammer and chisel can be used. However, this method should be approached with caution, as porcelain is prone to cracking under impact.
- Mark the area: Use a pencil to outline the area you want to remove or break through.
- Start gently: Begin by tapping the chisel lightly along the marked lines. Gradually increase the force as you work your way through the tile.
- Work in small sections: To avoid cracking the entire tile, work in small sections and use a steady, controlled motion.
This technique is best reserved for removing tiles or creating large holes where precision drilling is not needed.
Read More: How To Drill A Hole In Silverware With This Simple Trick
Things to Avoid When Drilling Through Porcelain Tile
When drilling through porcelain tile, avoid these common mistakes to protect your tile and ensure a successful outcome:
- Using the wrong drill bit: Don’t attempt to use standard drill bits meant for wood or metal. Always opt for a diamond-tipped or carbide-tipped bit.
- Applying too much pressure: Pressing too hard on the drill can crack the tile. Let the drill bit do the work and apply only light, steady pressure.
- Drilling too fast: Drilling at a high speed generates excess heat, which can cause the tile to crack. Stick to a low, controlled speed throughout the process.
- Skipping the cooling step: Failing to cool the drill bit and tile with water can lead to overheating, increasing the risk of breakage.
- Starting with high speed: Always begin drilling slowly to prevent the bit from slipping on the tile’s surface.
By avoiding these pitfalls, you’ll increase the likelihood of drilling through porcelain tile without damage.
Conclusion
Drilling through porcelain tile doesn’t have to be intimidating. With the right tools, a steady hand, and a patient approach, you can successfully drill through porcelain tile without cracking it. Always make sure to use a diamond-tipped drill bit, apply water for cooling, and drill at a moderate speed to avoid causing damage.
By following these six easy steps and keeping in mind the tips and precautions discussed, you can confidently take on projects that involve drilling through porcelain tile. Whether you’re installing fixtures in your bathroom, adding shelves to your kitchen, or mounting decor to tiled surfaces, drilling through porcelain is a manageable task when done with care.
Should you encounter difficulties or need to handle particularly tough tiles, don’t hesitate to consult a professional for assistance. With the right guidance, you can get the job done without compromising the beauty and integrity of your porcelain tiles.

Hey, I am MD Hrithik Hossain, I’m a huge fan of DIY crafts. My workshop is where I spend most of my spare time, and I’m always working on some project. To that end, I’d like to share some of my knowledge and experience with you in power tools, woodworking, and other specialized materials fabrication.
I will guide you with genuine knowledge that can assist you with deciding whether a drill is appropriate according to your requirements or not. If you want to find the best drill and know which type of drill is most suited for your needs, then I can guide you with my expertise. My passion lies in helping others find the correct products they need at an affordable price.

