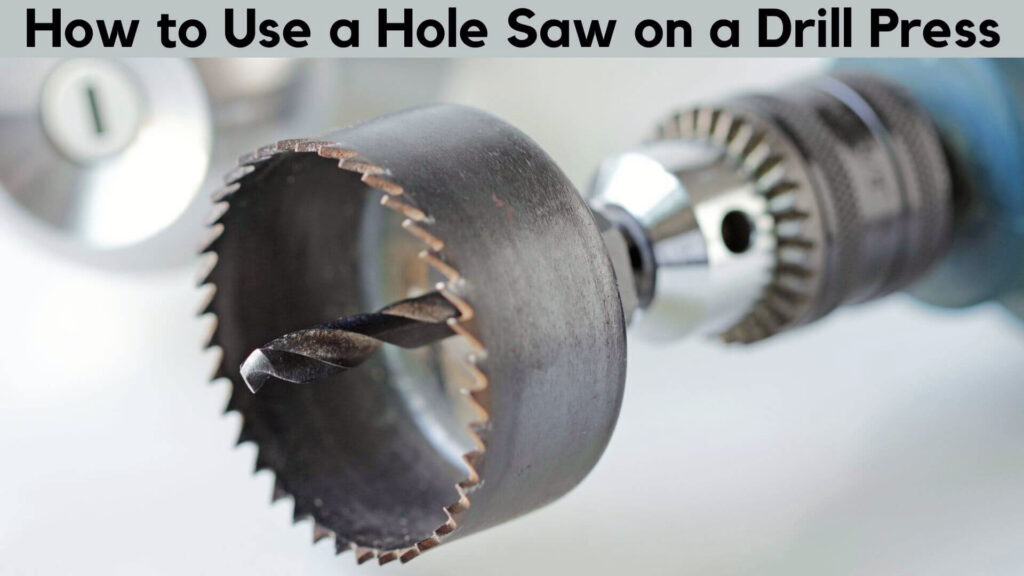
Using a hole saw on a drill press can seem intimidating, especially if you’re new to the process. But once you master the technique, it’s a highly effective and efficient method for creating clean, precise holes in various materials like wood, metal, and plastic. Hole saws are often used to cut large-diameter holes for tasks such as installing pipes, doorknobs, and electrical conduits.
In this guide, I’ll cover everything you need to know about using a hole saw on a drill press—from understanding the basics of hole saws to a step-by-step guide, extra tips, and FAQs to help you avoid mistakes.
Table of Contents
What Is a Hole Saw?

A hole saw is a type of cutting tool designed to cut circular holes in a variety of materials. Unlike regular drill bits, hole saws create a ring-shaped cut, leaving the material inside the hole intact as a “plug.” This tool consists of two main parts: the cylindrical saw blade, which does the cutting, and the arbor, which holds the saw and attaches it to the drill or drill press.
Hole saws come in various sizes, allowing you to cut holes of different diameters. They are typically used when you need to create large holes that a standard drill bit cannot achieve.
Types of Hole Saws and Proper Instruction
There are several types of hole saws designed for different materials and purposes:
- Bi-Metal Hole Saws: These are the most versatile hole saws, made of high-speed steel teeth with a carbon steel body. They’re suitable for cutting through wood, plastic, and soft metals like aluminum.
- Carbide-Tipped Hole Saws: These hole saws are specifically designed for cutting harder materials like stainless steel, tile, and masonry. The carbide tips are tougher and more heat-resistant.
- Diamond-Coated Hole Saws: Ideal for cutting through extremely hard materials like tile, glass, and stone. The diamond coating on the edge of the saw gives it extra strength and cutting precision.
- Adjustable Hole Saws: These hole saws have an adjustable diameter, allowing you to create holes of various sizes with a single tool.
When selecting a hole saw, make sure it’s compatible with the material you’re working with and choose the correct size for your project. It’s also important to follow the manufacturer’s instructions for speed and feed rates to avoid damaging the saw or workpiece.
Read More: How to Measure Drill Press Size The Easiest Way
How to Use a Hole Saw on a Drill Press Step By Step
Using a hole saw on a drill press involves several careful steps to ensure a smooth and precise cut. Below is a step-by-step process to guide you through it.
Step 1: Preparing the Hole Saw
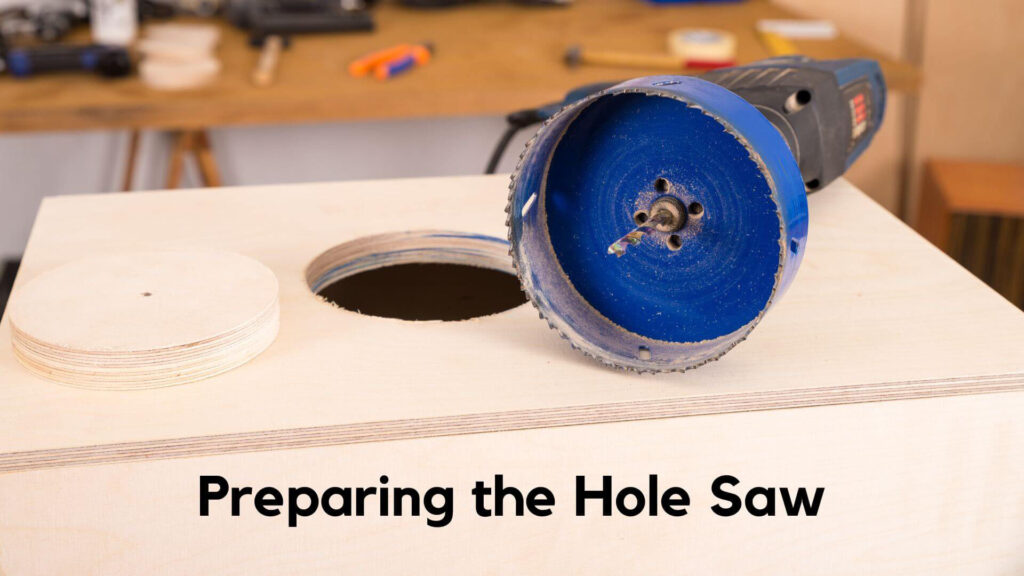
Before you begin cutting, it’s crucial to properly prepare your hole saw and drill press:
Set Up the Drill Press: Adjust the drill press table to the appropriate height for your workpiece. Secure the material to the table using clamps, and ensure that the drill press is set to the correct speed for the material and hole saw type you’re using. For most materials, a medium to low speed works best to prevent overheating.
Attach the Hole Saw to the Arbor: Most hole saws come with an arbor, a shank that attaches to the drill press chuck. Insert the arbor into the back of the hole saw, ensuring it’s securely attached. Tighten the arbor’s locking mechanism to prevent it from slipping during drilling.
Install the Pilot Drill Bit: The arbor typically comes with a pilot drill bit that helps guide the hole saw as you start drilling. The pilot bit ensures accuracy and prevents the saw from wandering off course. Make sure the pilot bit is centered in the arbor and protrudes slightly beyond the hole saw’s teeth.
Step 2: Drilling the Hole
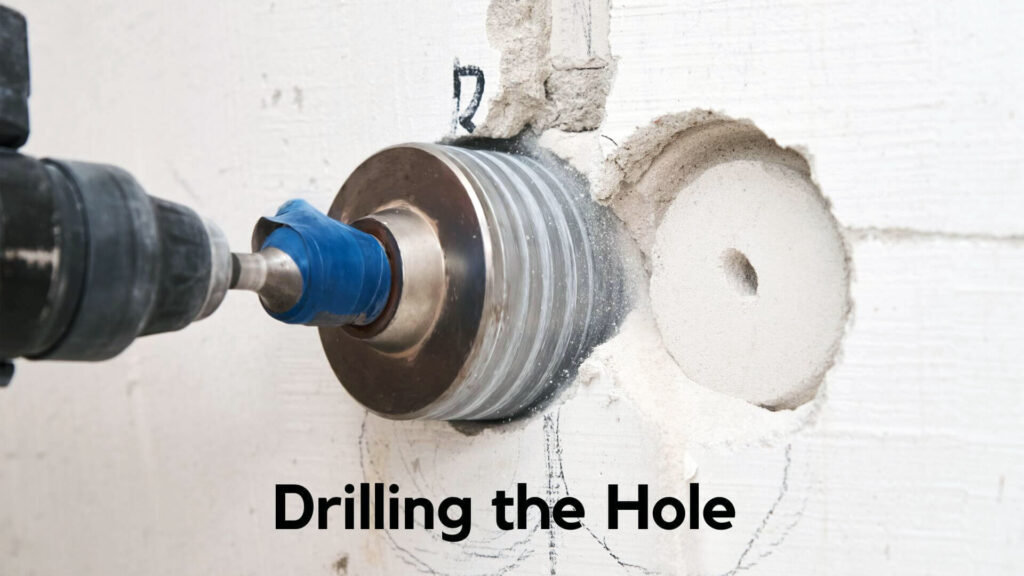
The next step is to drill the pilot hole using the pilot drill bit:
Steady the Workpiece: As you drill the pilot hole, keep the material firmly clamped to the drill press table. This ensures precision and safety, as hole saws can generate significant torque.
Position the Workpiece: Align the drill press spindle and hole saw with the mark where you want to create the hole. Double-check to ensure the hole will be centered in the desired location.
Drill the Pilot Hole: Start the drill press and slowly lower the quill (the part of the drill press that moves the drill bit up and down) until the pilot bit makes contact with the workpiece. Let the bit create a small, centered hole before applying more pressure.
Step 3: Cutting the Hole
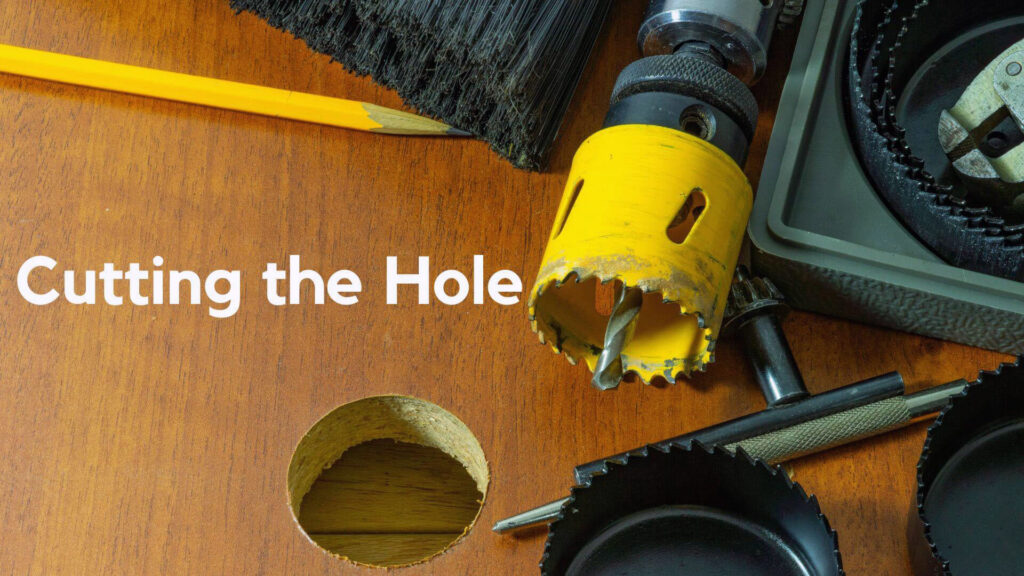
Now it’s time to let the hole saw do the work:
Clear Debris: As you cut, pause occasionally to clear out debris from the hole saw. This prevents overheating and ensures a cleaner cut.
Lower the Hole Saw: Once the pilot hole is established, slowly lower the hole saw into the workpiece. Apply steady pressure, but don’t force the saw. Allow the teeth of the hole saw to cut through the material gradually.
Let the Drill Press Do the Work: It’s essential to let the drill press and hole saw work at their natural pace. Forcing the hole saw may cause overheating, dull the teeth, or result in an inaccurate cut. Keep the speed consistent and let the saw’s teeth bite through the material.
Step 4: Finishing Up.
Once the hole is cut, you’ll need to complete a few finishing steps:
Inspect the Hole: Check the hole for any rough edges or splintering. If necessary, sand or file down the edges to smooth them out.
Stop the Drill Press: Once the hole is fully cut, stop the drill press and wait for the hole saw to stop spinning completely before raising the quill.
Remove the Plug: The material plug left inside the hole saw can often be removed by hand. For stubborn plugs, gently tap the side of the hole saw with a mallet or use a screwdriver to pry it out.
Extra Tips: 5 Tips for Using the Hole Saw on a Drill Press Like a Pro
To achieve the best results when using a hole saw on a drill press, follow these five expert tips:
Use a Pilot Bit Extension: For thicker materials, an extended pilot drill bit ensures that the hole saw stays on track throughout the cut.
Use a Backing Board: Placing a sacrificial board under your workpiece prevents tear-out on the backside and helps create a cleaner hole.
Lubricate the Hole Saw: For metal cutting, apply cutting oil to the teeth of the hole saw to reduce friction and heat buildup. This extends the life of the saw and results in smoother cuts.
Clamp the Workpiece Firmly: Always ensure your workpiece is clamped securely to avoid movement and improve accuracy.
Select the Right Speed: Lower speeds are ideal for harder materials like metal, while higher speeds can be used for softer materials like wood. Check the manufacturer’s guidelines for the recommended RPM.
Read More: How to Wire a Drill Press Switch
What Do I Do If I Make A Mistake With My Hole Saw?
Mistakes happen, especially when working with power tools like a drill press and hole saw. Here’s how to correct common issues:
Overheating: If you notice excessive heat, slow down the drilling speed and add lubrication.
Hole Misalignment: If your hole is slightly off-center, you can use a file or rotary tool to widen or adjust the opening.
Tear-Out: Sand the edges of the hole or use a chamfer bit to clean up any tear-out.
FAQS About How to Use a Hole Saw on a Drill Press
Is The Hole Saw on a Drill Press Dangerous?
Using a hole saw on a drill press is relatively safe when proper precautions are followed. Always wear protective gear, clamp your workpiece securely, and use the appropriate speed for the material you’re cutting.
How do I use a hole saw on a drill press?
To use a hole saw on a drill press, attach the hole saw to the arbor, position the material, drill the pilot hole, and slowly cut the hole by applying steady pressure. Remember to clear out debris and stop the drill press when finished.
What are the benefits of using a hole saw on a drill press?
A drill press provides more control and stability than a handheld drill, allowing for more precise and accurate cuts. It’s also easier to handle large or thick materials with a drill press.
Final Fate
Using a hole saw on a drill press is a straightforward yet effective way to cut large, clean holes in various materials. By following the step-by-step instructions and adhering to safety precautions, you can achieve professional results without damaging your workpiece or tools. Whether you’re a DIY enthusiast or a seasoned professional, mastering the use of a hole saw on a drill press opens up new possibilities for your projects, giving you the accuracy and consistency you need.

Hey, I am MD Hrithik Hossain, I’m a huge fan of DIY crafts. My workshop is where I spend most of my spare time, and I’m always working on some project. To that end, I’d like to share some of my knowledge and experience with you in power tools, woodworking, and other specialized materials fabrication.
I will guide you with genuine knowledge that can assist you with deciding whether a drill is appropriate according to your requirements or not. If you want to find the best drill and know which type of drill is most suited for your needs, then I can guide you with my expertise. My passion lies in helping others find the correct products they need at an affordable price.

